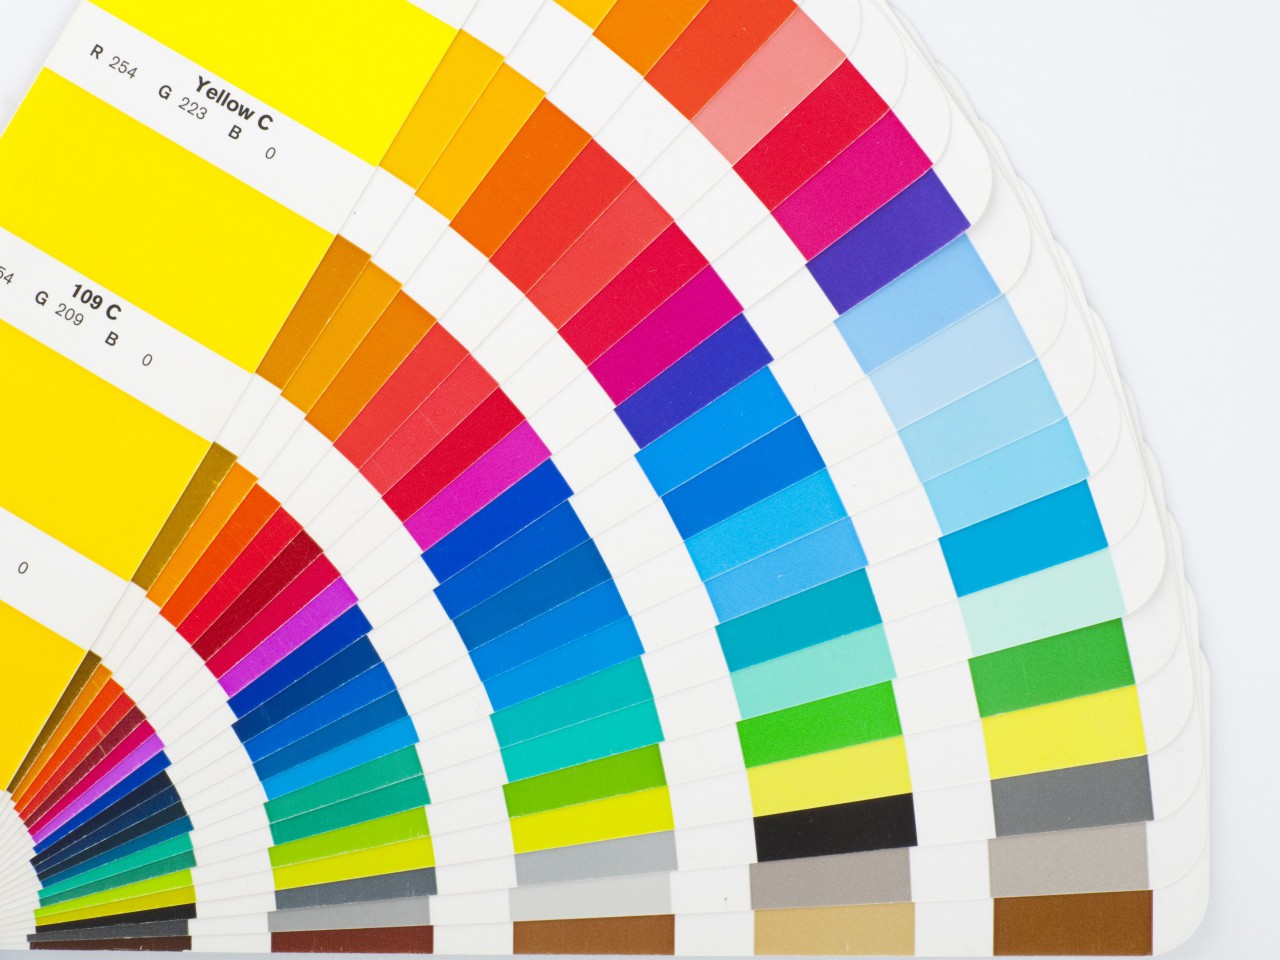
Color Charts For Dye Sublimation Using CorelDRAW

Did you know you could make your own color charts from CorelDRAW quickly and easily?
You can and it is imperative that you have an accurate color chart for all your “spot color” work.
Don’t know what spot color really means? It means the color you add to anything you create such as text, graphics, designs, backgrounds, logos – just about anything. Anything except things you import or scan – those are usually bitmaps and you can’t easily change the colors in those. Spot colors however, can be changed easily with just a left click of the mouse. Draw a box and select a fill color with a left mouse click – that’s a spot color.
Quick note:
If you are using a PC, it is important you always use the RGB color chart when working with sublimation. Others, such as Pantone may sound enticing but they WON’T do what you think they will so stick with RGB!
Read: 10 Ways to Grow Your Sublimation Business in 2023!
OK, here’s how you do it in Corel X3, X4 & X5:
Click on “Tools”, then “Visual Basic” then “Play.” This brings up the “CorelDRAW Visual Basic for Applications Macros” dialog box. Toward the bottom of the box, in the drop down menu, select “GlobalMacros”.
Choose “CorelMacros: CreateColorSwatch” from the macros list. Click “Run”. Select “Default RGB palette”. (If not listed, add the palette to your working screen and it should appear in the dropdown menu).
By default, the color charts have a setting of 20, which uses four pages. To reduce this, change the number on the last screen to lower number (try 1 or 5). These swatches are typical Corel elements and can be moved, changes, deleted at will.
If you want your chart on a single page, change the page to “Legal” size, move the swatches on Page Two to Page One, and delete Page Two. You can now print this page the same as you would any CorelDRAW page for sublimation. If you are using the Conde ICC Profile (highly recommended), you will need to mirror the page and send it to the printer. If you are using PowerDriver from Sawgrass Technologies, you will need to print a separate transfer for each setting you use: i.e., Realistic, Intense, Saturate and ColorSure since each of these settings result in drastically different colors.
Once you have printed the necessary transfers, sublimate them on whatever substrates you use.
Now you can look at the chart and see exactly how a particular color will look when sublimated on that same substrate.
Be sure to visit our blog for more sublimation printing and heat transfer articles!
Over three decades of research and development - helping small businesses like yours profit from sublimation and heat transfer technology.
Are you leaving money on the table by under-pricing your custom products?
Did you know Conde has a pricing tool that gives you the suggested retail price range for our entire catalog of print-on-demand blank products?
Start here to learn more about our Retail Pricing Calculator Tool
