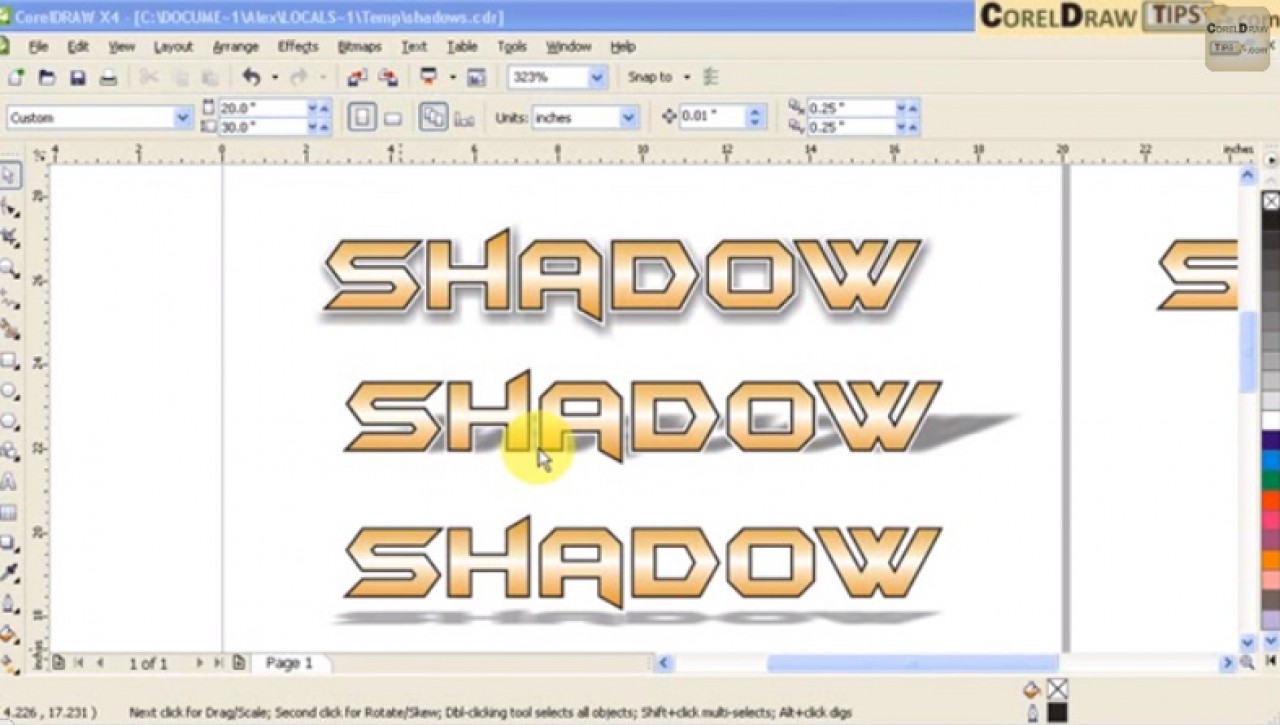
CorelDRAW Tips: Using the Drop Shadow Tool with Text

To access it, you must click on the tiny black triangle located at the bottom right corner of the Blend Tool. When you click on that triangle, a flyout menu will appear. About half way down the list is “Drop Shadow”. Click on it. This opens a new toolbar at the top of the drawing area. You can identify it by the little box with the word, ”Presets”. A flyout menu will appear with a long list of options. What you will want to do is select one of these presets. The rest will be done automatically.
If the options aren’t what you want, you can create your own shadow manually by clicking on the text you want to add the shadow to. When you do, the tool bar at the top of the page will expand to offer you a number of options. Here you can control the amount of transparency of the shadow, its angle, how sharp the edges are, and more.
Can you use this tool with objects other than text? Yes. Absolutely. It works with any OBJECT, including text, clipart, etc. Try it on anything that needs a boost. I use this tool mostly when designing a lot of text on a product. If I want one line to really jump out, I can make it bold, change the font style/size, or give it a shadow. Shadows give the illusion of depth so it takes the appearance of a design from flat and two-dimensional to a 3D look.
