Dye Sublimation Imaging with Photoshop: Opacity for Images

Some designers really like to use this on memorial types of art work. There are two very easy ways to lower or raise the opacity of an image so that it blends well with another:
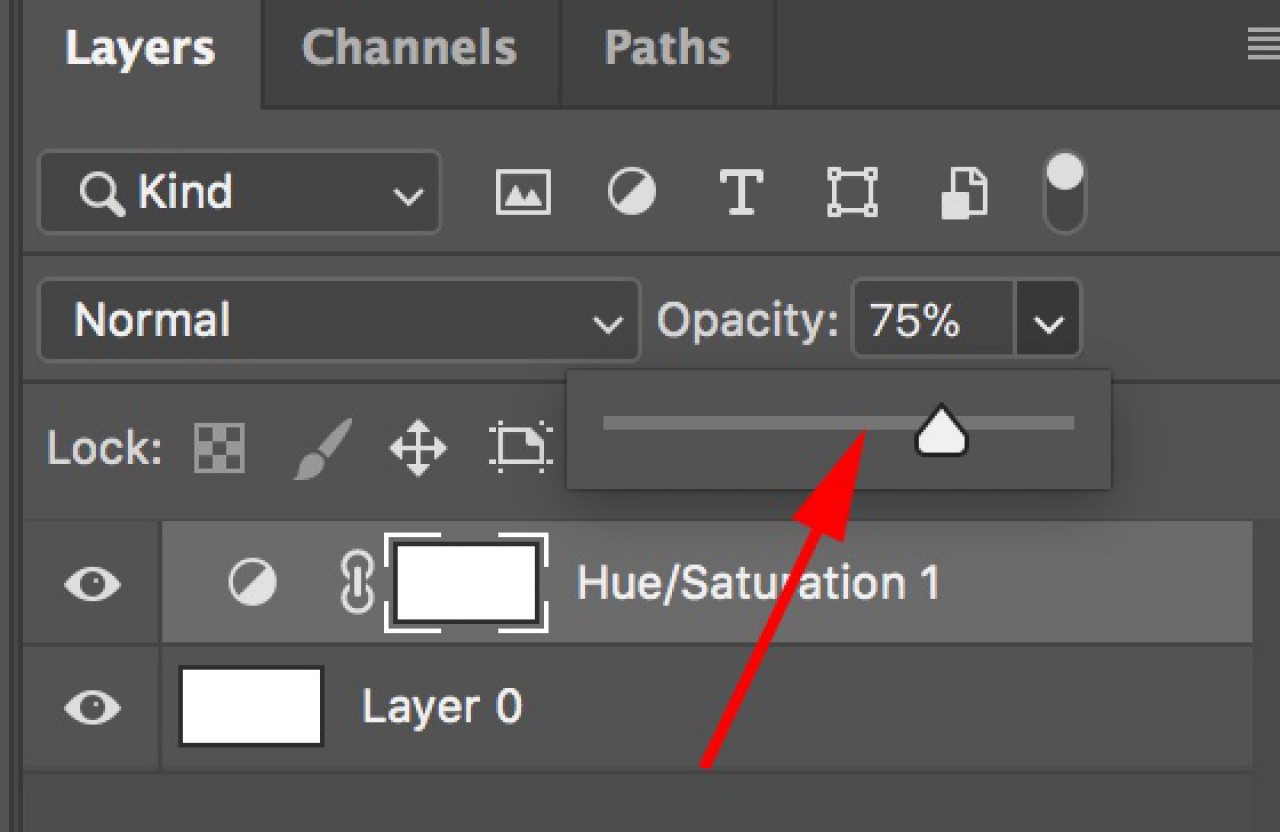
The first way is to do it by the layer itself. If you look above your options, on the layer section, you will see an opacity meter. Once selecting this, you can simply slide the bar from left to right to lower and raise the opacity level of the entire selected layer. This is the simplest and quickest way, but not always the most effective if you have a dark background with your image.
The second way is to manually remove portions of the image and drop the opacity using the Eraser tool. This is the one we use most frequently, because doing the entire image often shows more background noise than most would prefer. You could do this before importing the second image into the final document, but we prefer to do it as its own individual layer because you can see how the edited image interacts with the original.
To do this, simply select the Eraser tool, and at the top of Photoshop, choose the desired brush type (note: the fuzzy outside brush has a natural steady declining opacity) and then choose the drop selectable option of “Opacity”. Adjust it by sliding the bar the same way you did with the layer opacity.
Remember that no matter what opacity you choose, if you run over the same portion of your image more than once, it will apply that adjustment each time you run over that spot. We hope that these tips have been helpful for you and we look forward to assisting you in further situations.
