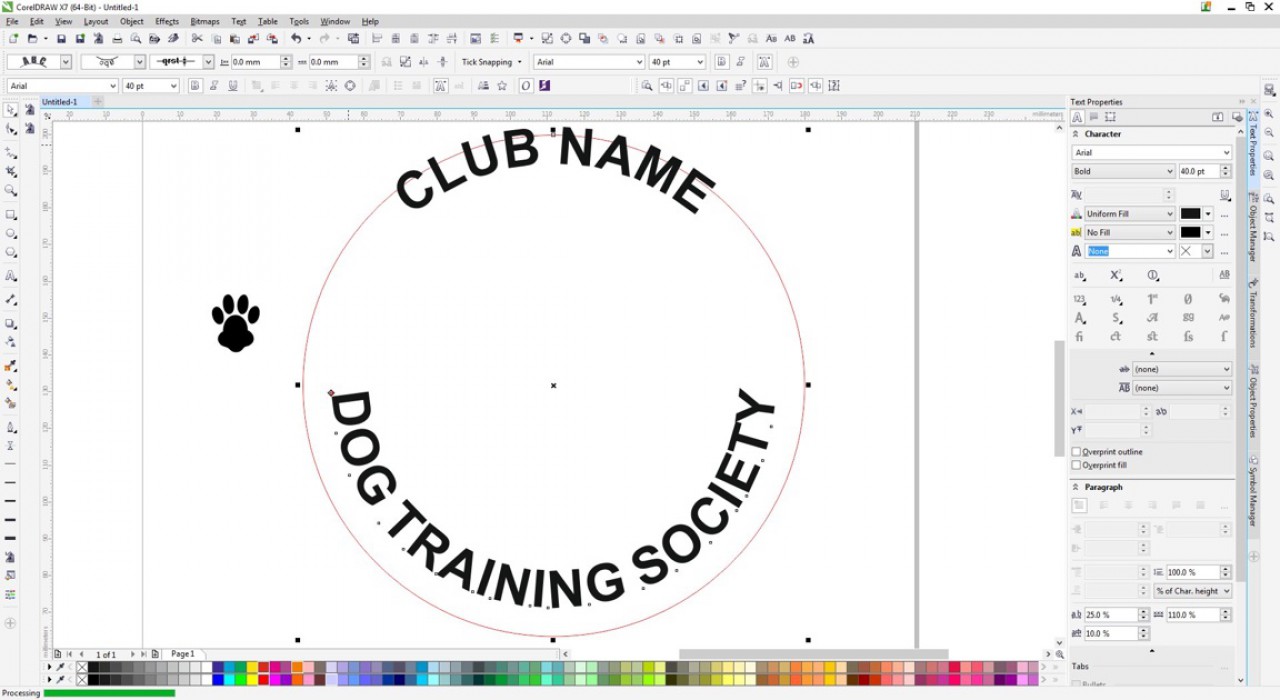
Dye Sublimation Tips: Curving Text in CorelDraw

Curving text is one of those things that you may not use often but when you need it; you need it! We have a simple method for accomplishing this task from within the application!
Curving Text using the envelope tool
1. Choose your font and type.
2. Select the the object using the “pick tool” from the tools menu.
3. With the text selected, in the tools menu select the “envelope” tool (fifth one from the bottom). If you do not see it. Left click over the tool showing and choose if from the drop down menu.
4. Select center node and, hold the left mouse key down and drag to the desired spot. If desired you can use other nodes to create curvature in other place within the font. Swing the arrow to ad an even more wavy graphic.
5. click off the graphic or on the pick tool again to seal the the deal. You can repeat the instruction to make necessary changes.
We used CorelDraw X4 in this demonstration but the technique should work with any version within CorelDraw. We recommend you test the feature and have fun learning to create awesome designs with this tool.
