Tech Tips: Mugs in an Oven

Instructions
1. The first thing you need to do is acquire a good oven.
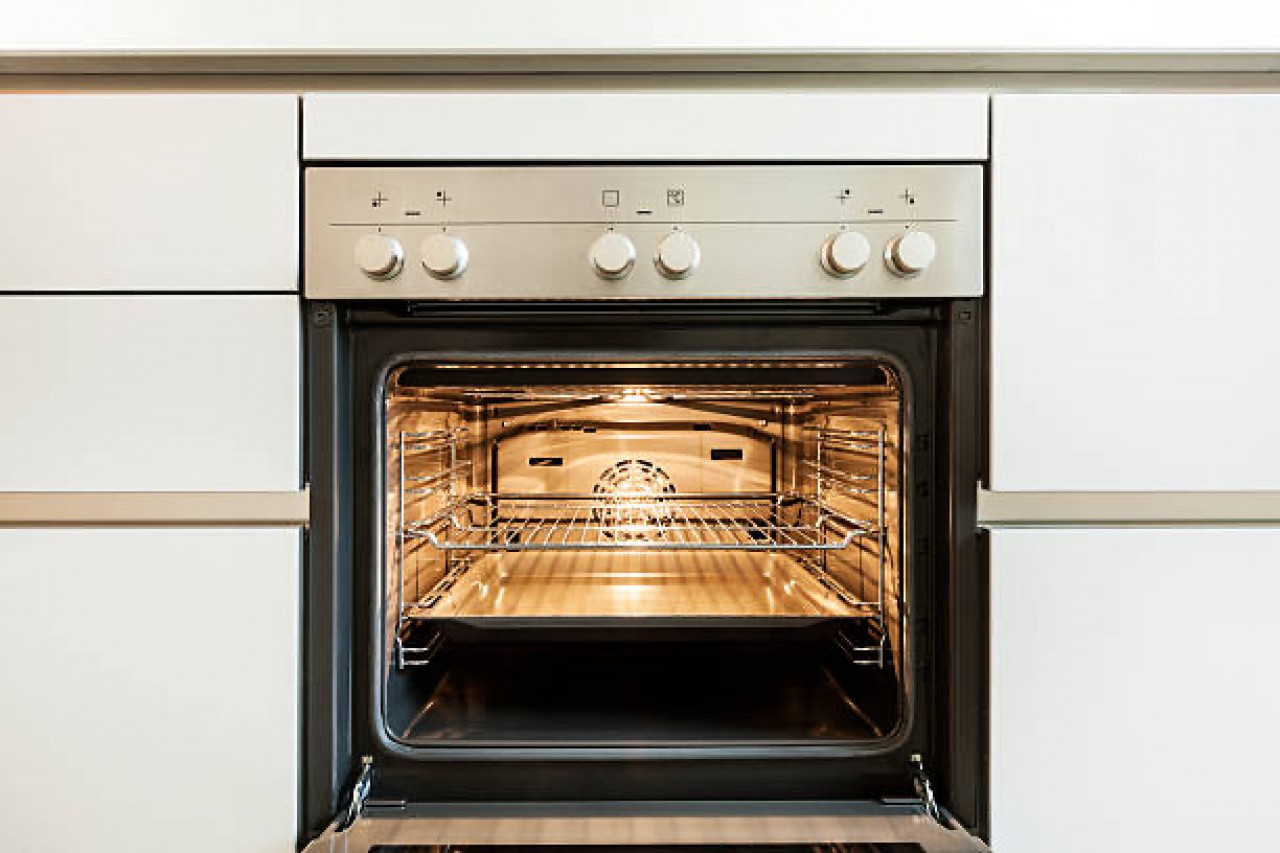
We recommend using a Cuisinart brick oven, Model Number BRK-300, if you are able to find one as, unfortunately, this model is discontinued. Currently, we are using a Breville Convection Smart Oven Model B0V800XL/A. If you are lucky enough to come across the Cuisinart BRK-300, it is useful to know that these ovens take longer to heat up; however it will lose far less temperature when opening the door. This oven also has a more consistent heat threshold in all parts of the body. If your oven has a convection feature, it actually might not be a good tool. When we do mugs with the Cuisinart BRK-300, we get horrible results with convection turned on. However, when we use the Breville oven, mentioned above, it produces good results with convection on. In a nutshell, each oven is different and will require testing to see whether or not convection is a good choice.
2. Double check to ensure the oven is properly set at 400 degrees.
I have noticed that many ovens will display an incorrect set temperature, when they are actually far colder. Using an internal oven thermometer, that can be left in the oven, will gauge the true temperature of the oven. If you place your mugs into an oven that is at the wrong temperature, you will get an undercooked mug. We do not recommend using a laser thermometer when testing the oven temperature.
3. Keep your mug wrap in the best possible shape.
Before using the mug wrap again, on another mug, make sure it has completely cooled off to prevent stretching, wear, and tear.
4. Be sure to have the perfect pressure on your bolt style mug wrap by going finger tight, then using a socket wrench to turn it two more revolutions.
This will provide the perfect pressure. If you have an electric drill with torque controls, you can set it quickly, which tightens to exactly the desired amount of tension. Start on the lowest setting and raise as needed. If you do not have enough pressure, this can cause an undercooked, blurry mug.
5. Measure the height of the mug between the two parts that taper and give your image (template) a consistent height.
If you try to image in the tapered section you will get a spotty, uneven image there.
6. Measure from handle to handle, but be sure to leave about ¾”-1” gap at the handle, on both sides.
The reason for this gap is most mug wraps are not going to get good contact and pressure in these areas.
7. Trim the top and bottom edge so none of the paper goes into the tapered section.
If excess paper sticks over into the tapered section, the paper could wrinkle and cause deformities to appear in to the imaging area. Also, be sure to use an extra sheet of paper, taped on, with the measurements you have acquired to help protect the wrap from sublimation ink.
8.
Trim the left and right side with a little bit of paper so you can attach heat tape over a section that doesn’t have an image.
Use enough tape so the image will not slip, and is on tight. We prefer heat tape as it is less likely to slip and is easier to place images exactly where we want them.
9. Not every mug is perfectly round, and occasionally one will have peaks and valleys in its shape.
You will feel the transfer touching some places and hovering in others. If you see this and are not getting perfect results, you can lightly wet the entire transfer so the paper is easier to push down into any concave area. If you see a pinched transfer in any area after cooking, you may need to wet the transfer or slightly lessen your pressure.
10. When you remove the mug, be sure to use the right type of gloves so you won’t get burned.
11. If you are unsure if you have cooked the mug enough, you can peel up the corners and check for a good image.
As long as the paper does not move, you can put it back and cook longer. If you must do this, then your oven may not be hot enough, and you may need to increase your pressure. Be aware that if you use too much pressure, you will stretch out the wrap over time. This might result in the need to cook longer.
12.
When you have finished the mug, you want to remove the transfer as quickly as possible, or you want to cool the mug off as quickly as possible.
This is to stop the sublimation process. You can place the mug in front of a fan to aid in the cooling process.
13. In the event that you mess up a mug, be sure to keep it so you can use it later for testing.
If you can manage a solid RGB black from top to bottom and handle to handle, then you are doing good.
If you take time to experiment and learn your particular oven, you will be making perfect mugs every time. If you take care of your mug wrap and oven while preparing the mug properly, you will be consistently successful at sublimating mugs! It is better to spend a little extra time and get every mug right, then risk having to reorder more mugs.
Call your Conde rep today for any additional questions or inquiries, they are happy to help! For any technical difficulties, call or email our tech support department at (251) 633-5704 or support@conde.com
