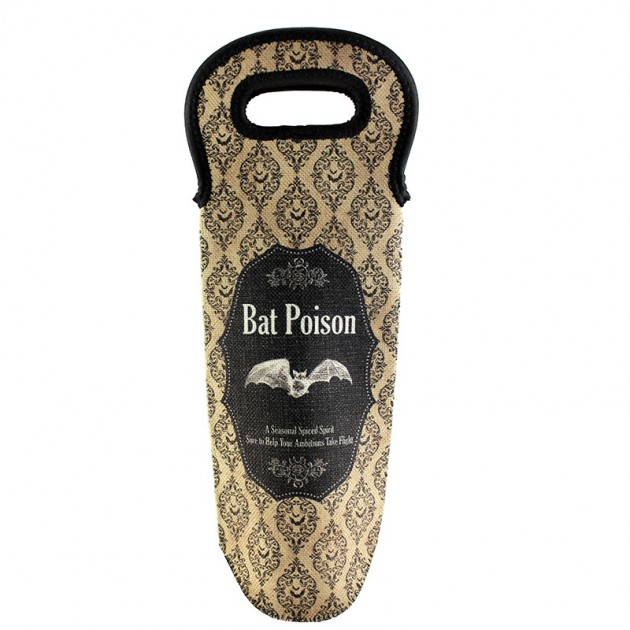
Wine Tote Bags
With colder, Fall weather right around the corner, holidays and get-togethers will be on the minds of many. Dinner parties are a blast and to thank the host, many people bring over a bottle of wine. This is the perfect time to start thinking about offering wine totes! They are made of solid white neoprene with a split side bottom area. We also offer the option of a black handle. Our tote bags fit standard 750ml wine bottles and are excellent items for promos, party packages, and holiday gifts. The neoprene material acts as insulation to keep your wine safe and cold.
Designs for these bags include monograms, classy patterns, or witty quotes, like "I make pour decisions” or “Hakuna Moscato”. You can also incorporate the wine theme into the design with either a wine glass, grapes, or a vineyard.
Instructions
Totes require the transfer receive heavy Pro Spray. When you place it on the transfer, make sure to close the cut gap carefully, then fold over the excess transfer and use more Pro Spray to create an envelope. Then, be sure to hang the elastic tab off the side of the press so it can melt. Please watch the YouTube Tutorial
Important Note: Allow the substrate to fully cool after the Pre-Press
1) Fully zip the substrate if applicable.
2) Sticky lint roll the white imaging area of the substrate.
3) Put a sheet of protective paper on top of bottom of the press. Lunch totes and media armbands press better in the seam area if you lay down a piece of ½” felt, then the paper.
4) Place the substrate onto the paper. It doesn’t matter if it’s imaging side face-up or facedown during the pre-press, but press it face-up.
5) Put a sheet of protective paper on top of the substrate.
6) Pre-heat for 10 or 20 seconds, as noted. Pre-Heating is an important step, do not skip it.
A new technique is to have a wooden block (like the Unisub Jig Blocker Pad or any 1.5” piece of wood) and put the substrate on that, allowing the non-imaged portions to escape contact with the press heater unit.
7) Sticky lint roll the white imaging area of the substrate while warm.
8) Apply a light mist of Pro Spray onto the image to be transferred, except for the lunch tote and cell phone covers, where we recommend a heavier spray.
9) Place the image facedown onto the face-up substrate and on the protective paper on the bottom of the press. On the wine totes, be sure to tape the image down, maybe even tape it to the protective paper underneath. Blurring can be caused by air puffing up the tote when the press is opened.
10) Cover with protective paper.
11) Press.
Please take care to place your image so it fully covers the bottom area of the tote. You may want to use foam or a piece of Nomex to puff out the seam area and get full coverage.
For more step by step instructions on how to decorate this product, check out our YouTube Tutorial.

