4 Ways to Remove a Peel Coat from a Sublimation Blank
A protective plastic coating is often included with the goods we sell to keep them safe. This might be done to avoid scratches or to safeguard it while it is being shaped.
Before sublimation, this "PEEL COAT" needs to be removed to avoid a flat image or a melted mess. To avoid damaging the substrate while removing the peel coat, this must be done carefully.
Here are two ways to remove the peel coat that I suggest, and two that I do not.
Method #1
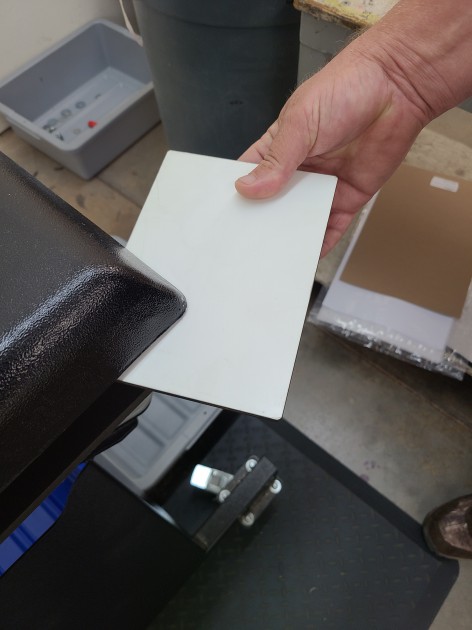
Method 1: Wrinkle up a corner of the peel coat using a high heat press. Rolling the peel coat back off a corner with your finger is now an easy process. Now it is simple to remove the peel coat without damaging the substrate.
Method #2
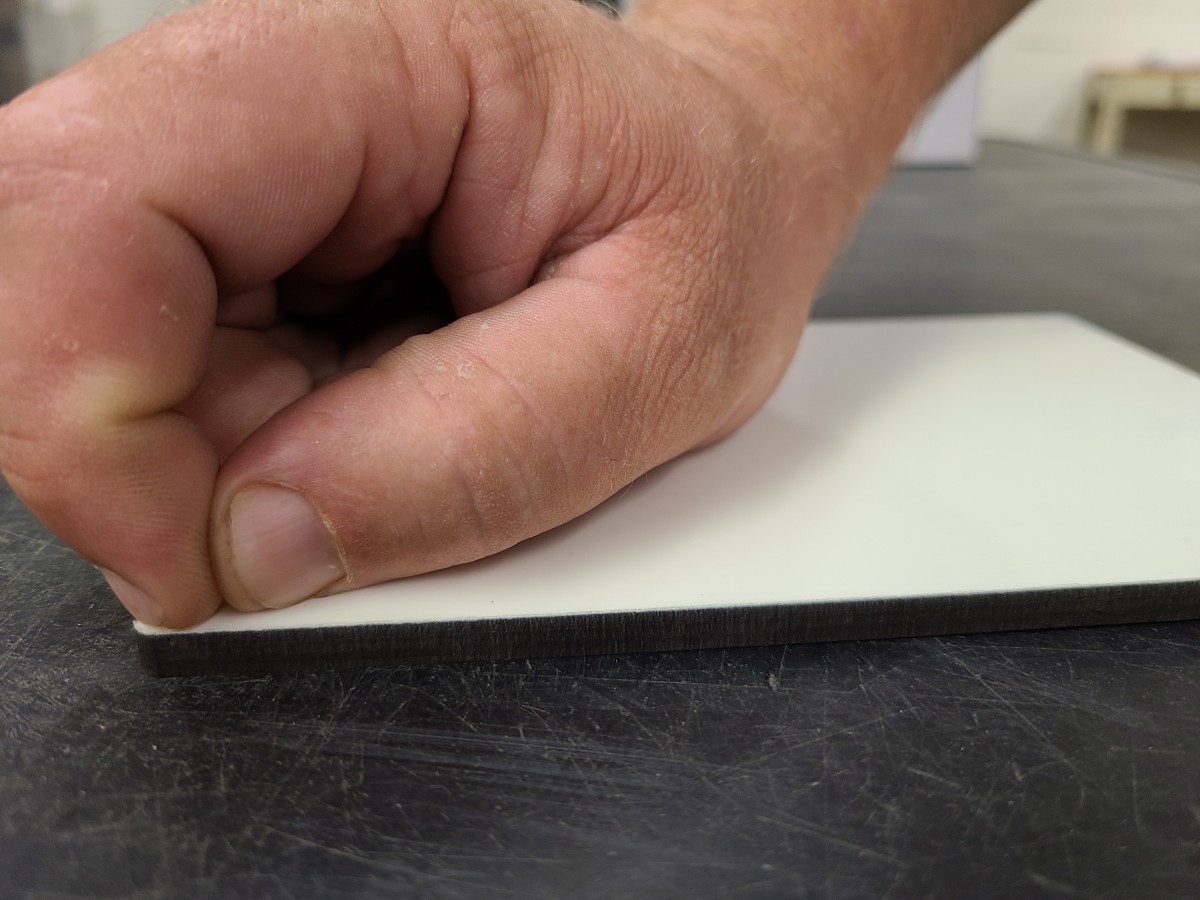
Method 2: Carefully peel back the peel coat using your fingernail. Do not go beneath the coating; instead, carefully descend into the peel coat.
Method #3
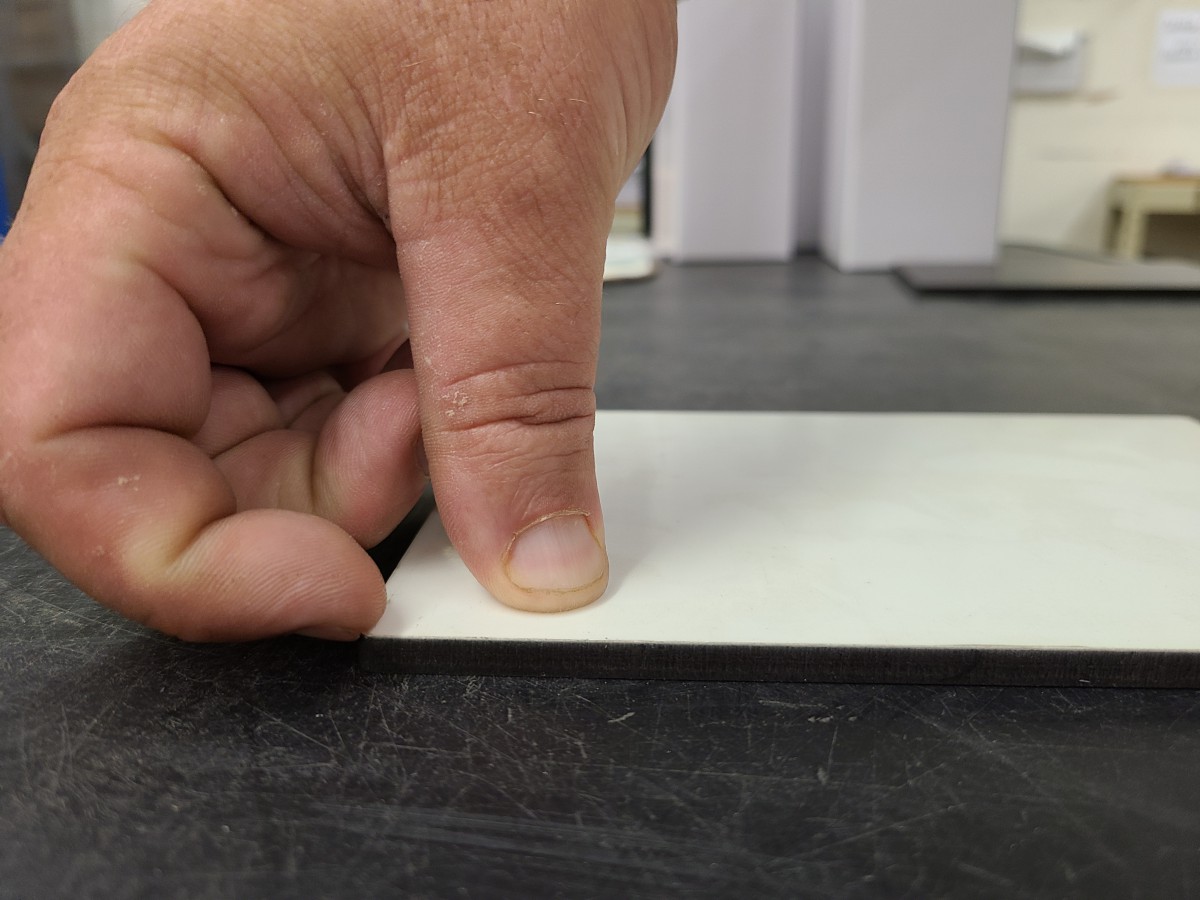
Method 3: This approach is normally not advised because it may harm the substrate's covering. The coating on the corner will also be grabbed as you pull up to grab the peel coat.
Method #4
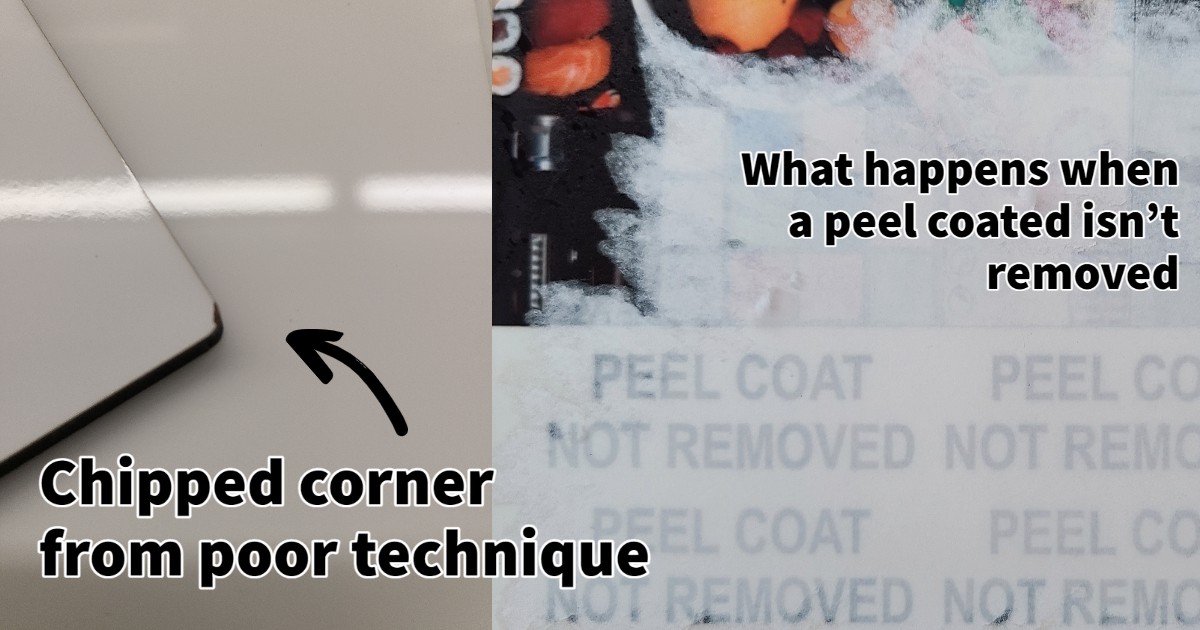
Method 4: The image below is one example of what can happen if you do not remove the peel coat. In this example the paper fused to the product.
After reading this I hope all of you will become better sublimators. I used the U4002 for my examples in this blog. This product makes a great gift for everyone’s desk or mantle. Please check back with us as we continue to publish more blogs for more learning opportunities.
Ben Mcleod
