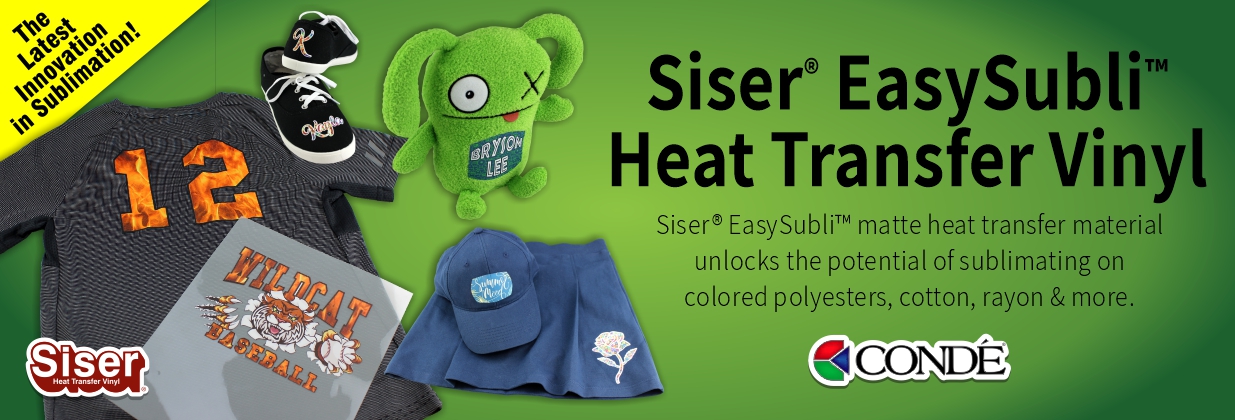

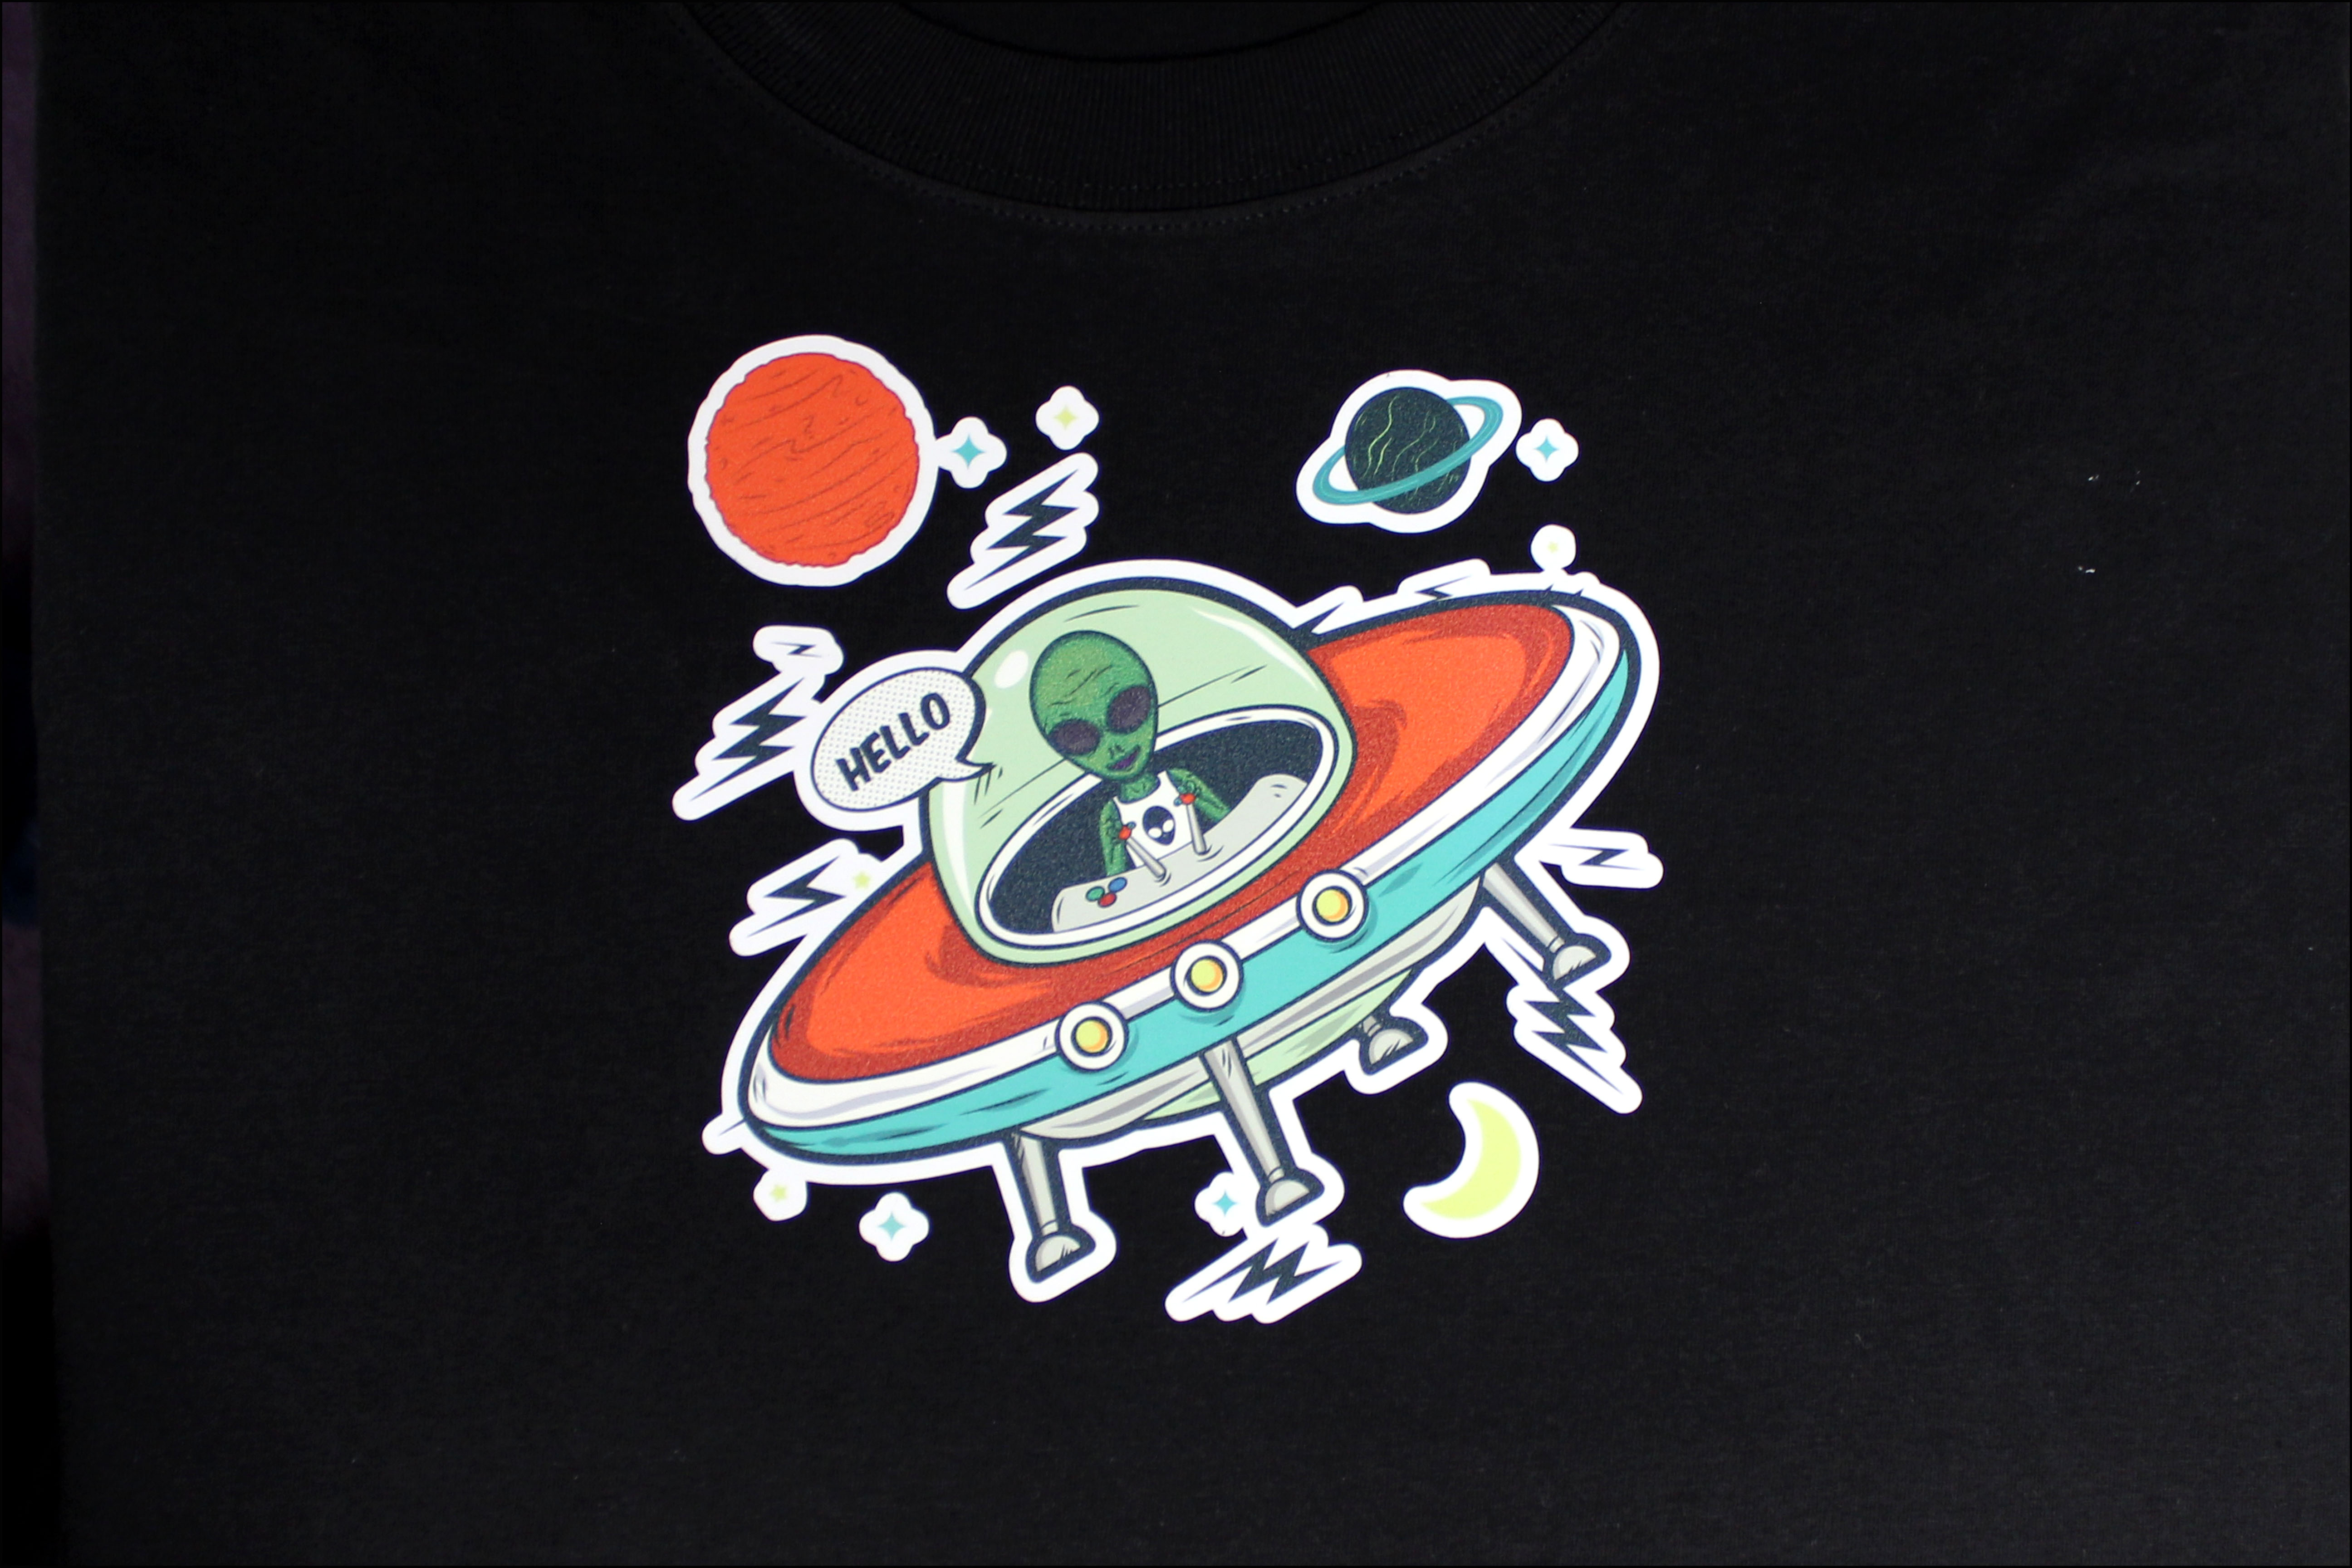
Thanks to the efforts of Siser® and Sawgrass™, there is finally a solution for sublimating full color photographic images onto cotton and dark colored fabrics! While Siser® recommends using EasySubli™ inks, we've achieved fantastic results using the SubliJet® HD inks. This means, there is no need to change out your existing ink system, although adding an additional Sawgrass™ SG400 or SG800 with EasySubli™ inks would be a great addition to any shop!
Siser® EasySubli® SG500 Print System - 8.5x14
Siser® EasySubli® SG1000 Print System - 11.7
There are a few different ways to use this innovative new process, each yielding great results, and we have outlined the methods for you below.
Before using your EasySubli™ vinyl, contact tech support to set you up with the best profiles based on your computer, printer, and software.
Method One: Printing - to Vinyl
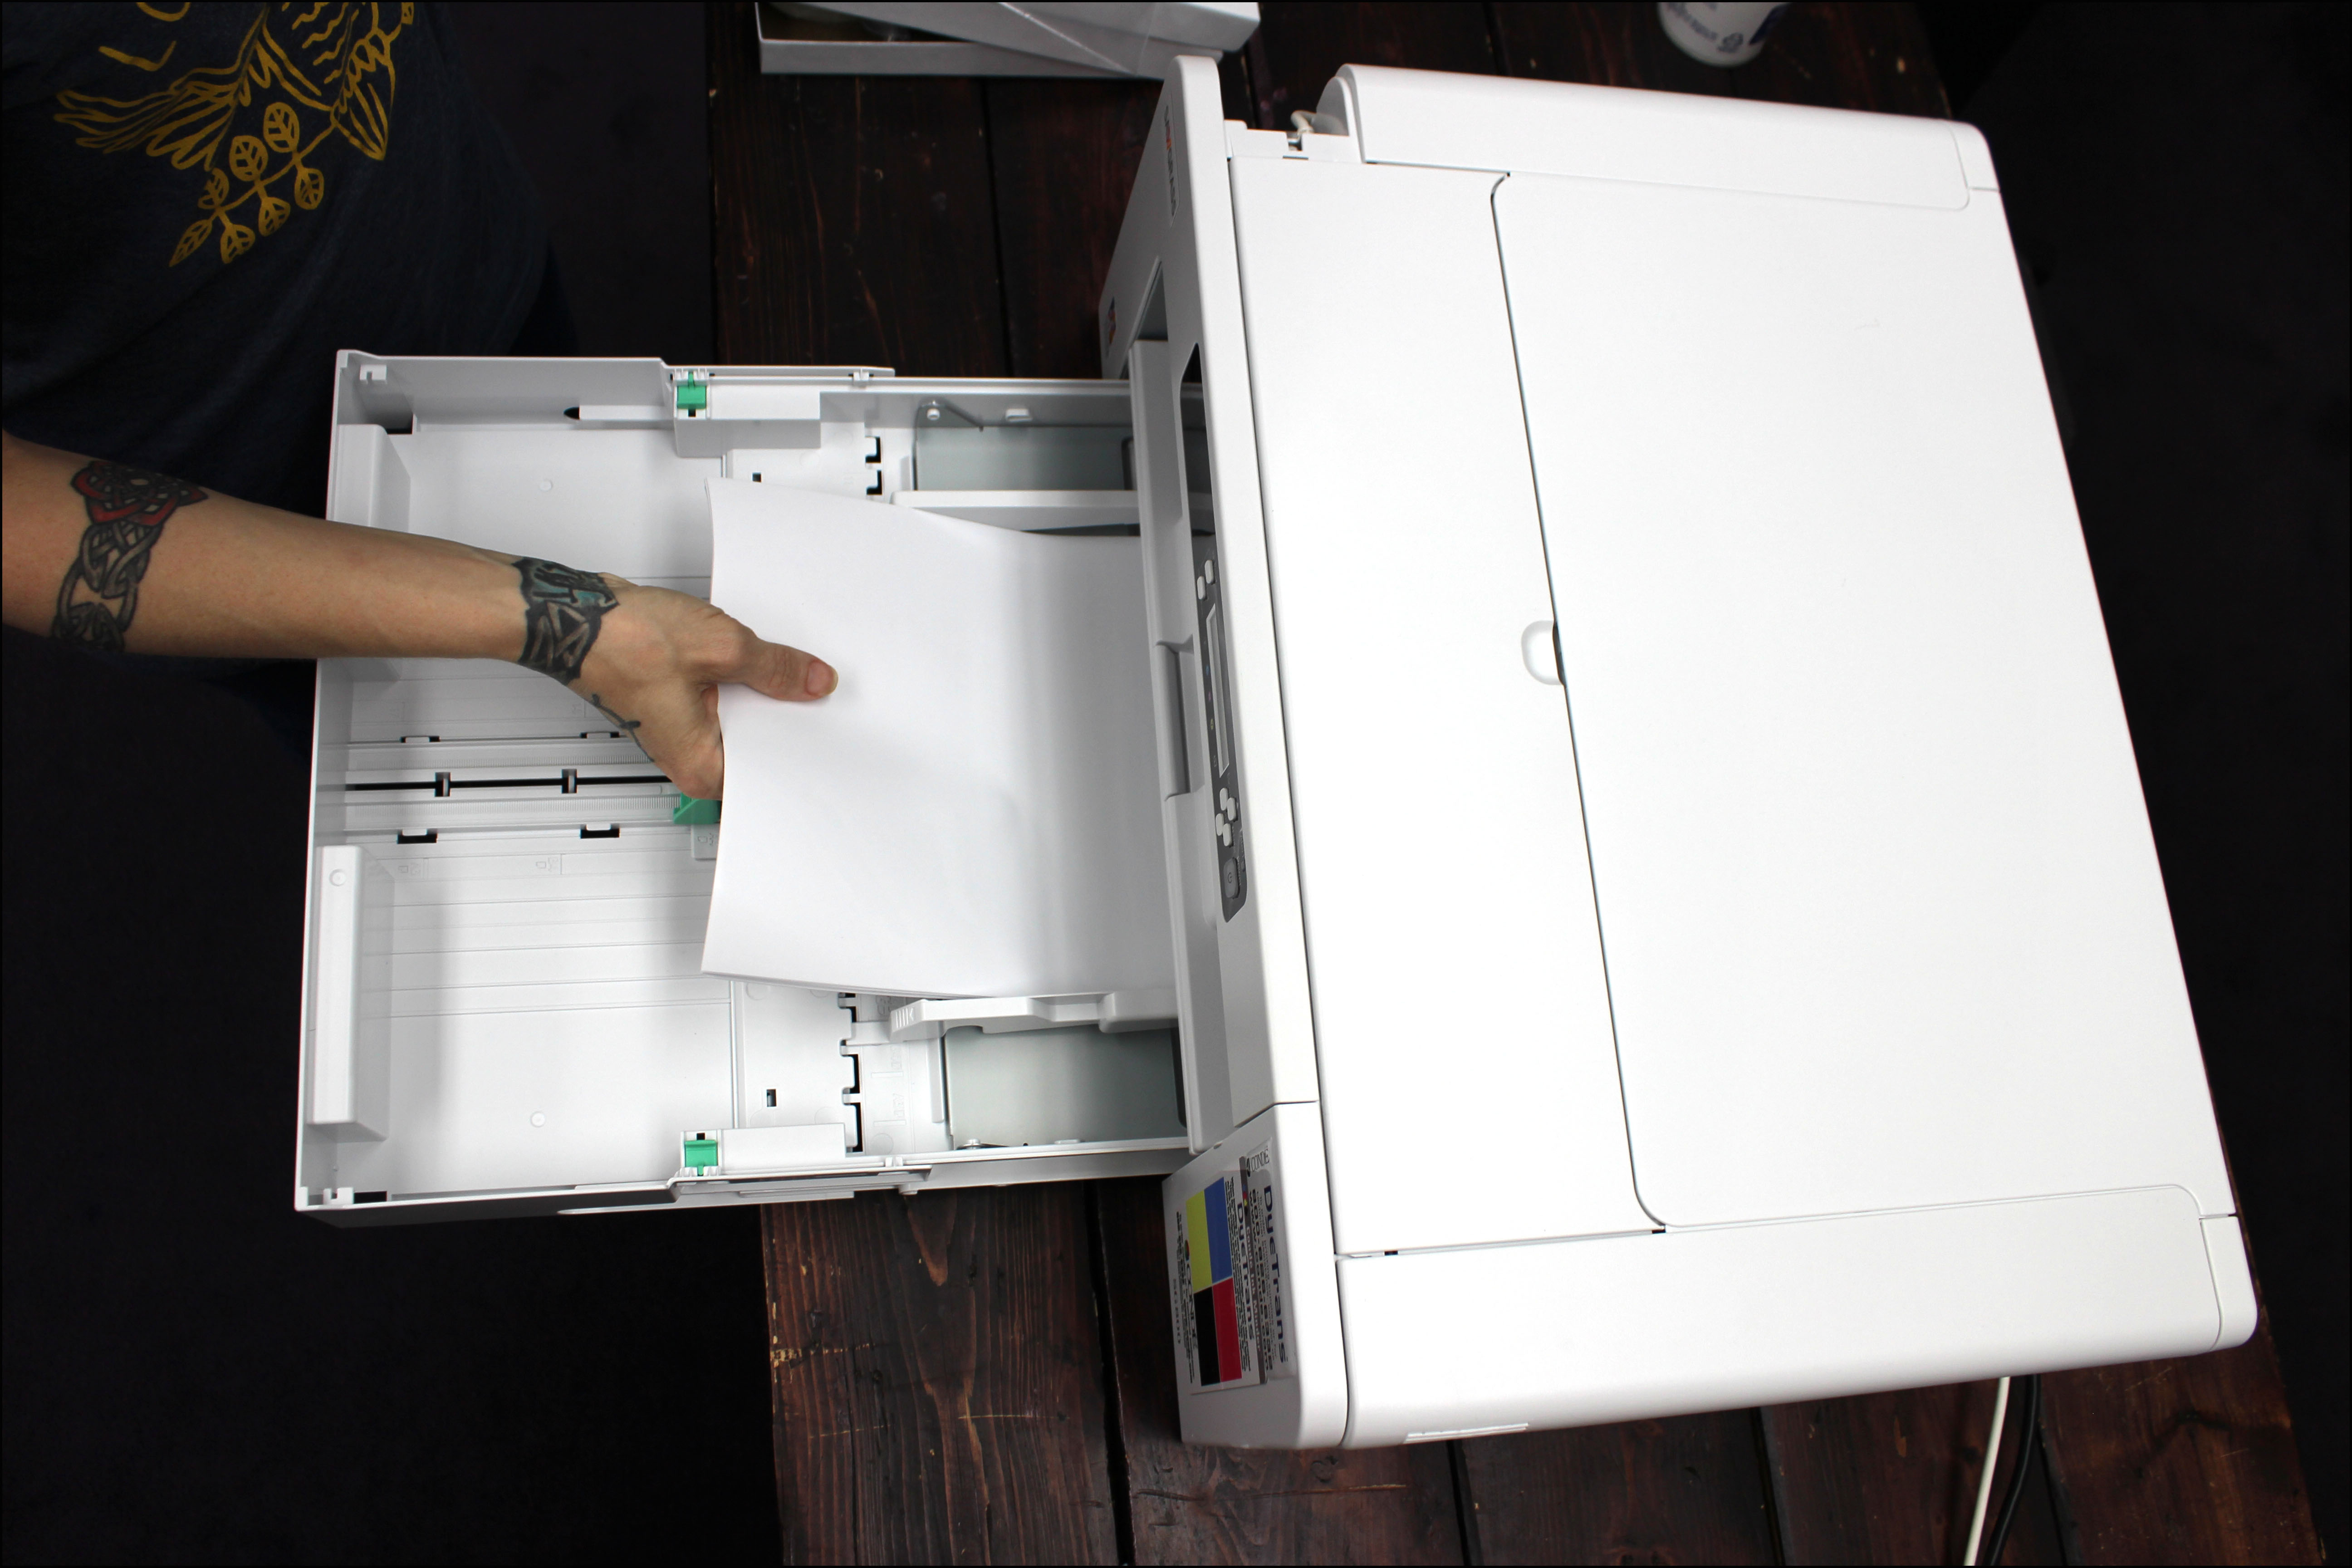
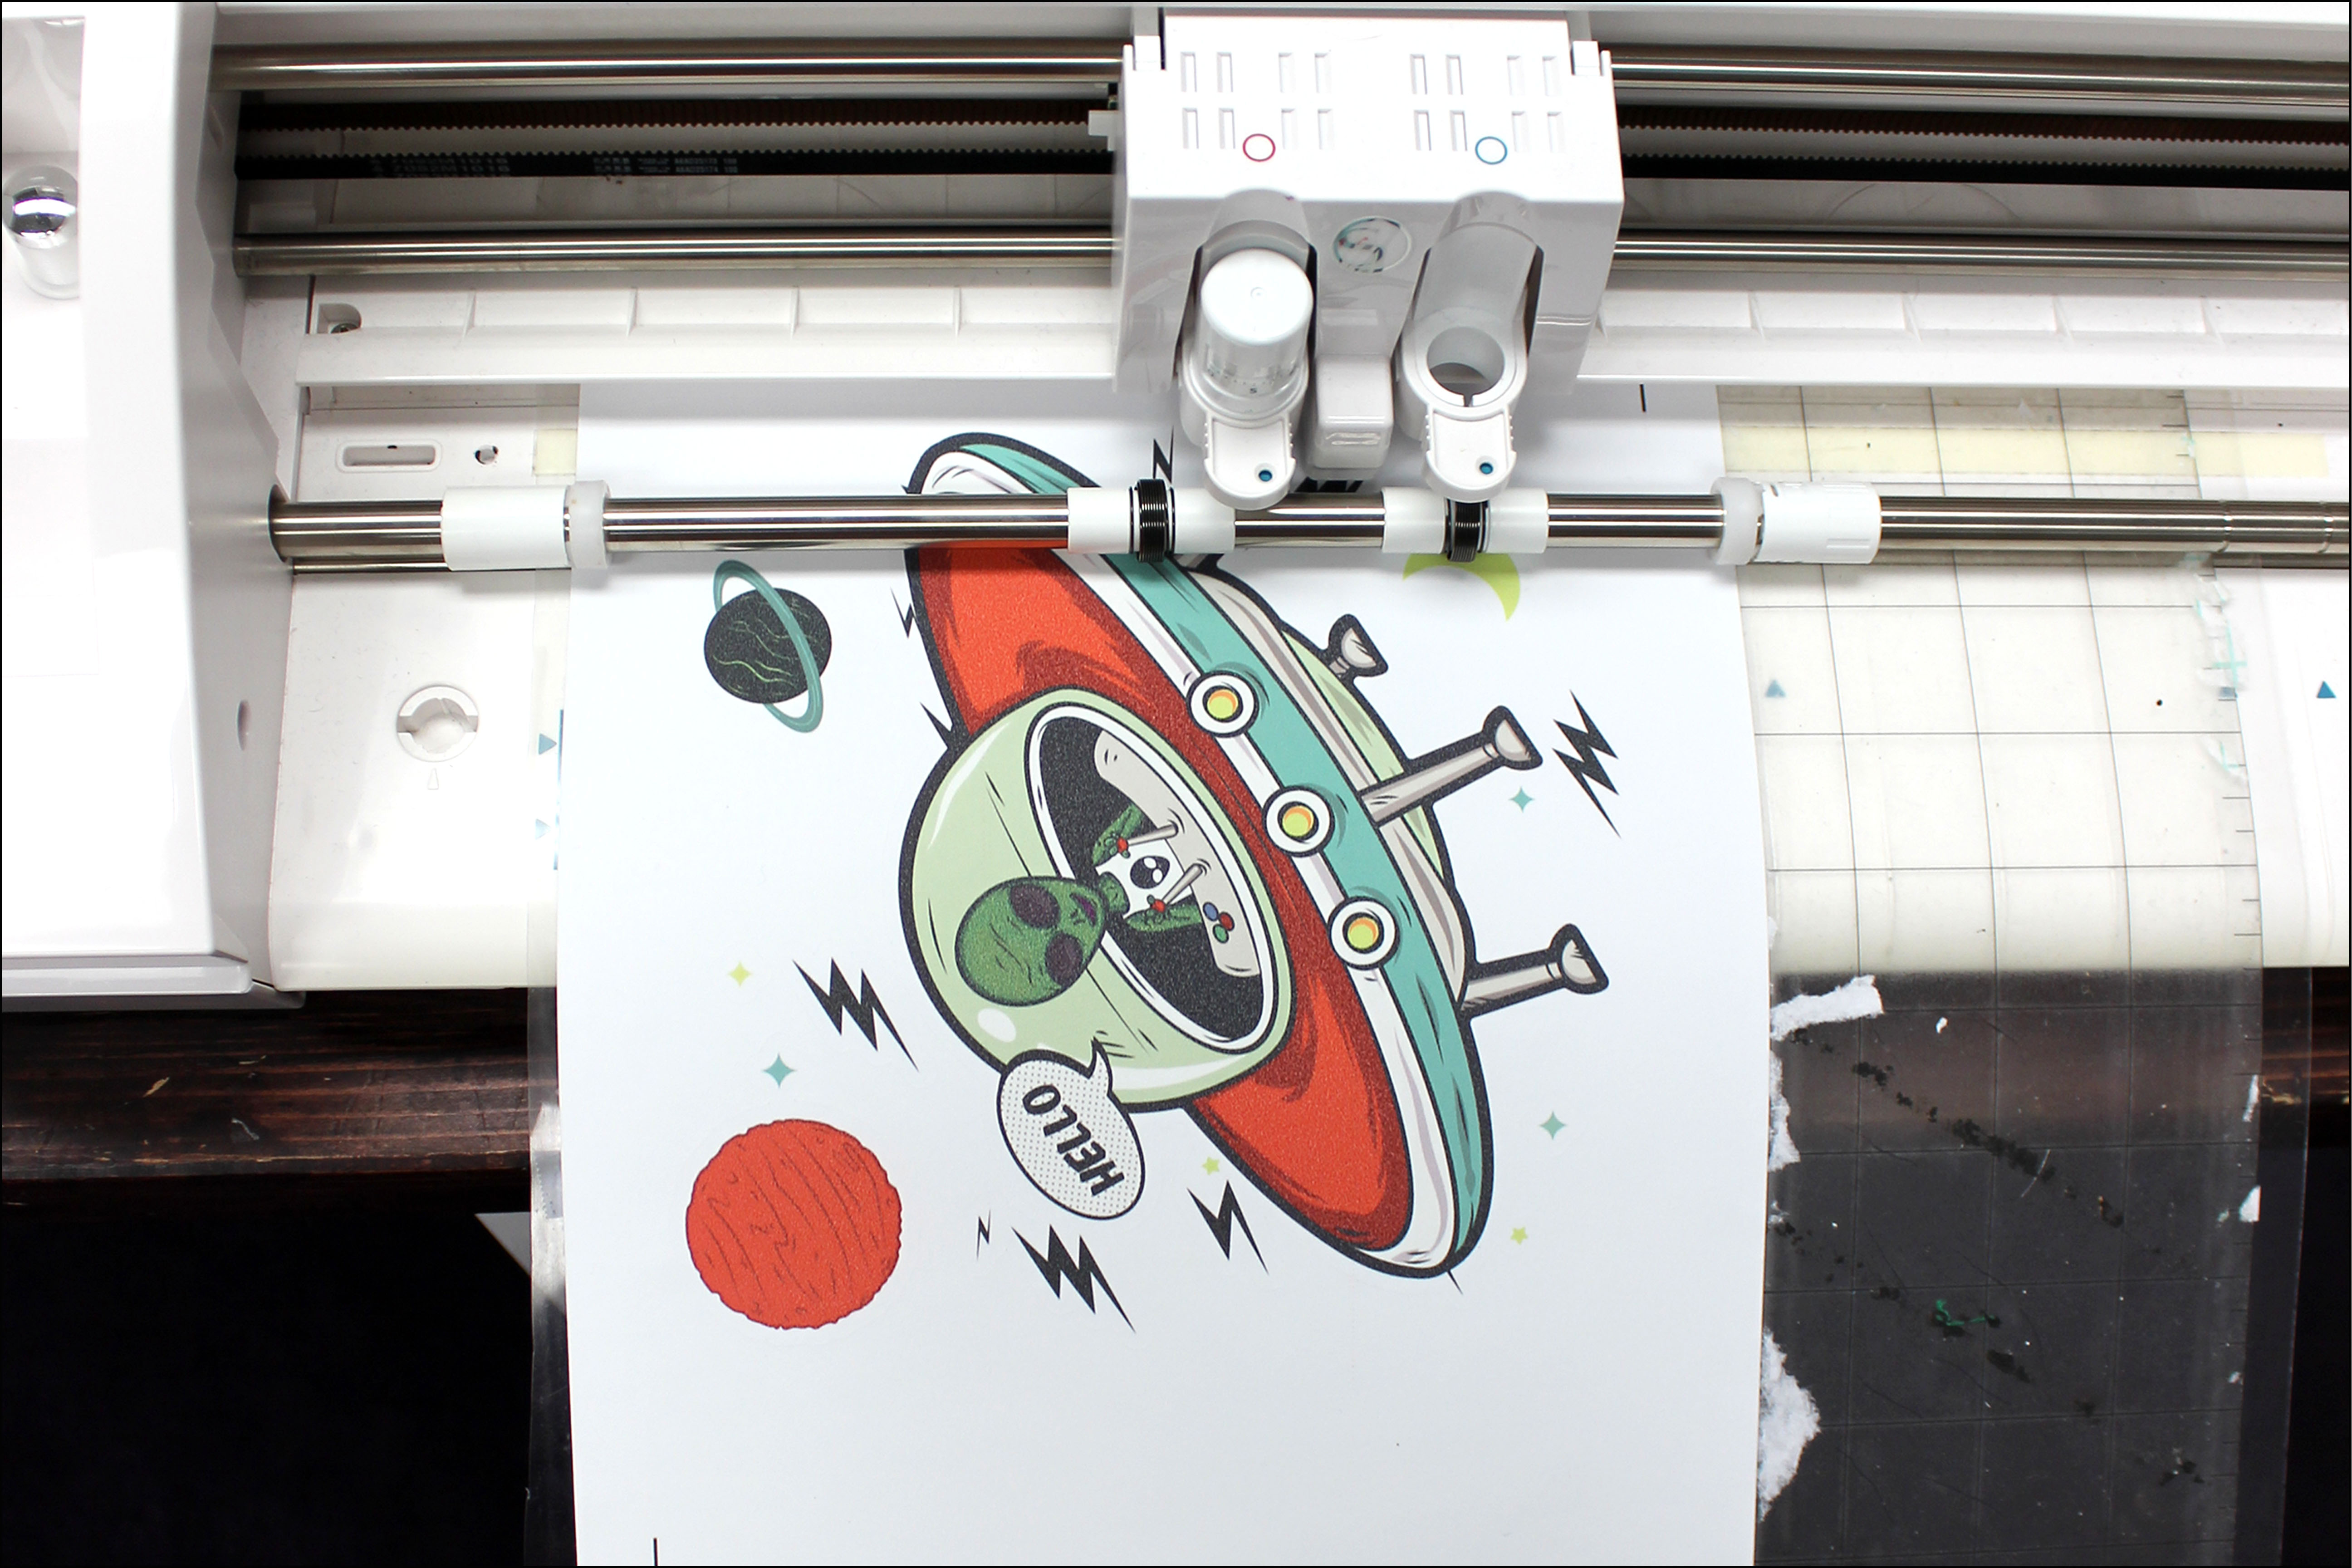
1. Load your vinyl into your printer shiny side face up.
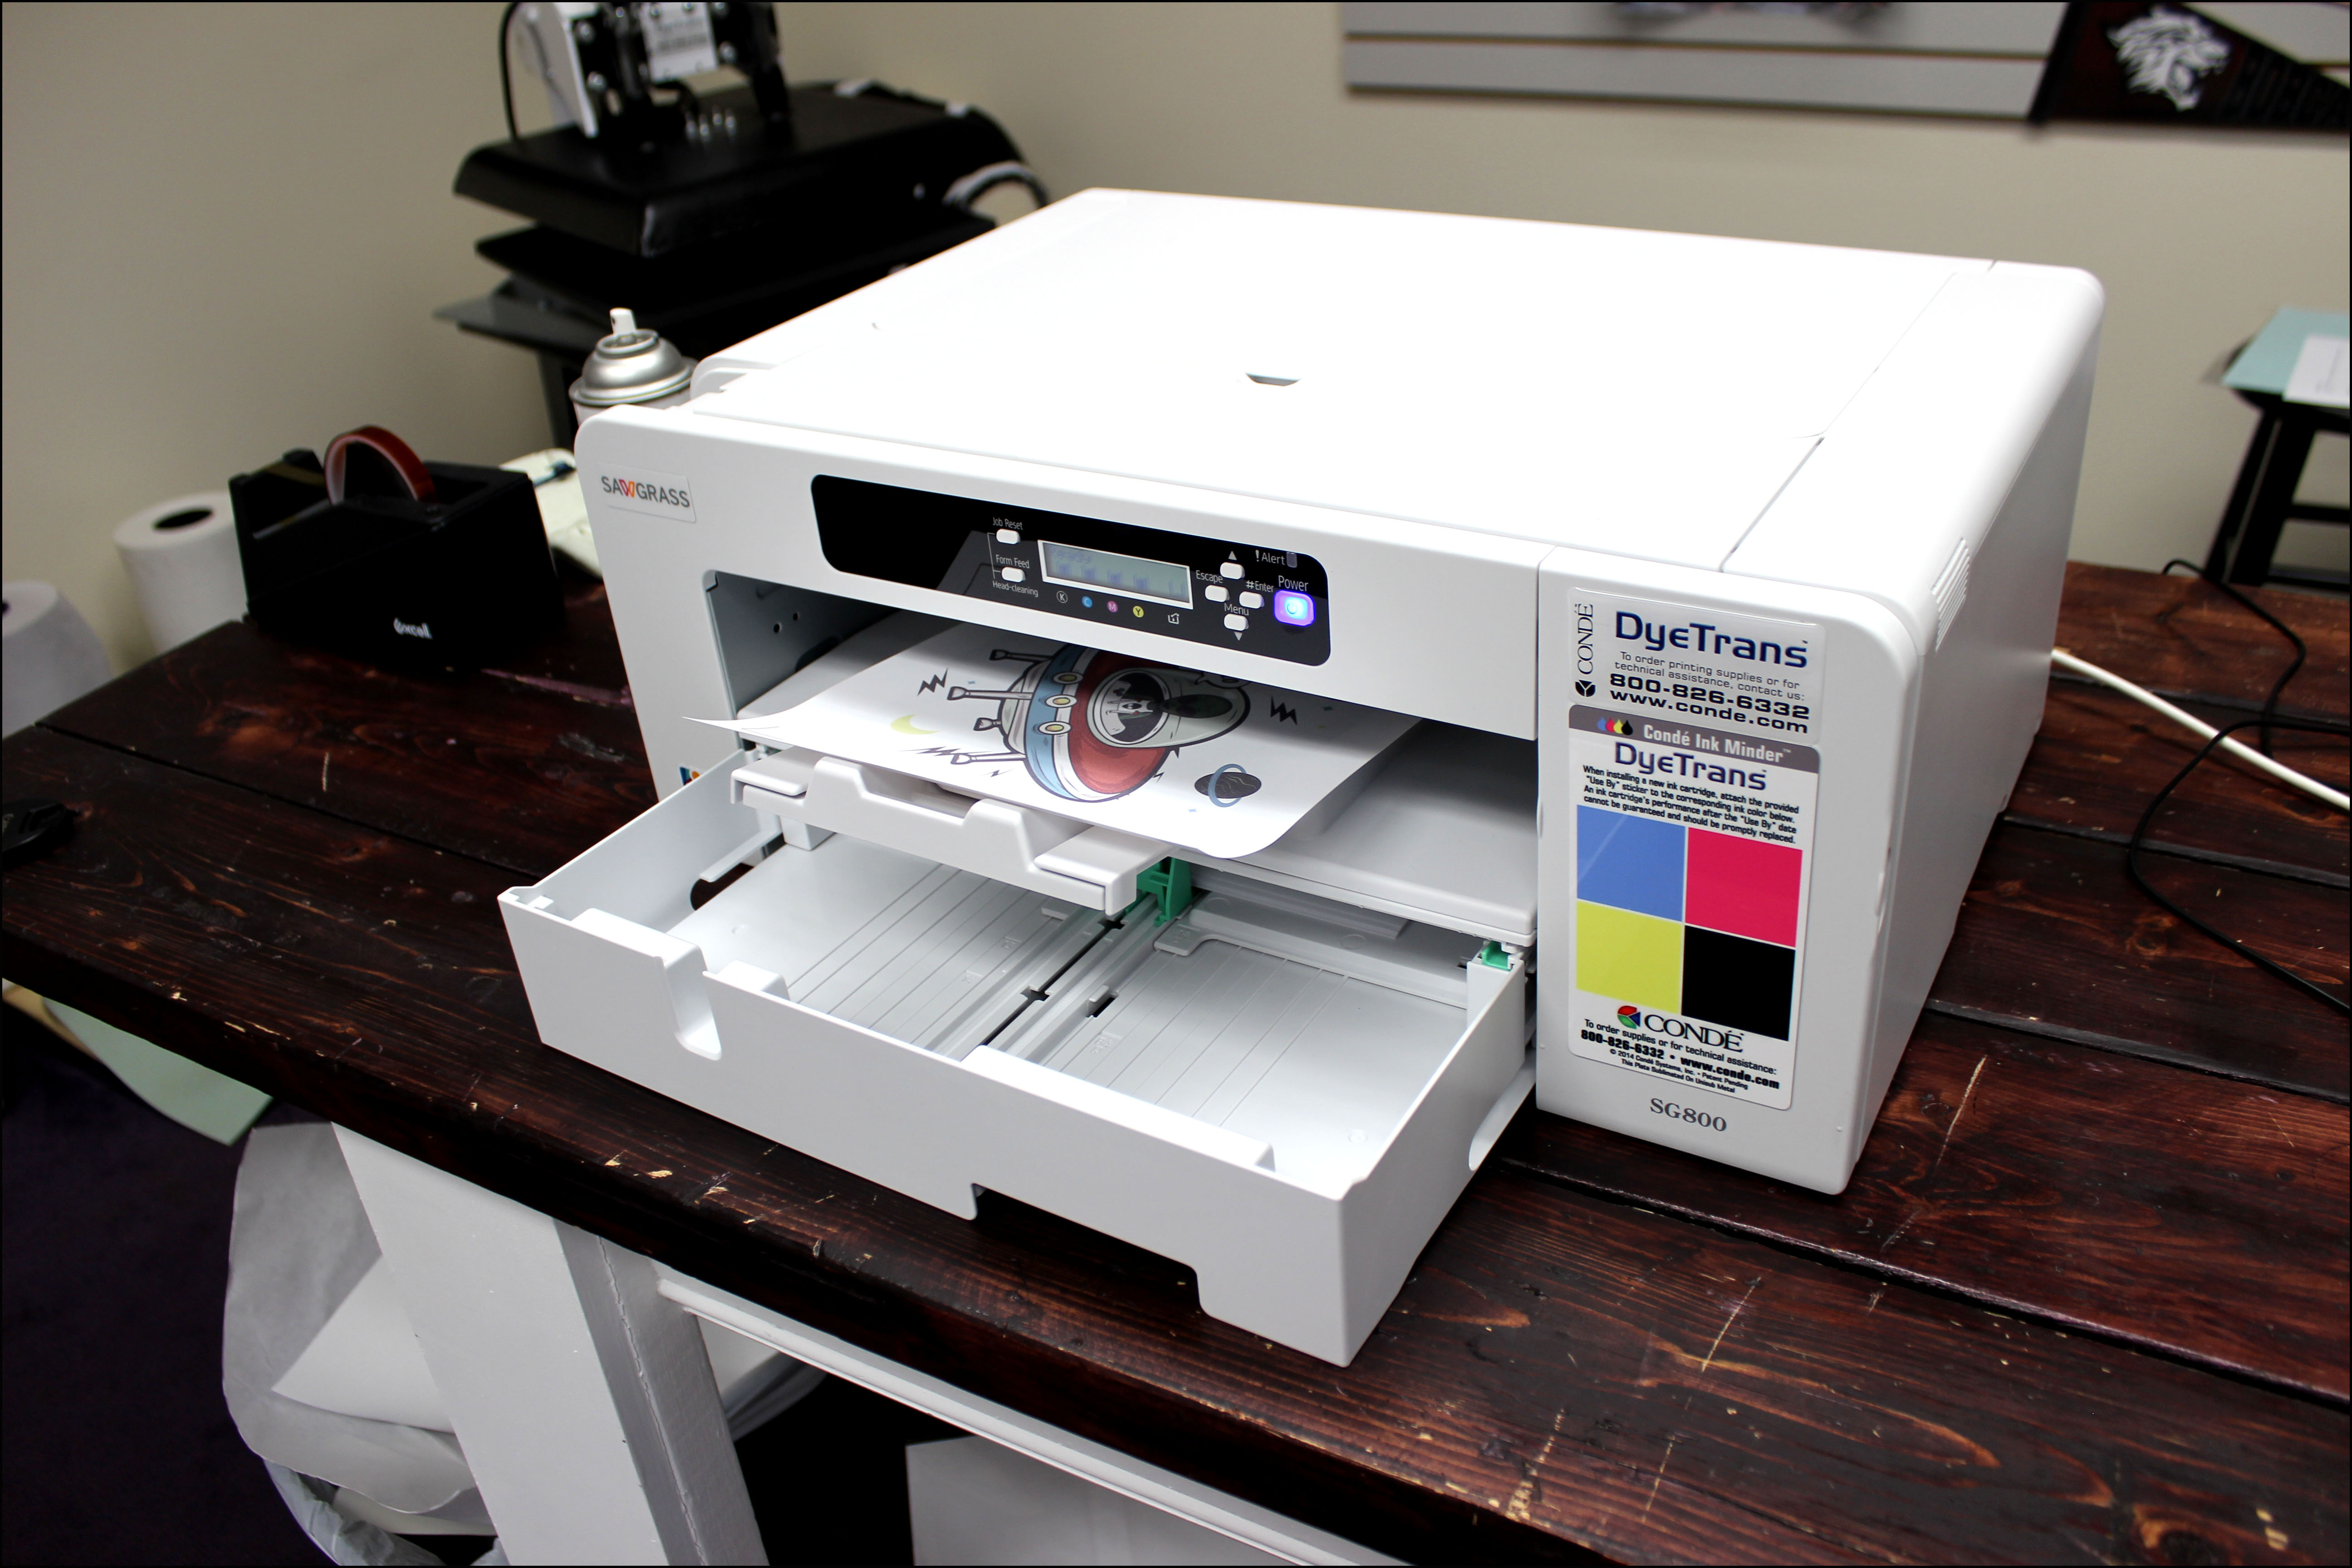
2. Using your graphics software, set up your registration marks and print your image un-mirrored onto your EasySubli™ vinyl.
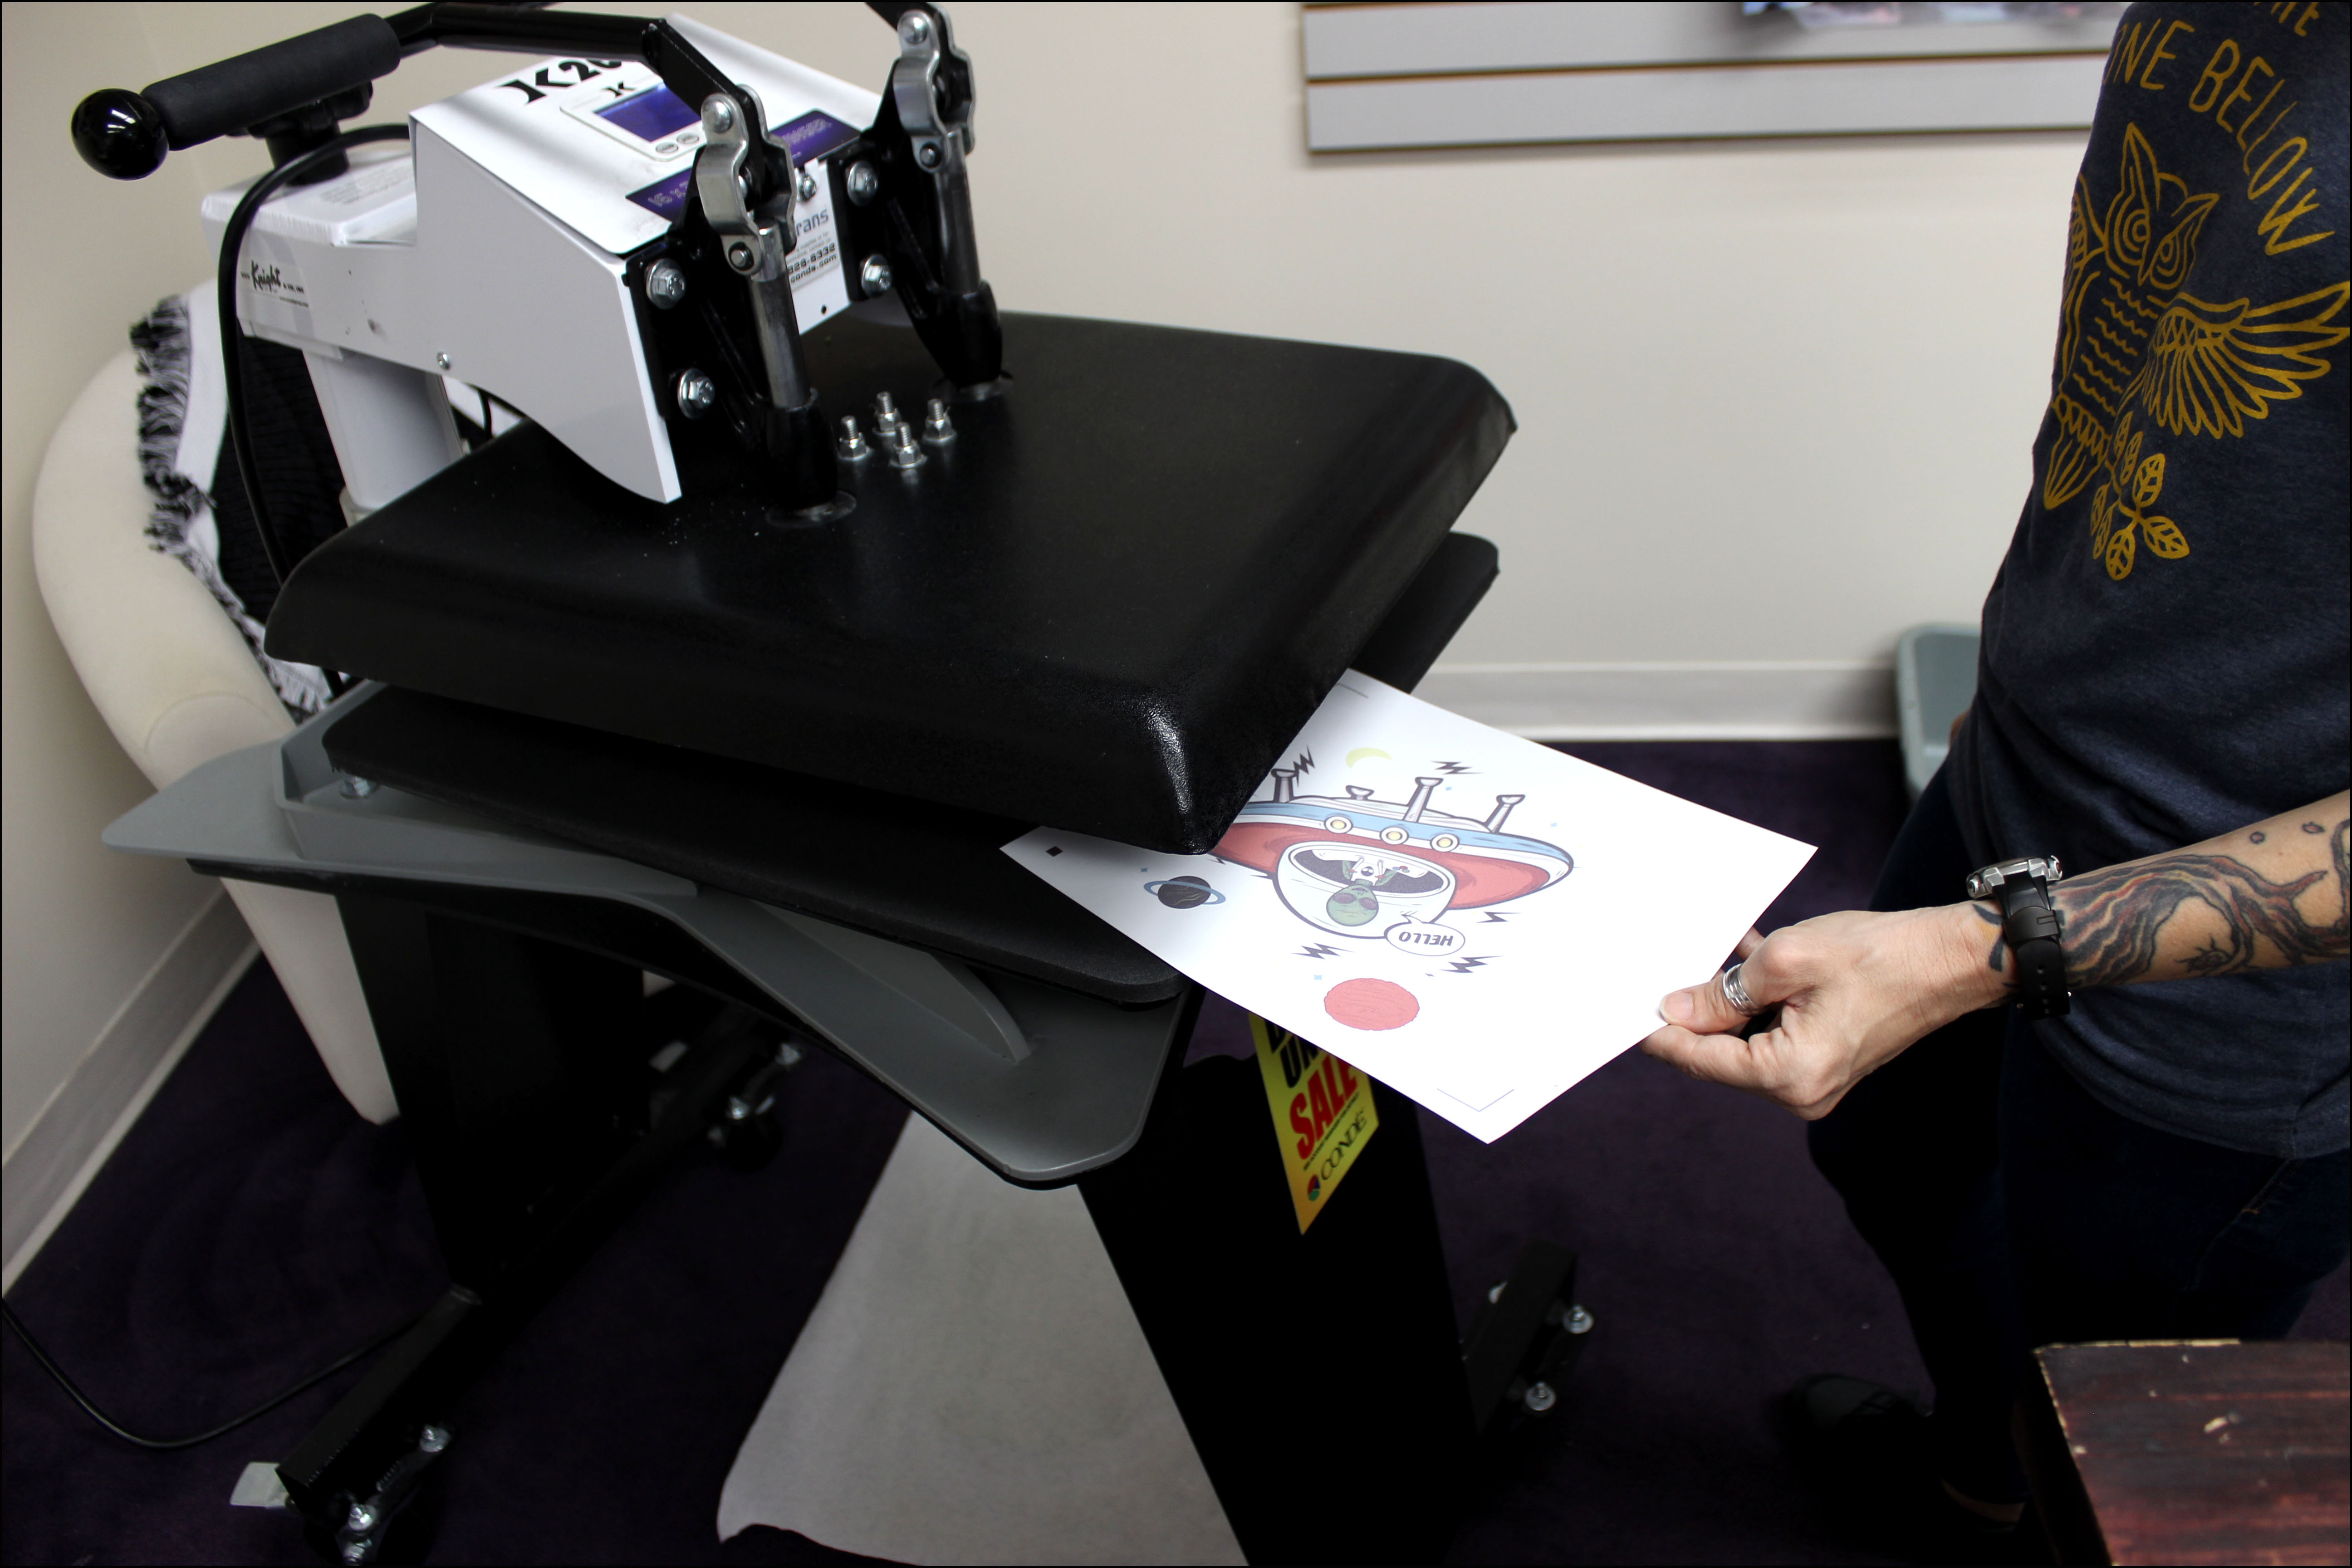
3. Place your printed vinyl (image face up) under a hot, open heat press for at least 60 seconds. This will allow the ink to dry to prevent smearing.
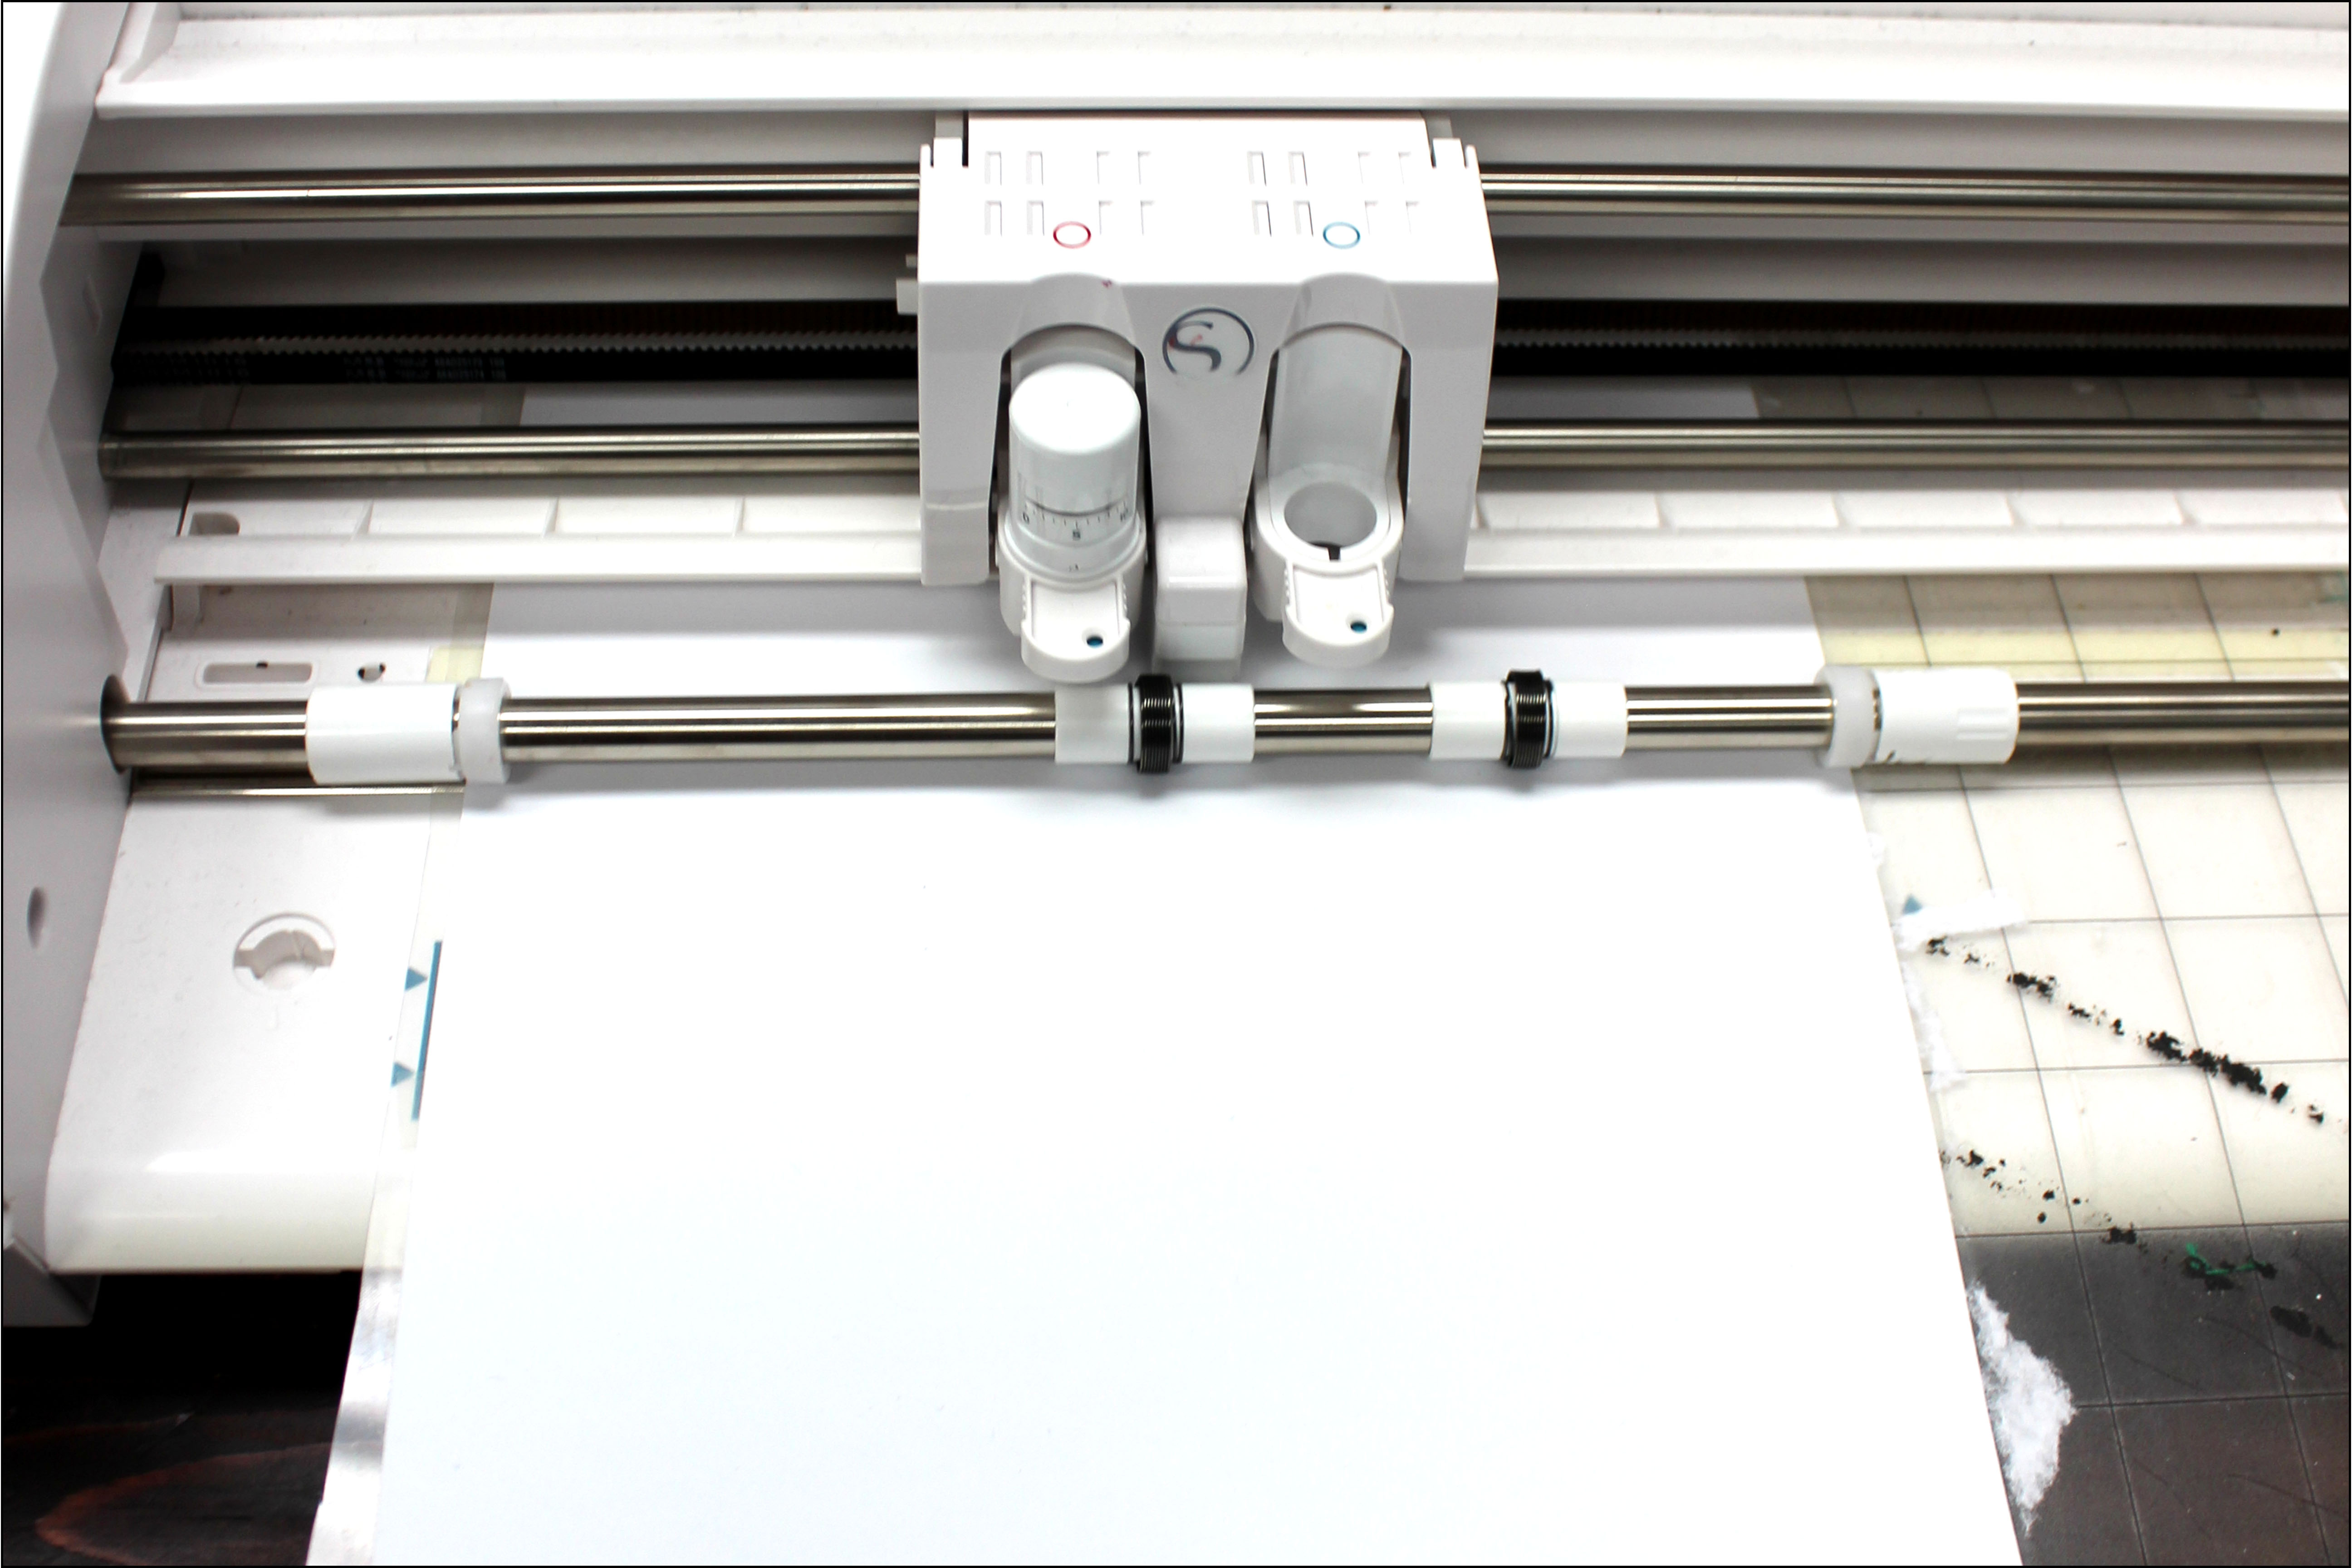
4. Load your printed vinyl into your cutter and cut based on your cutter’s settings.
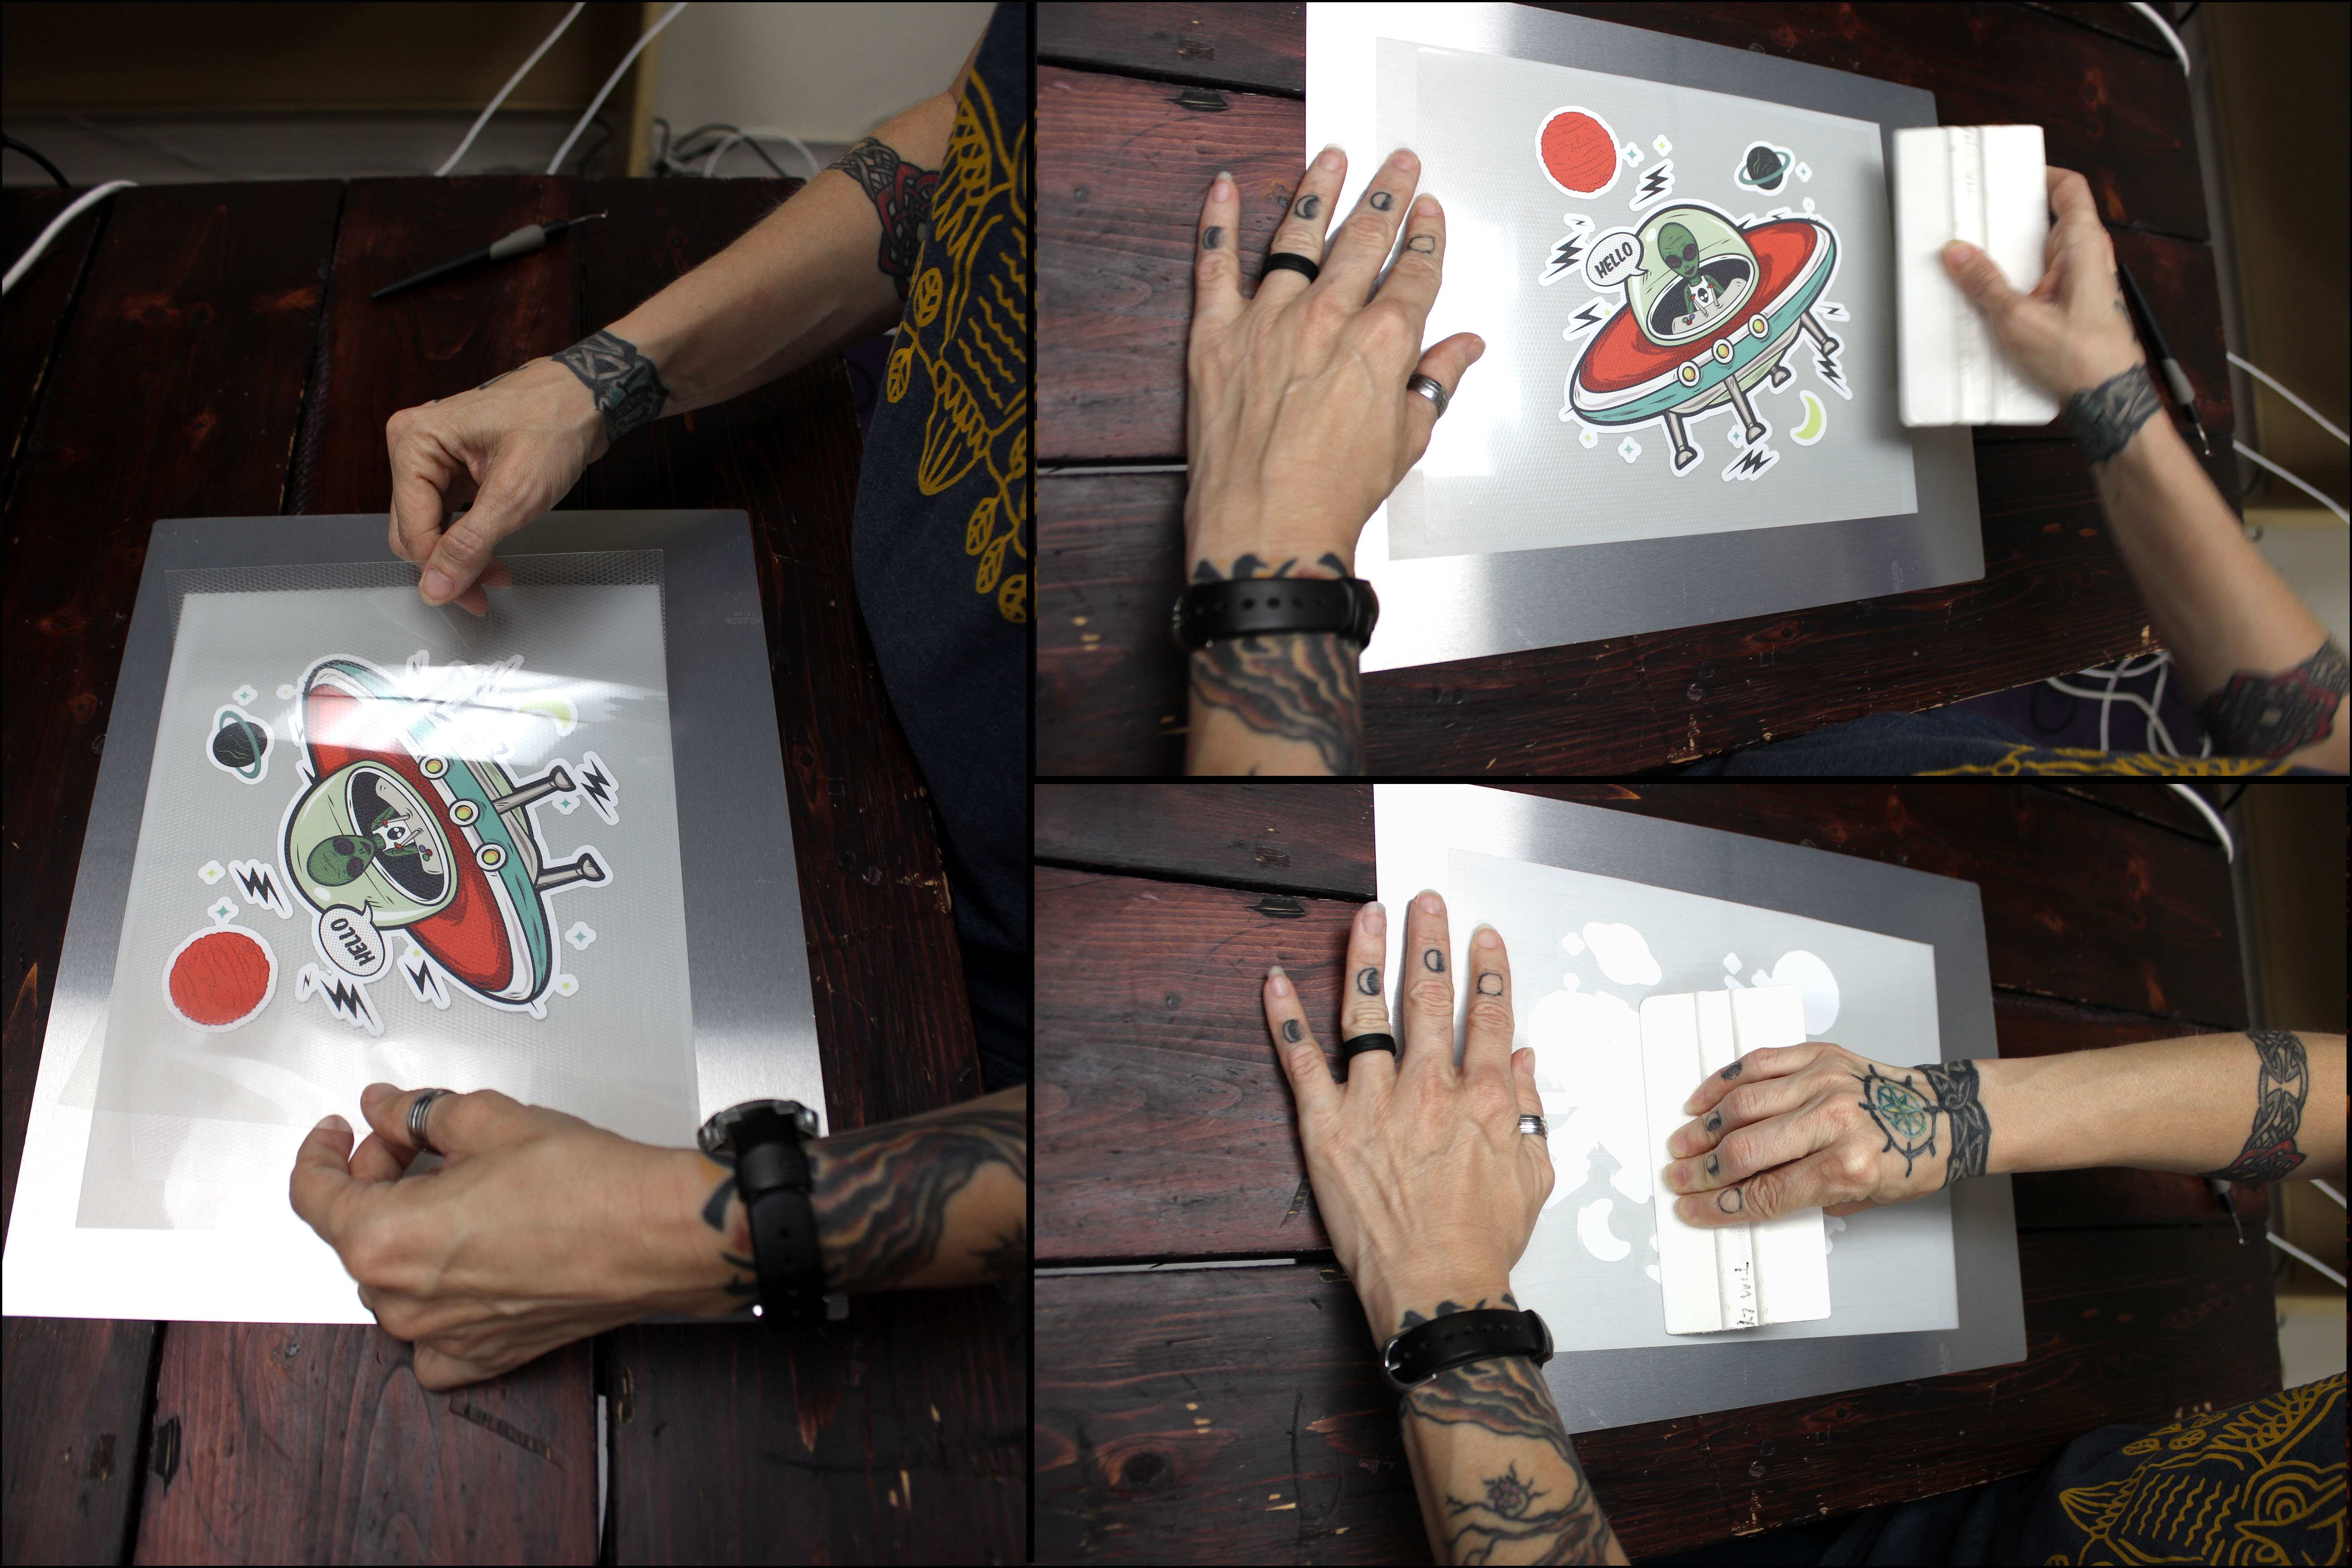
5. Weed out the excess vinyl from your image.
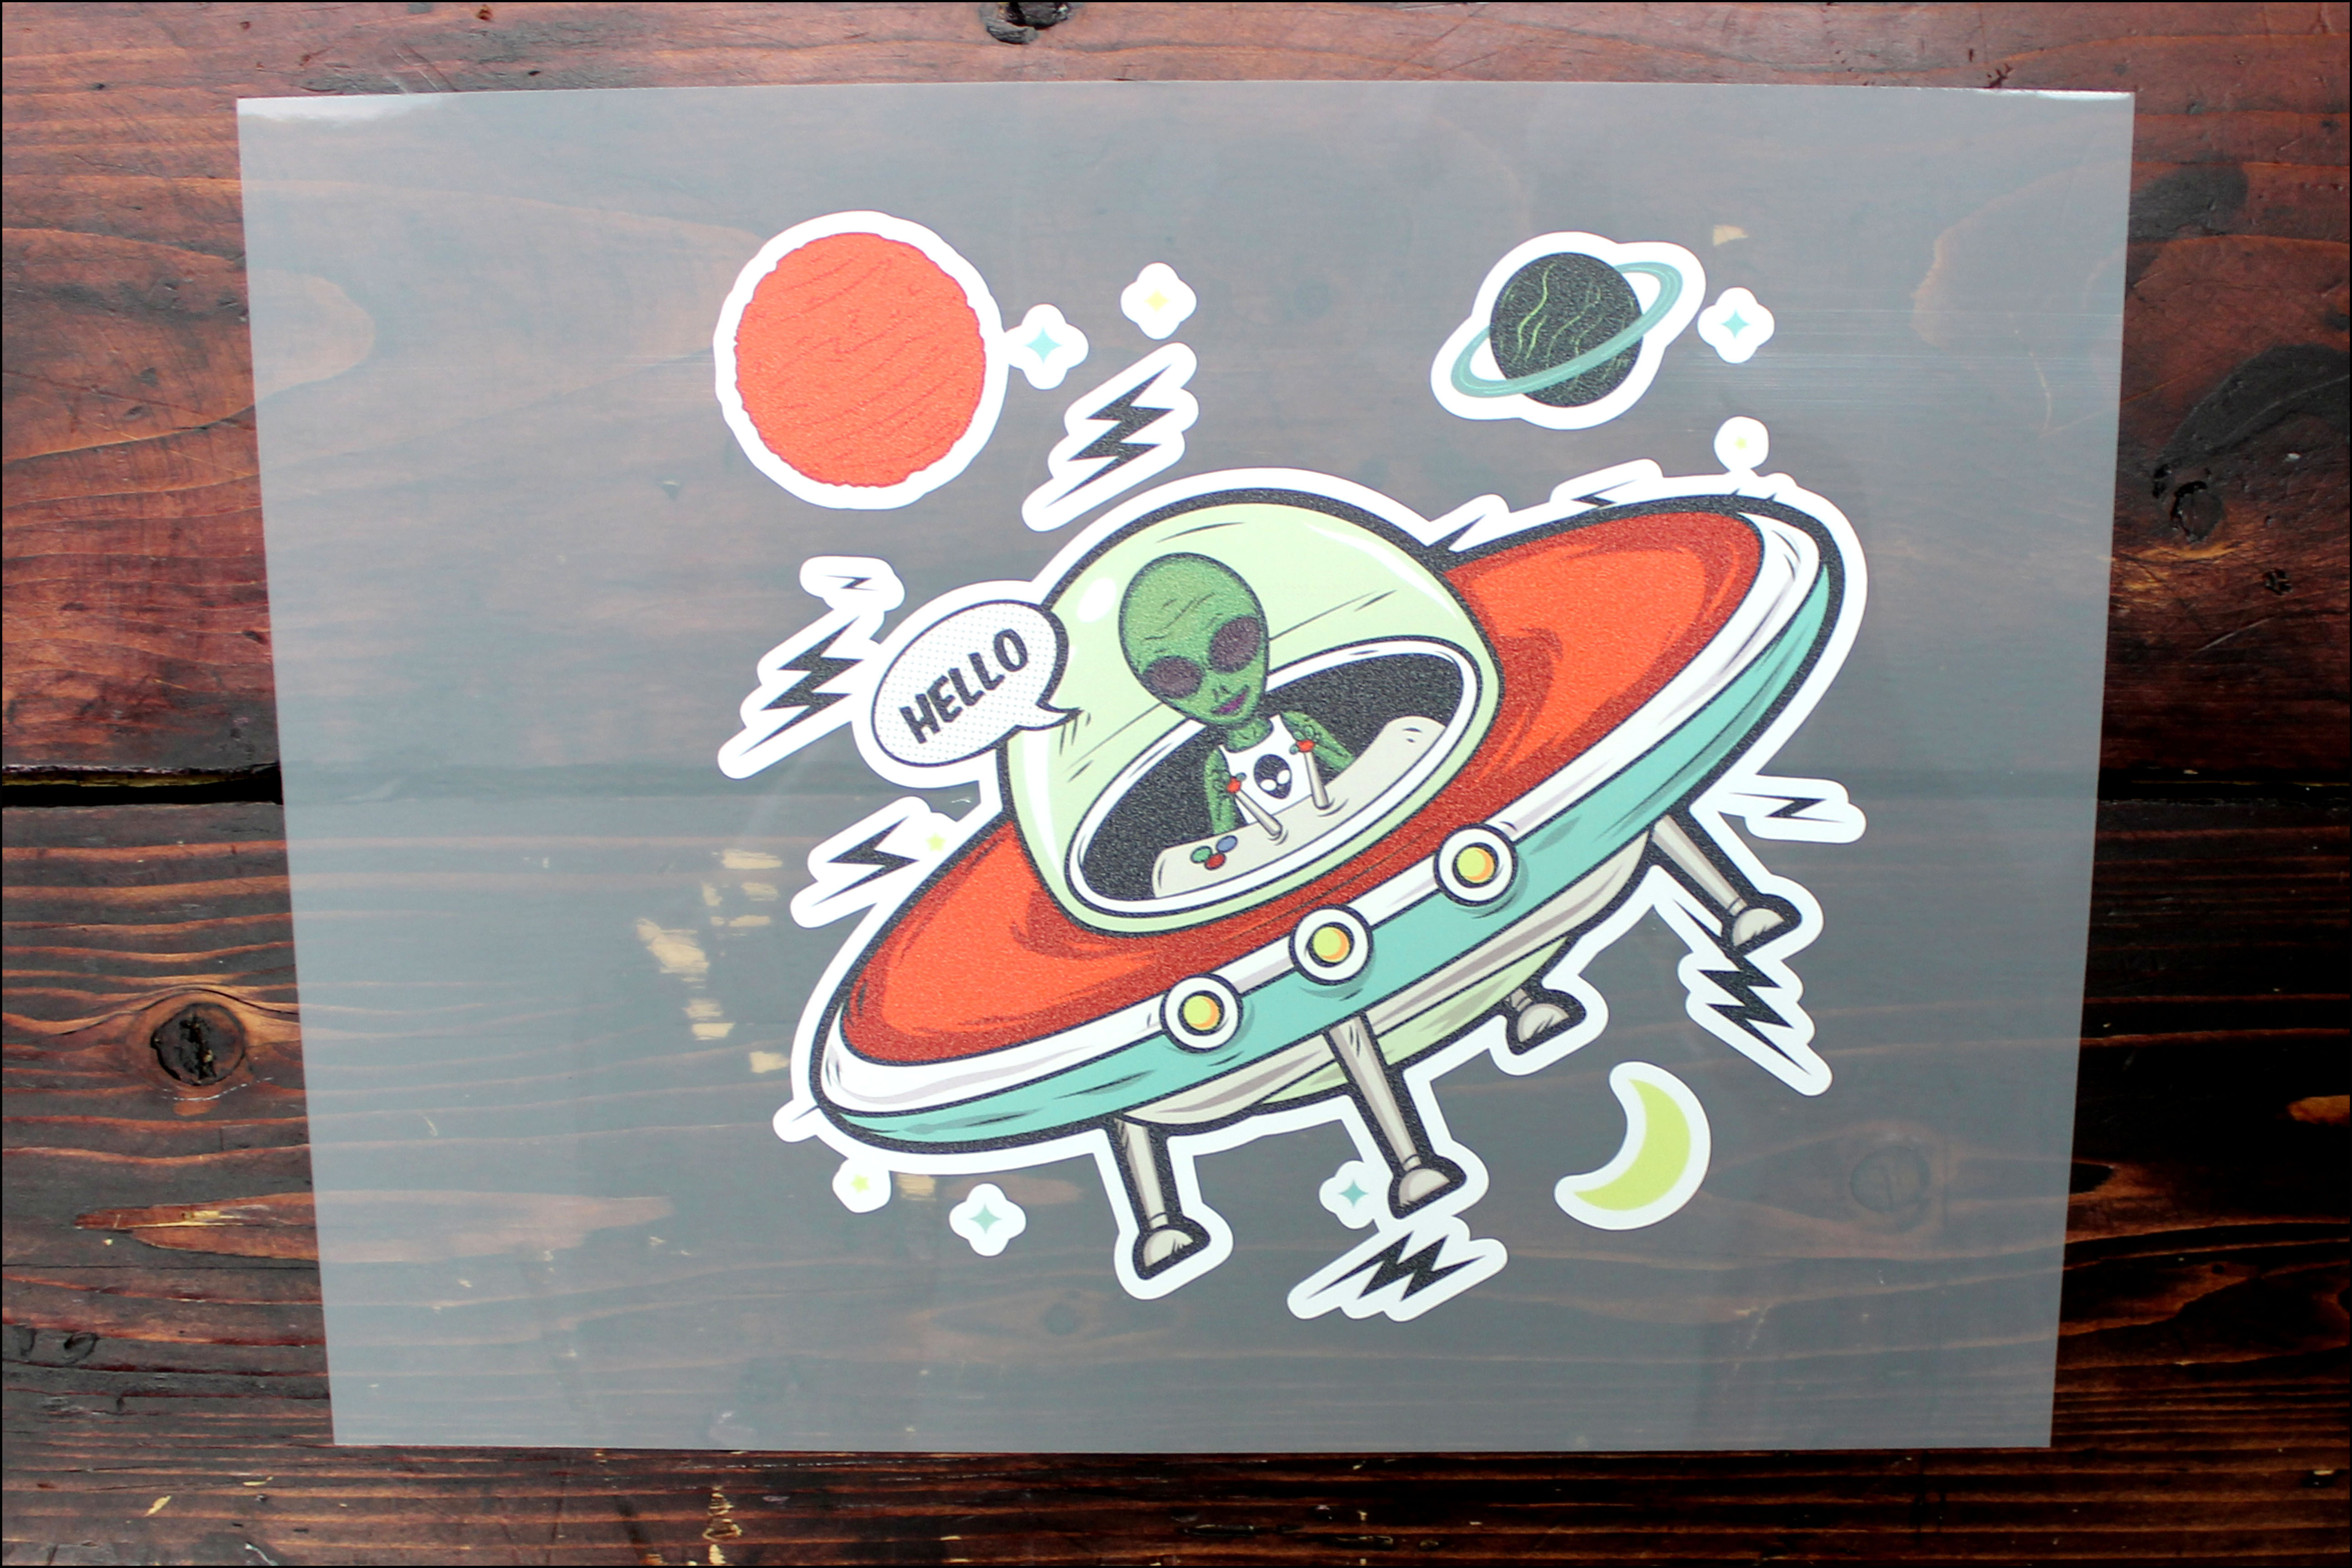
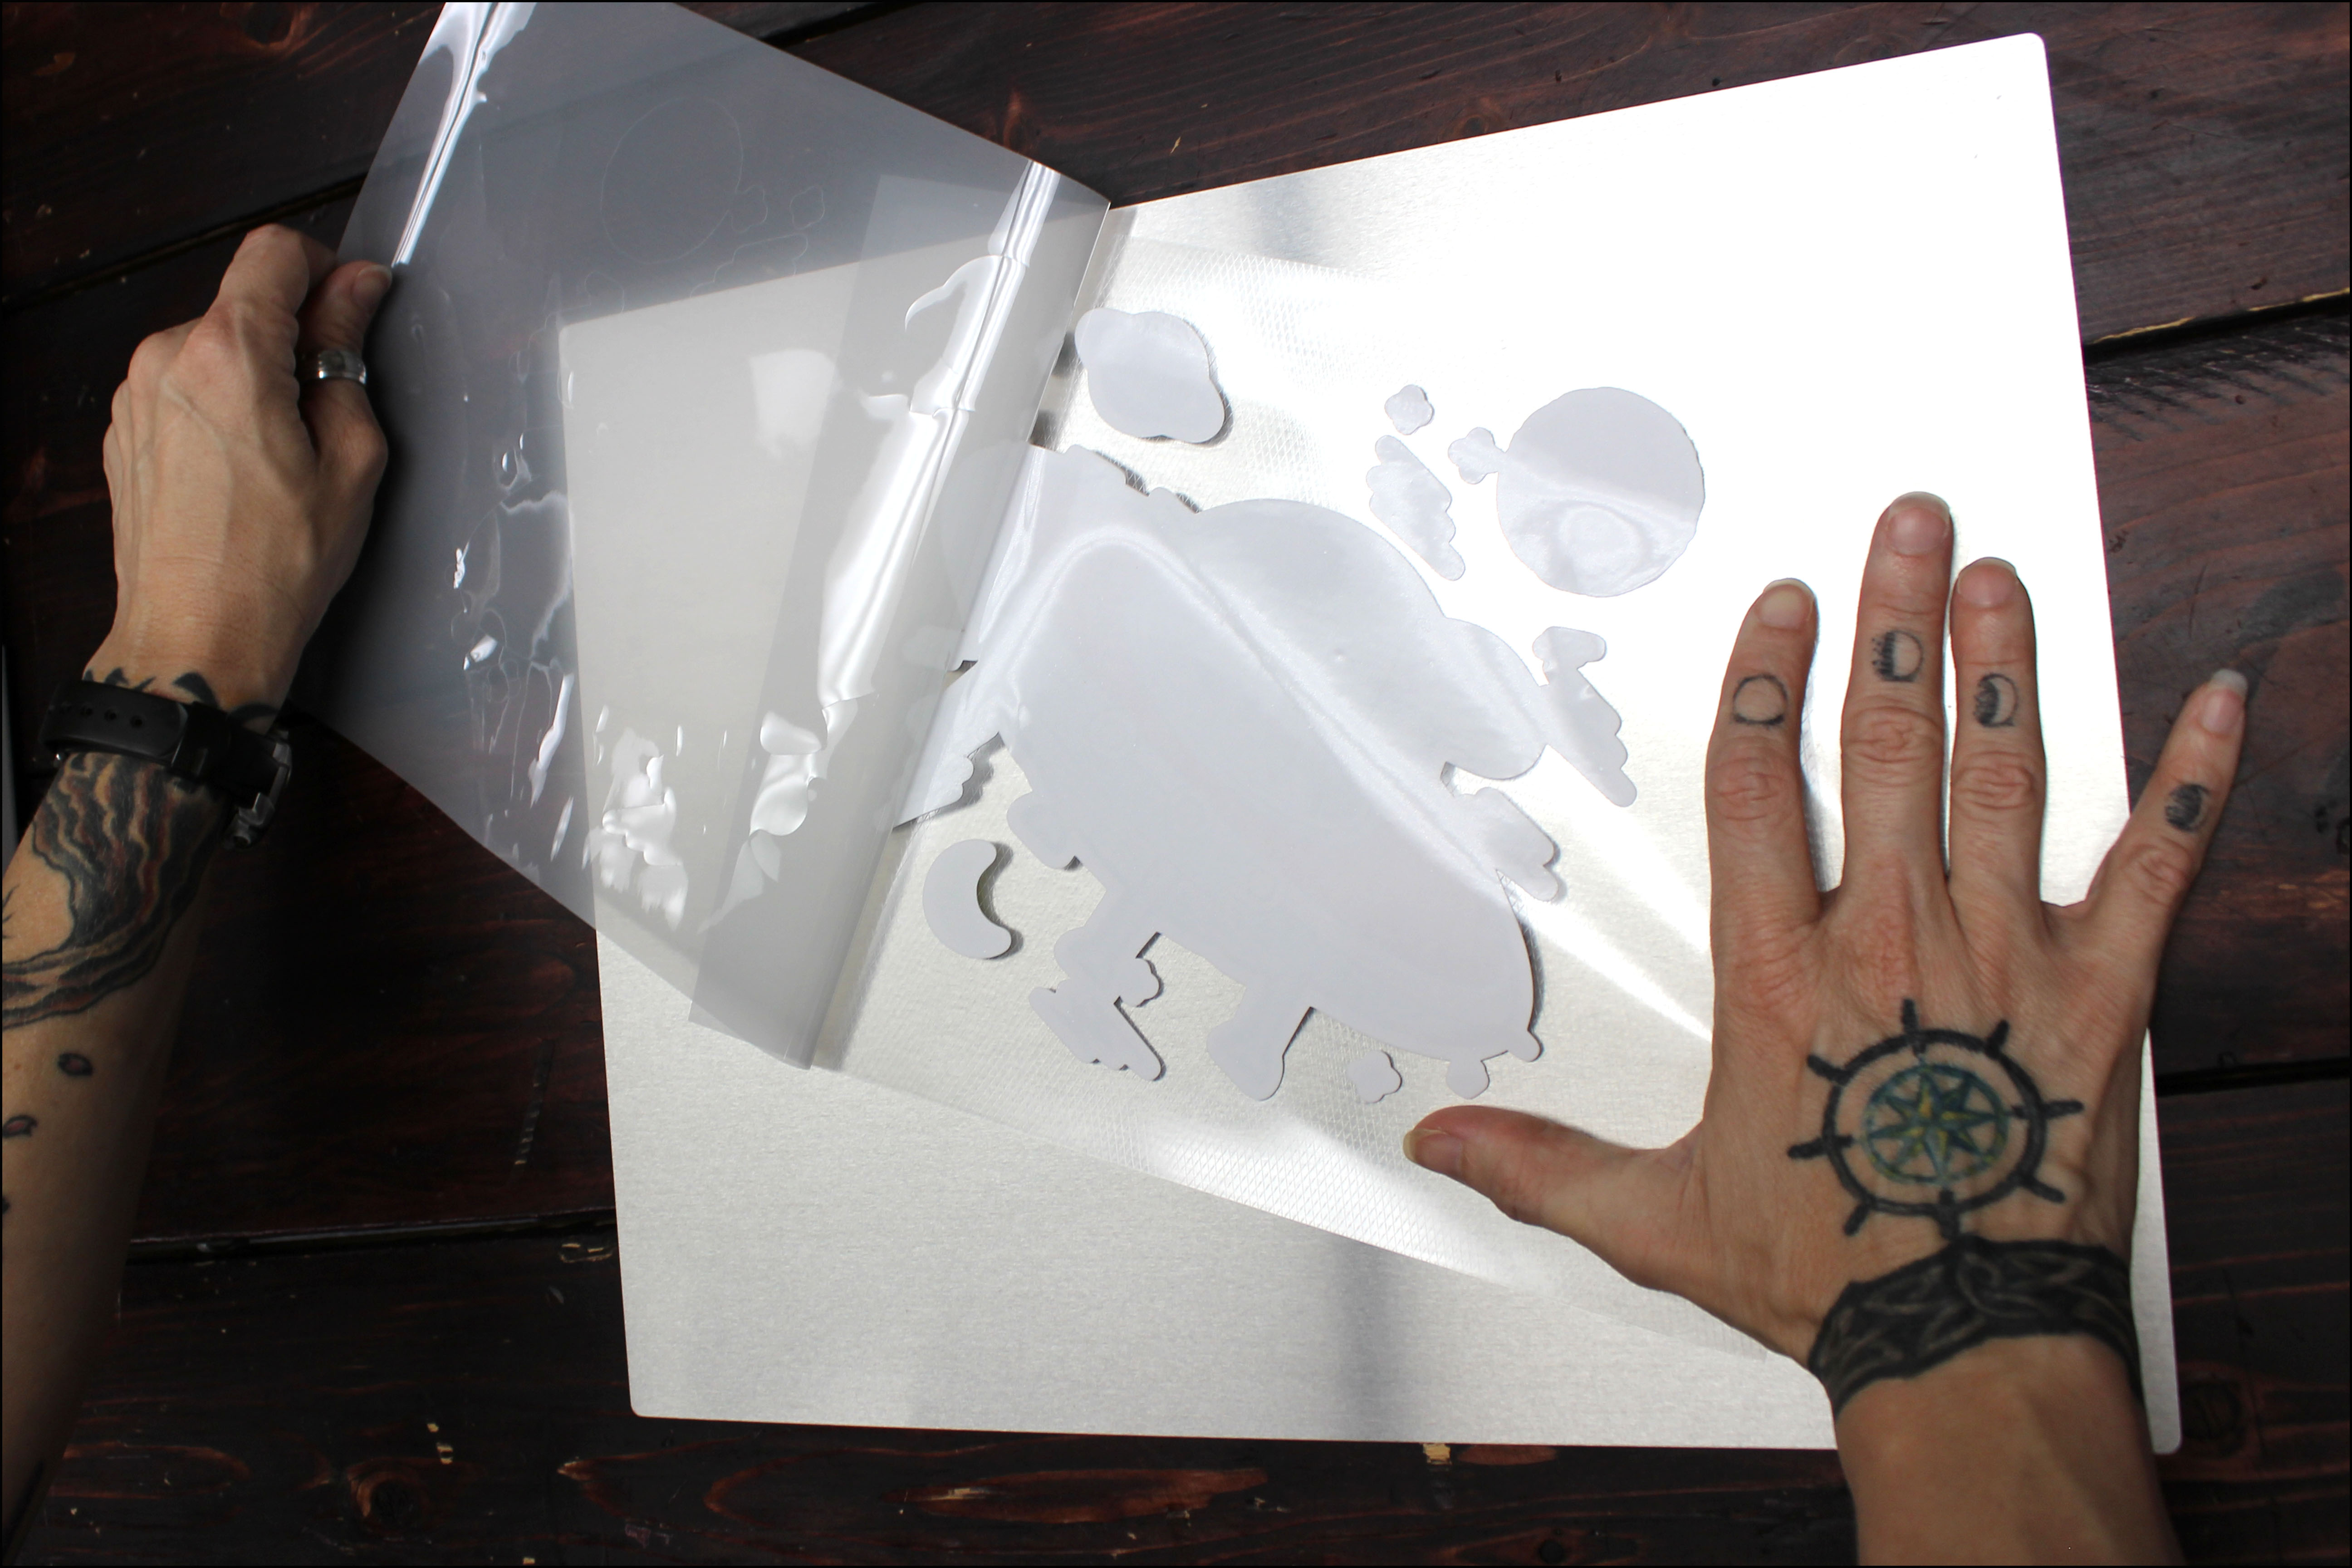
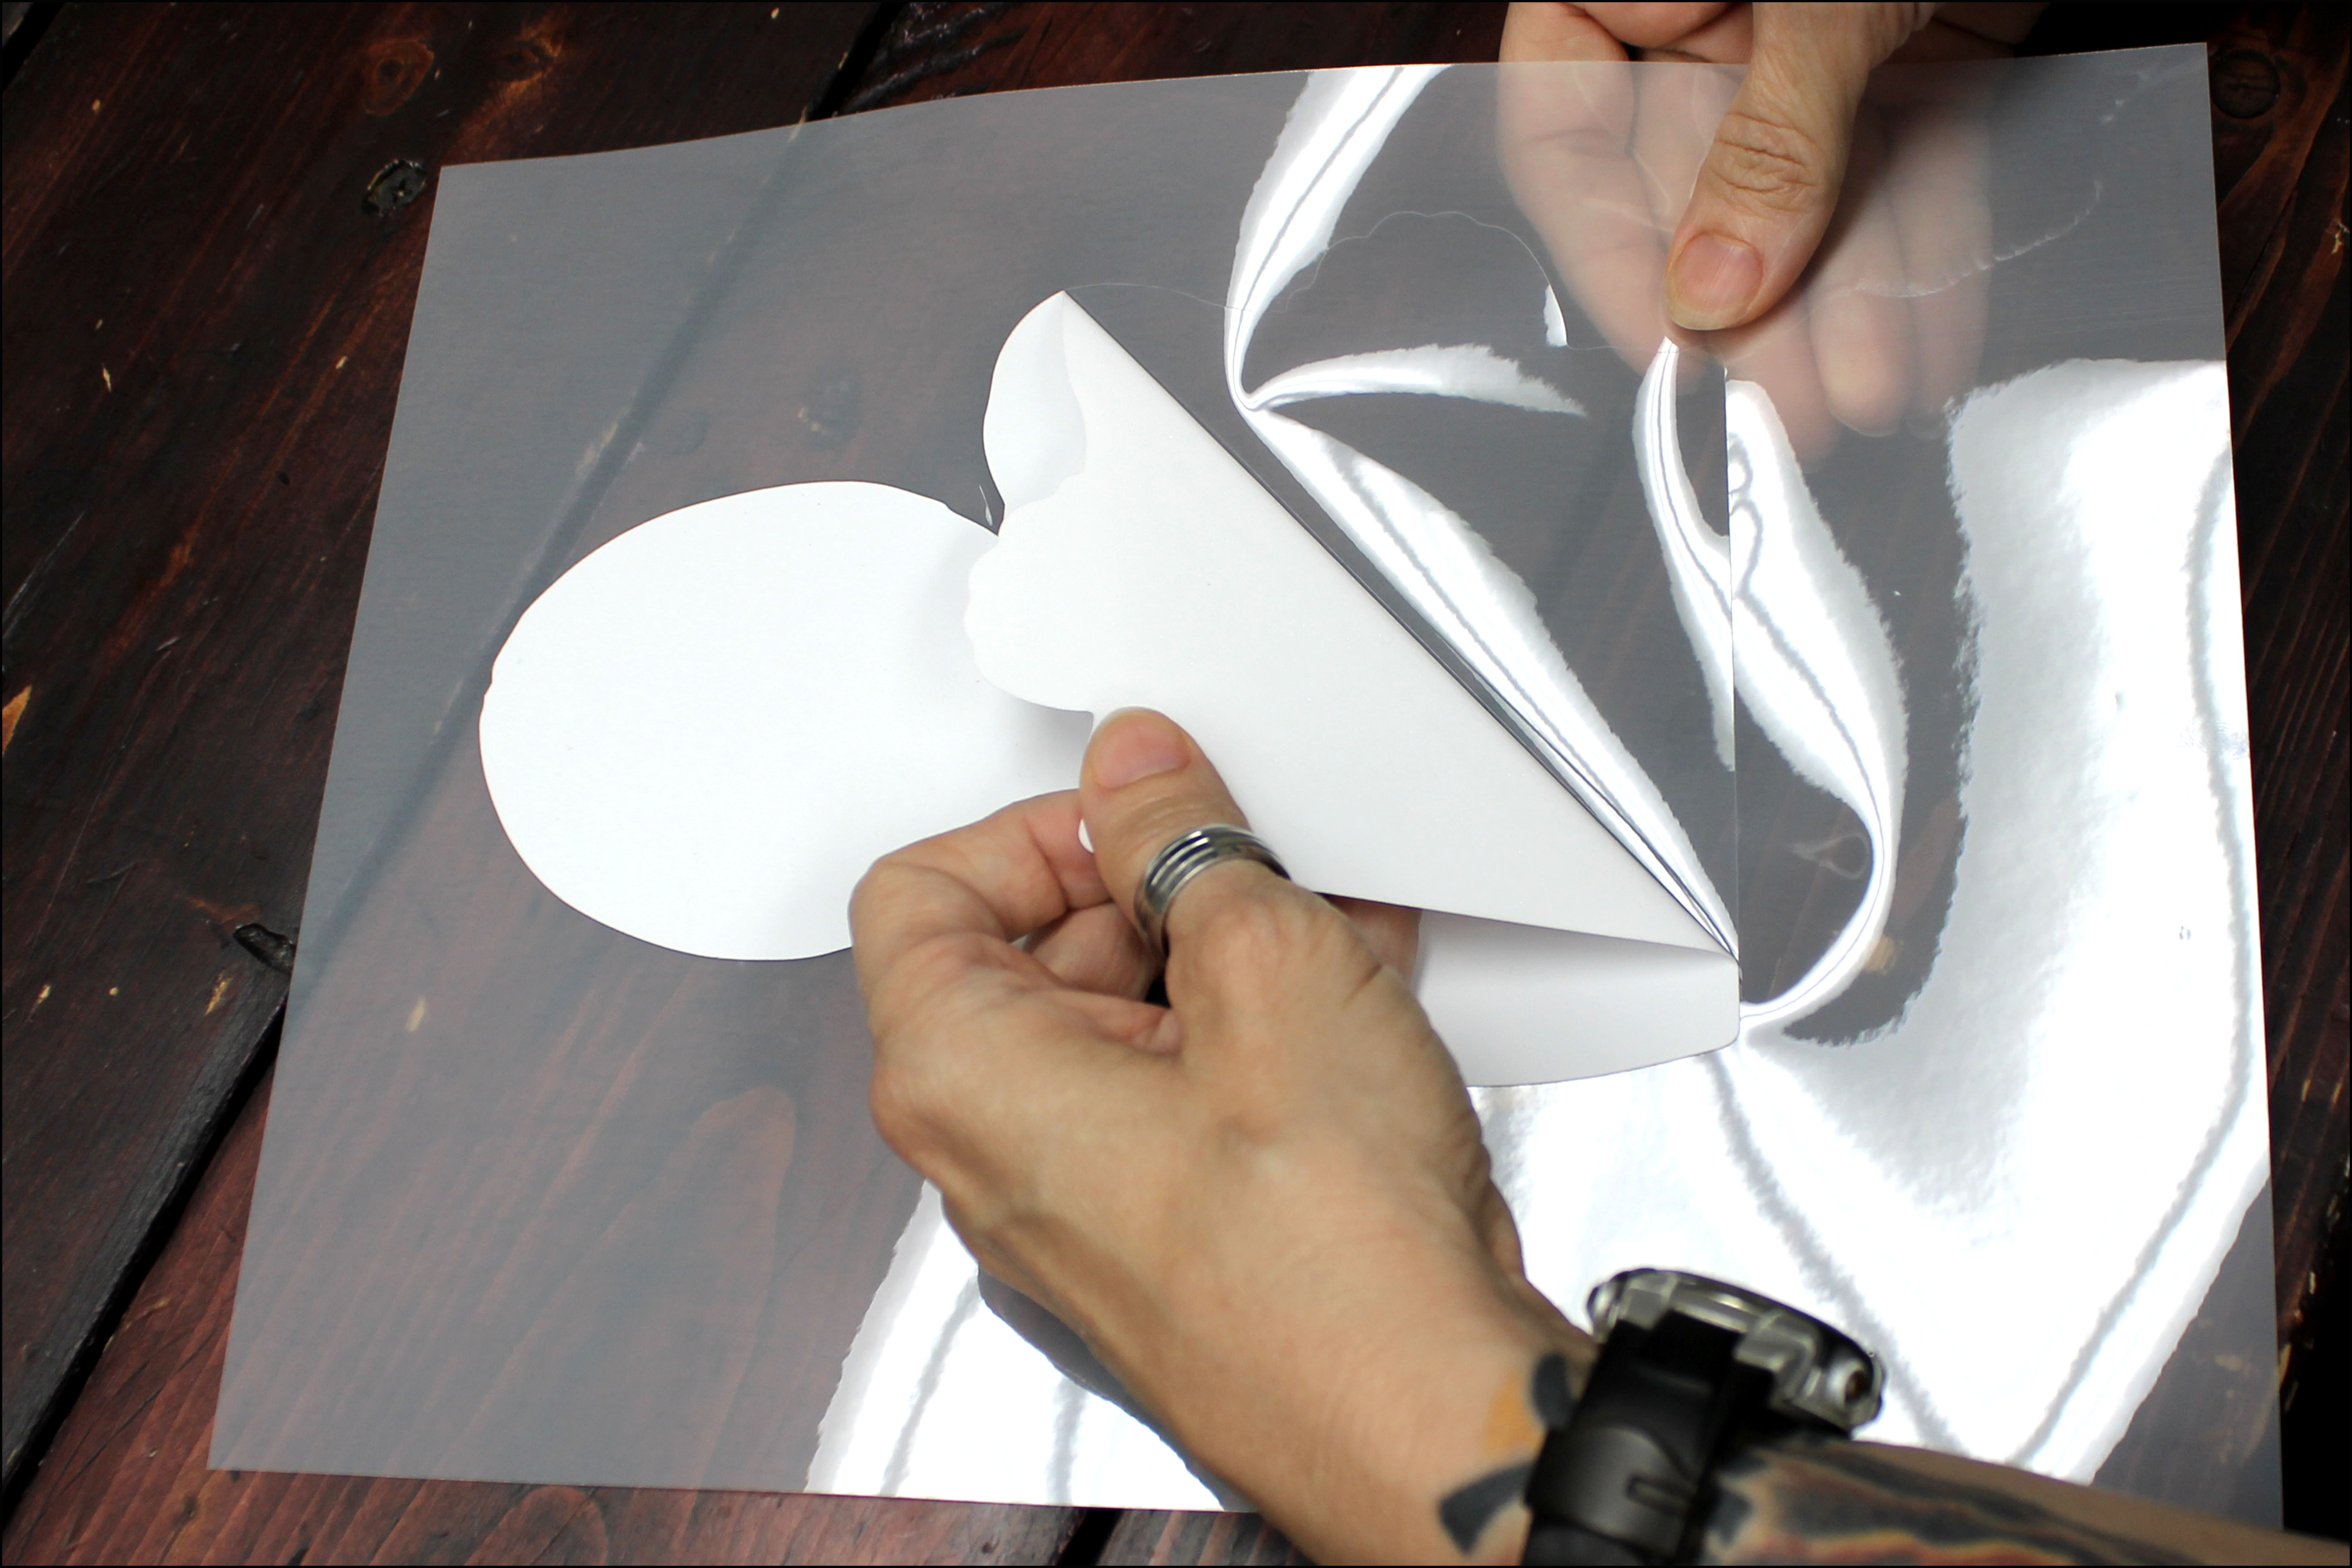
6. If necessary, mask your image by removing it from the backing sheet to ready it for application. (Masking is not always necessary if your design is in one piece that can be easily lifted from the backing sheet.)
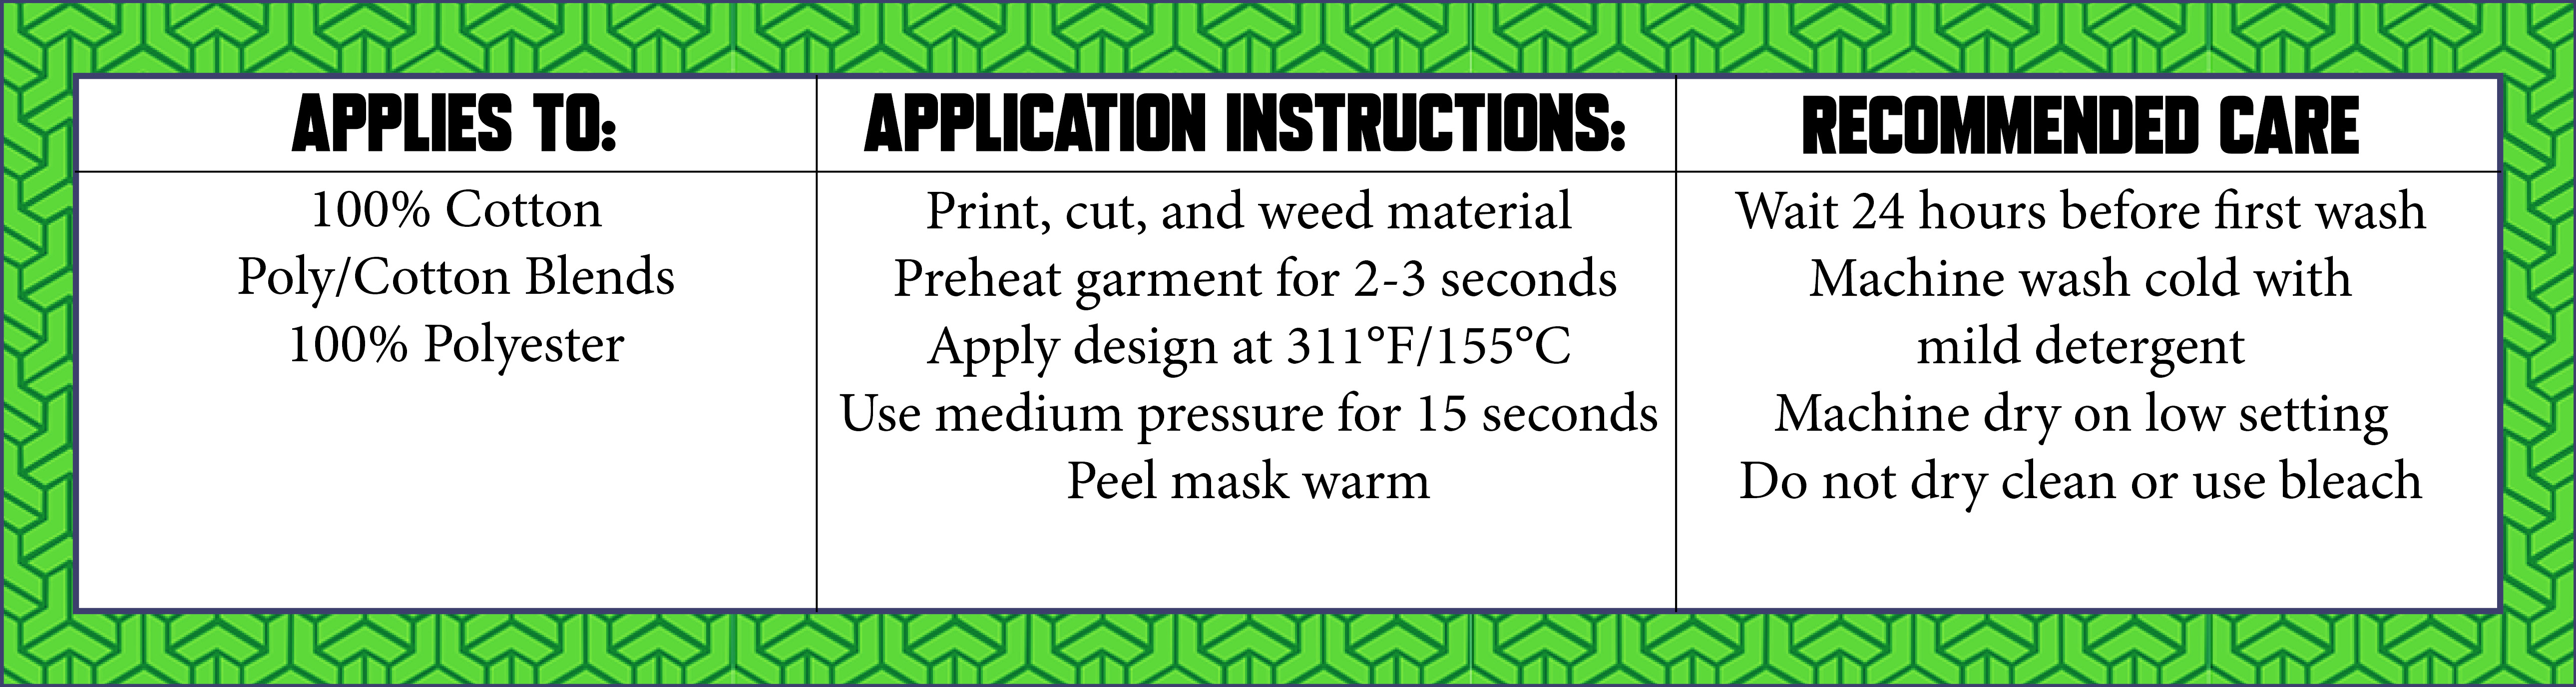
7. Prepress your garment, covered with protective paper, for 5 to 10 seconds to preshrink and release any excess moisture.
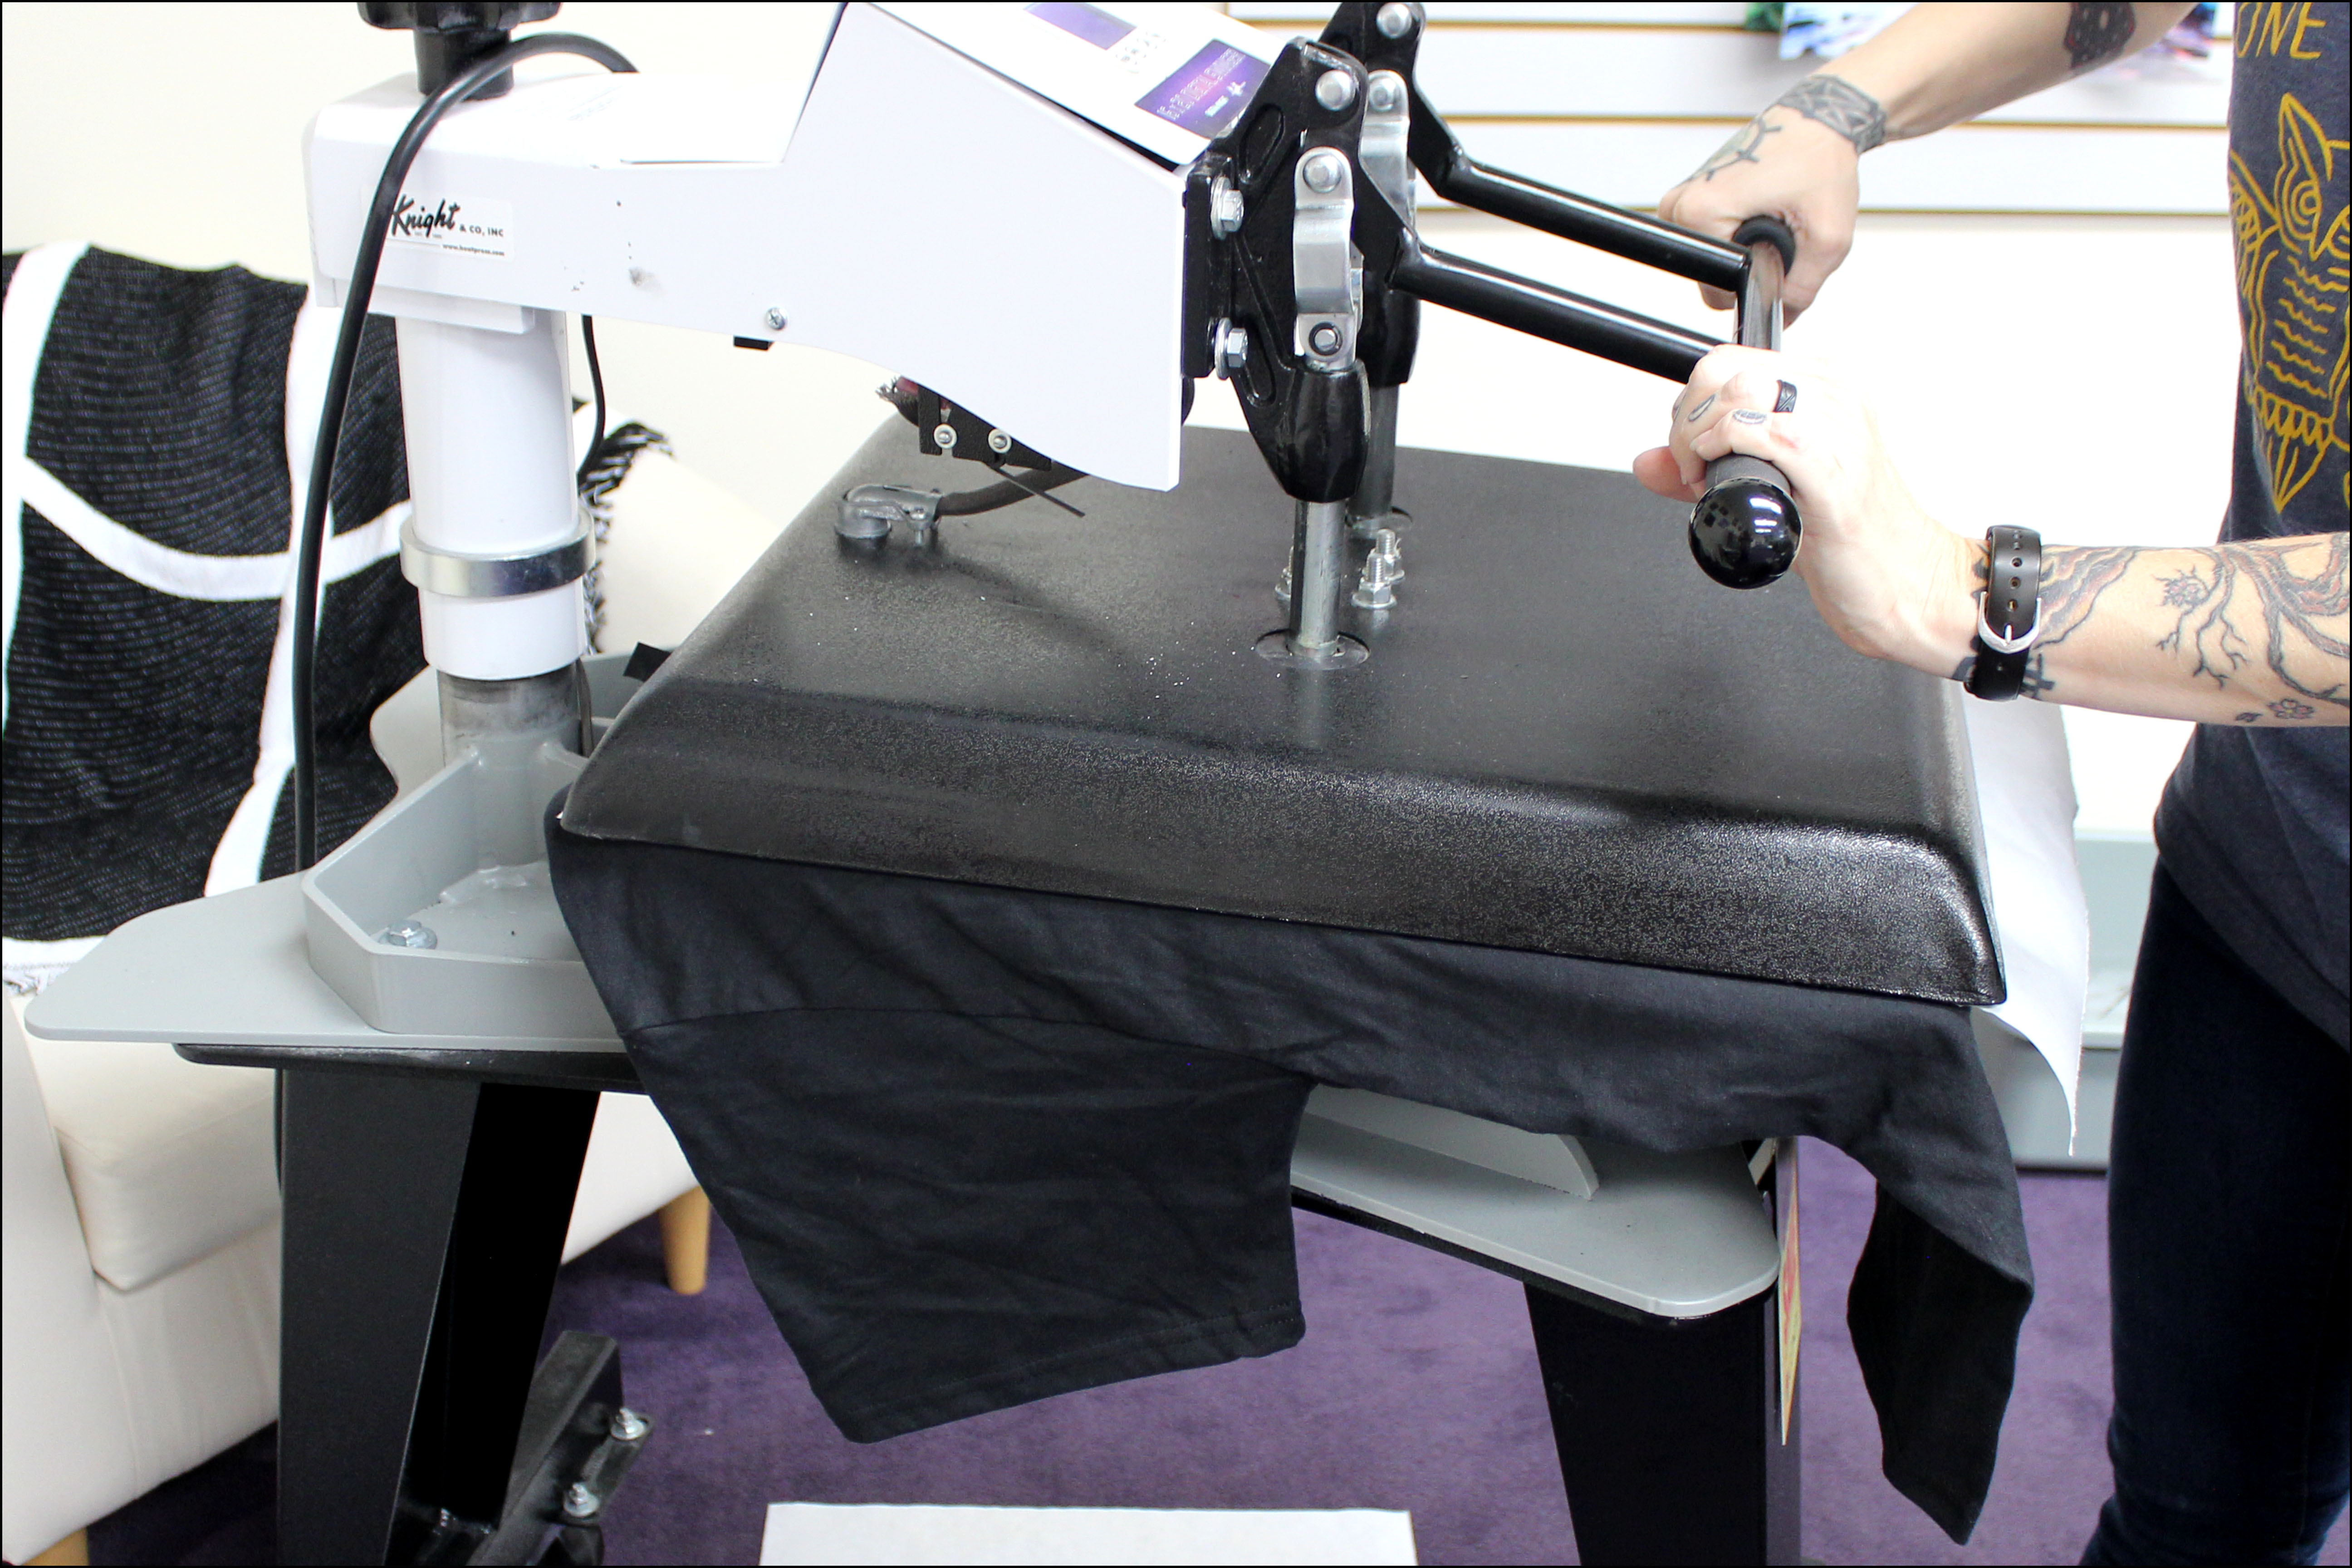
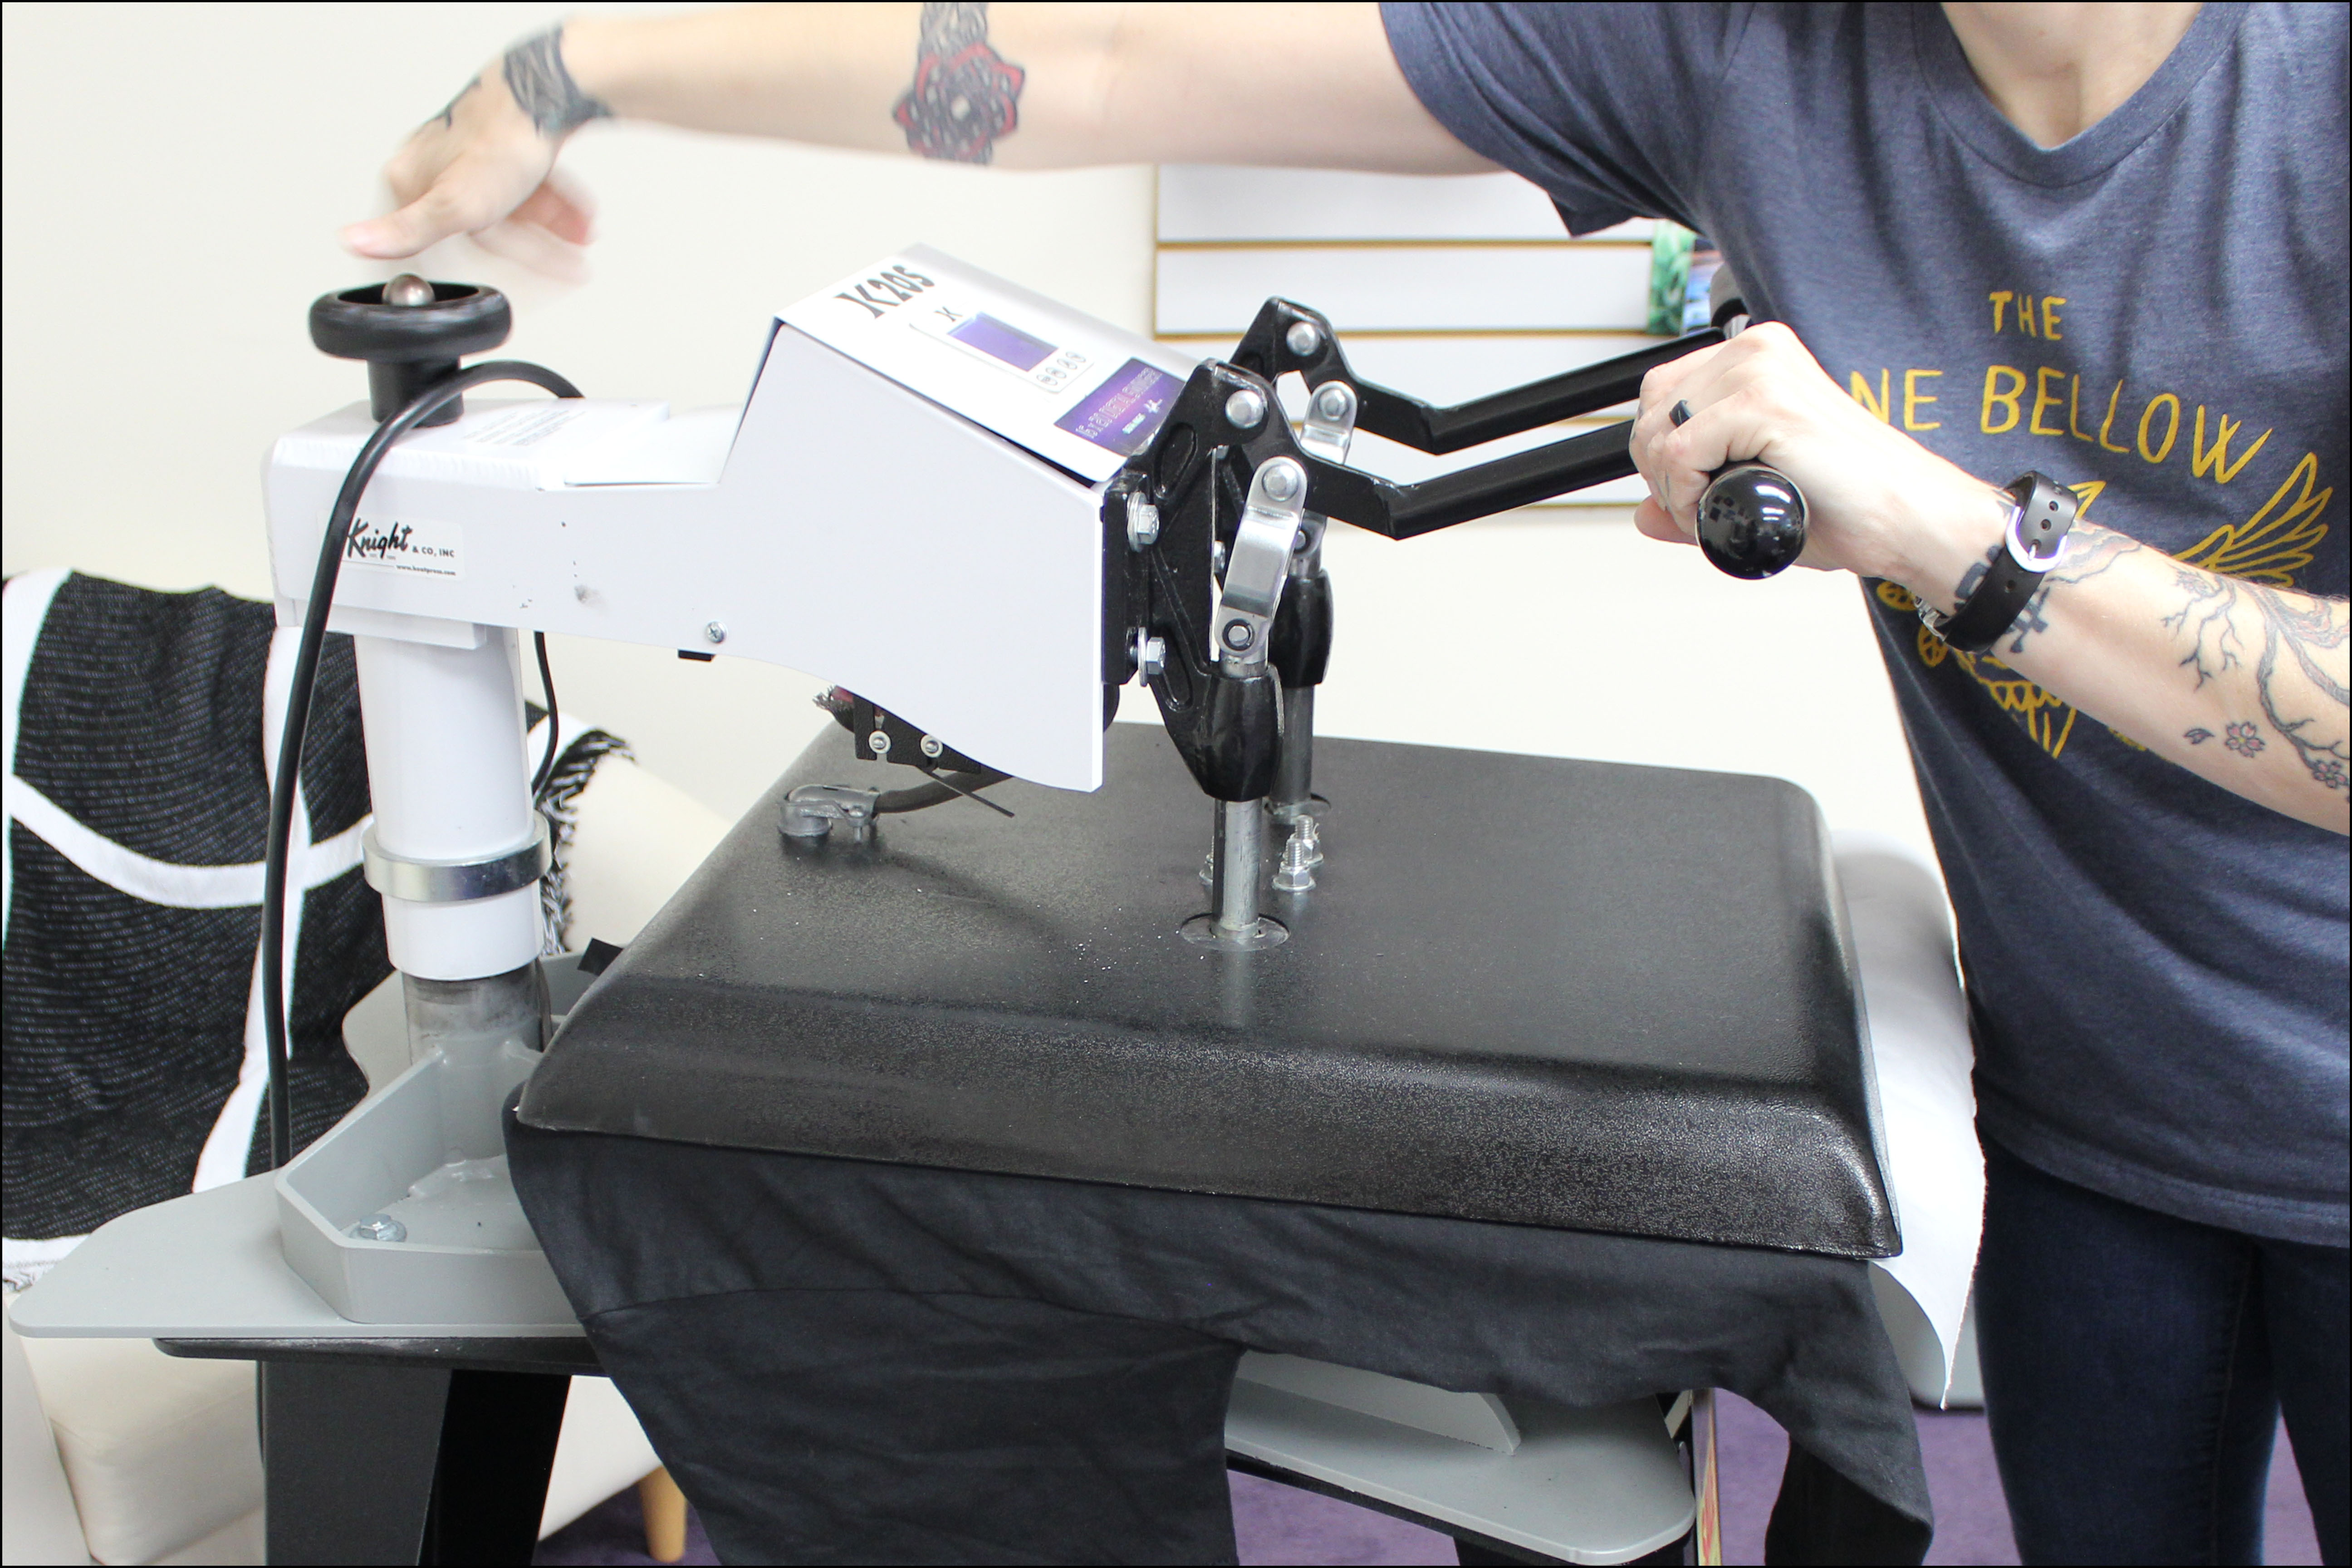
8. Align your vinyl onto your garment and press at 311° for 15 seconds with medium pressure. If no mask was used, cover with protective paper.

9. If mask was used, peel off while still warm.
10. Wait 24 hours before washing. Wash with cool water, tumble dry low.
Method Two: Printing - to Sublimation Paper
1. Load your vinyl into your cutter and cut unmirrored based on your cutter’s settings.
2. Weed out the excess vinyl from your image.
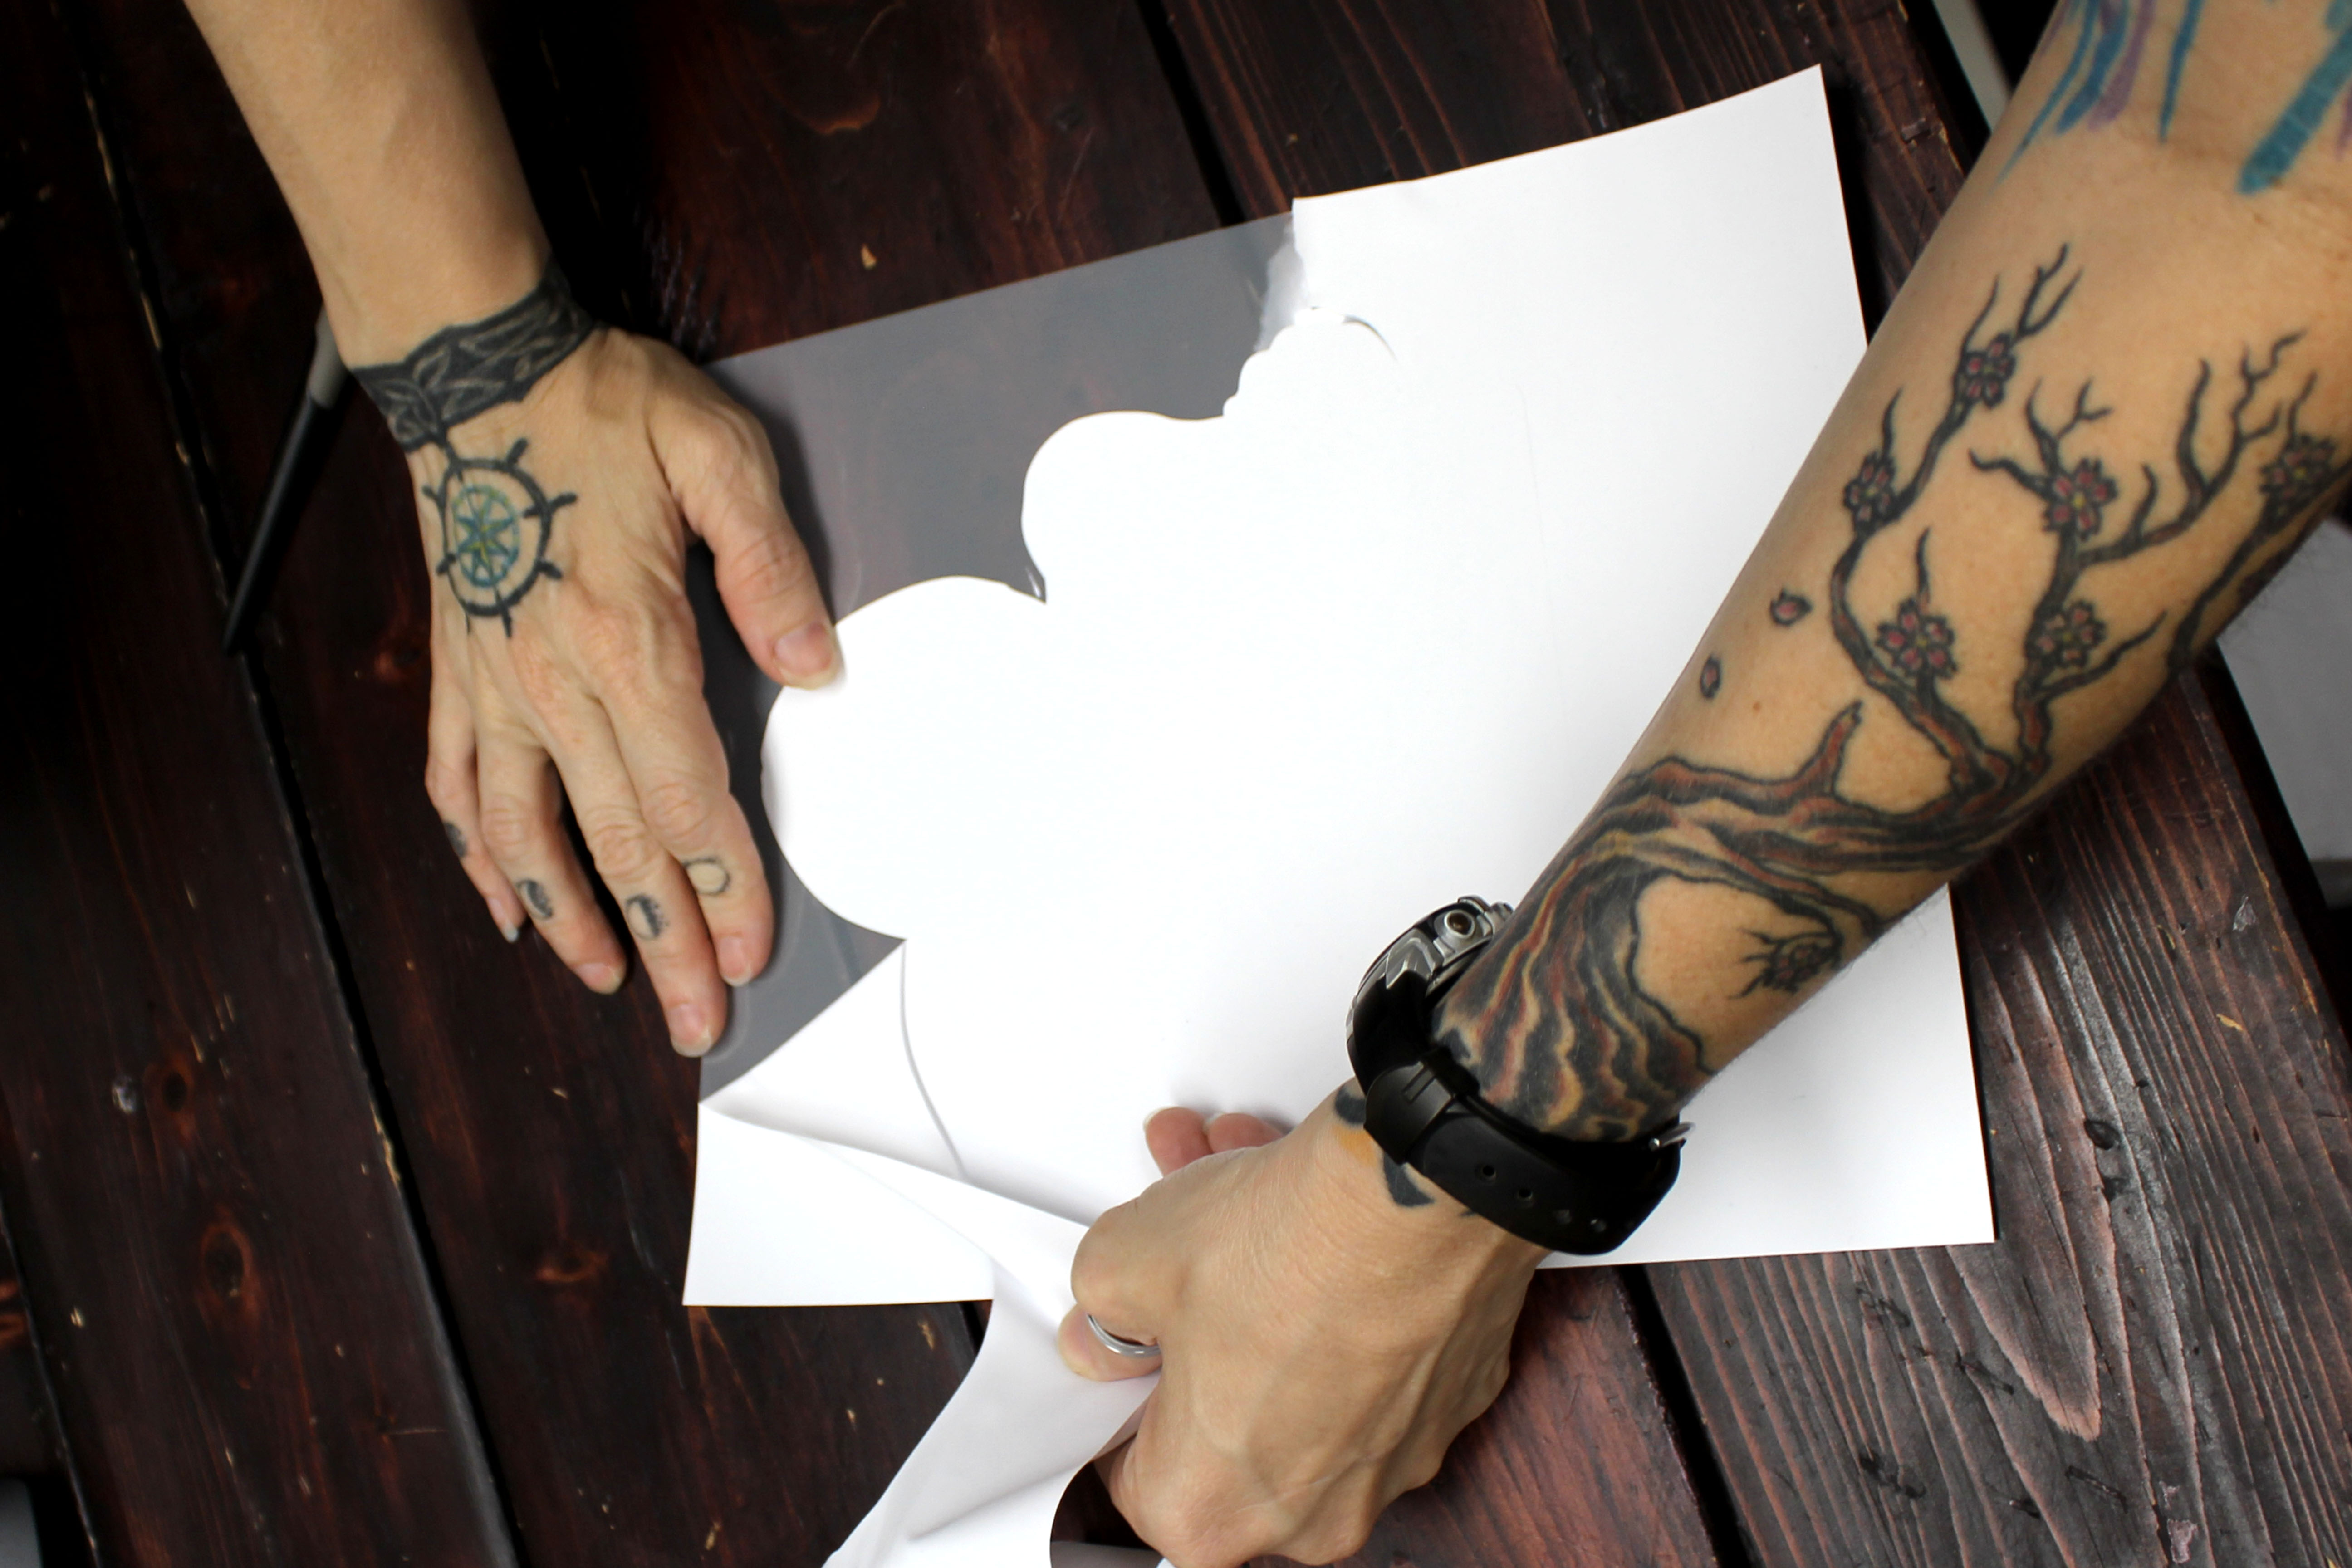
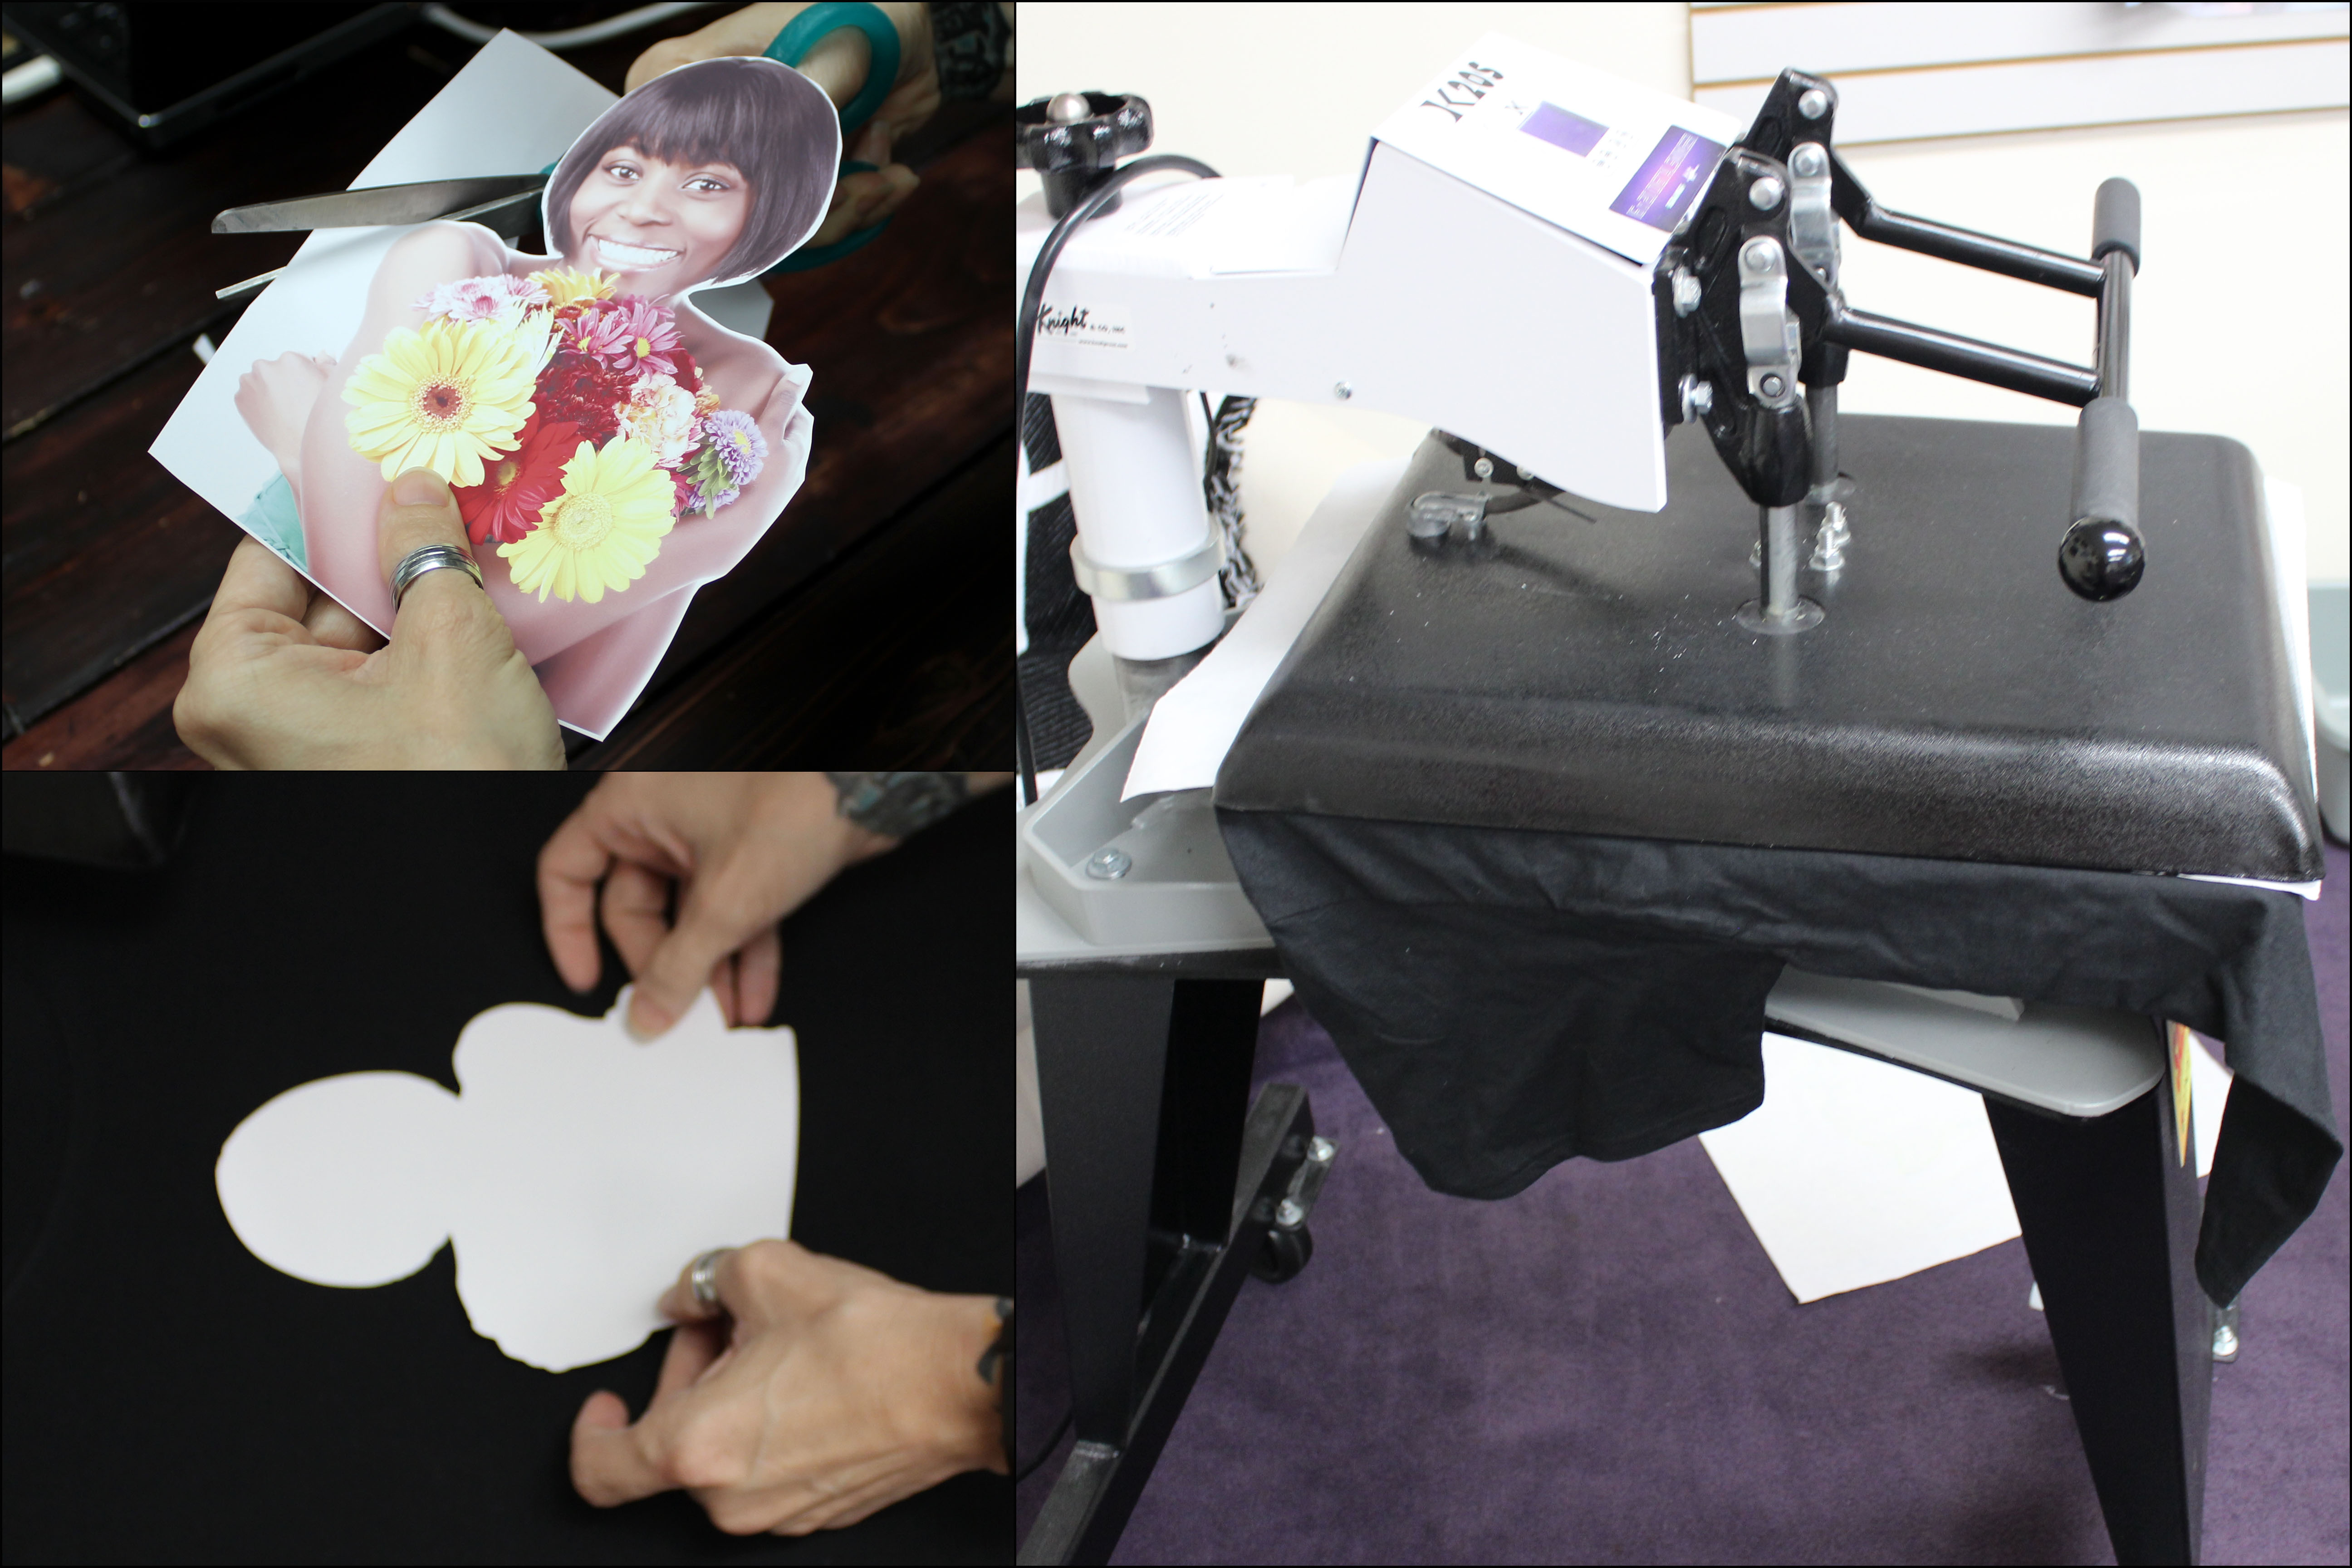
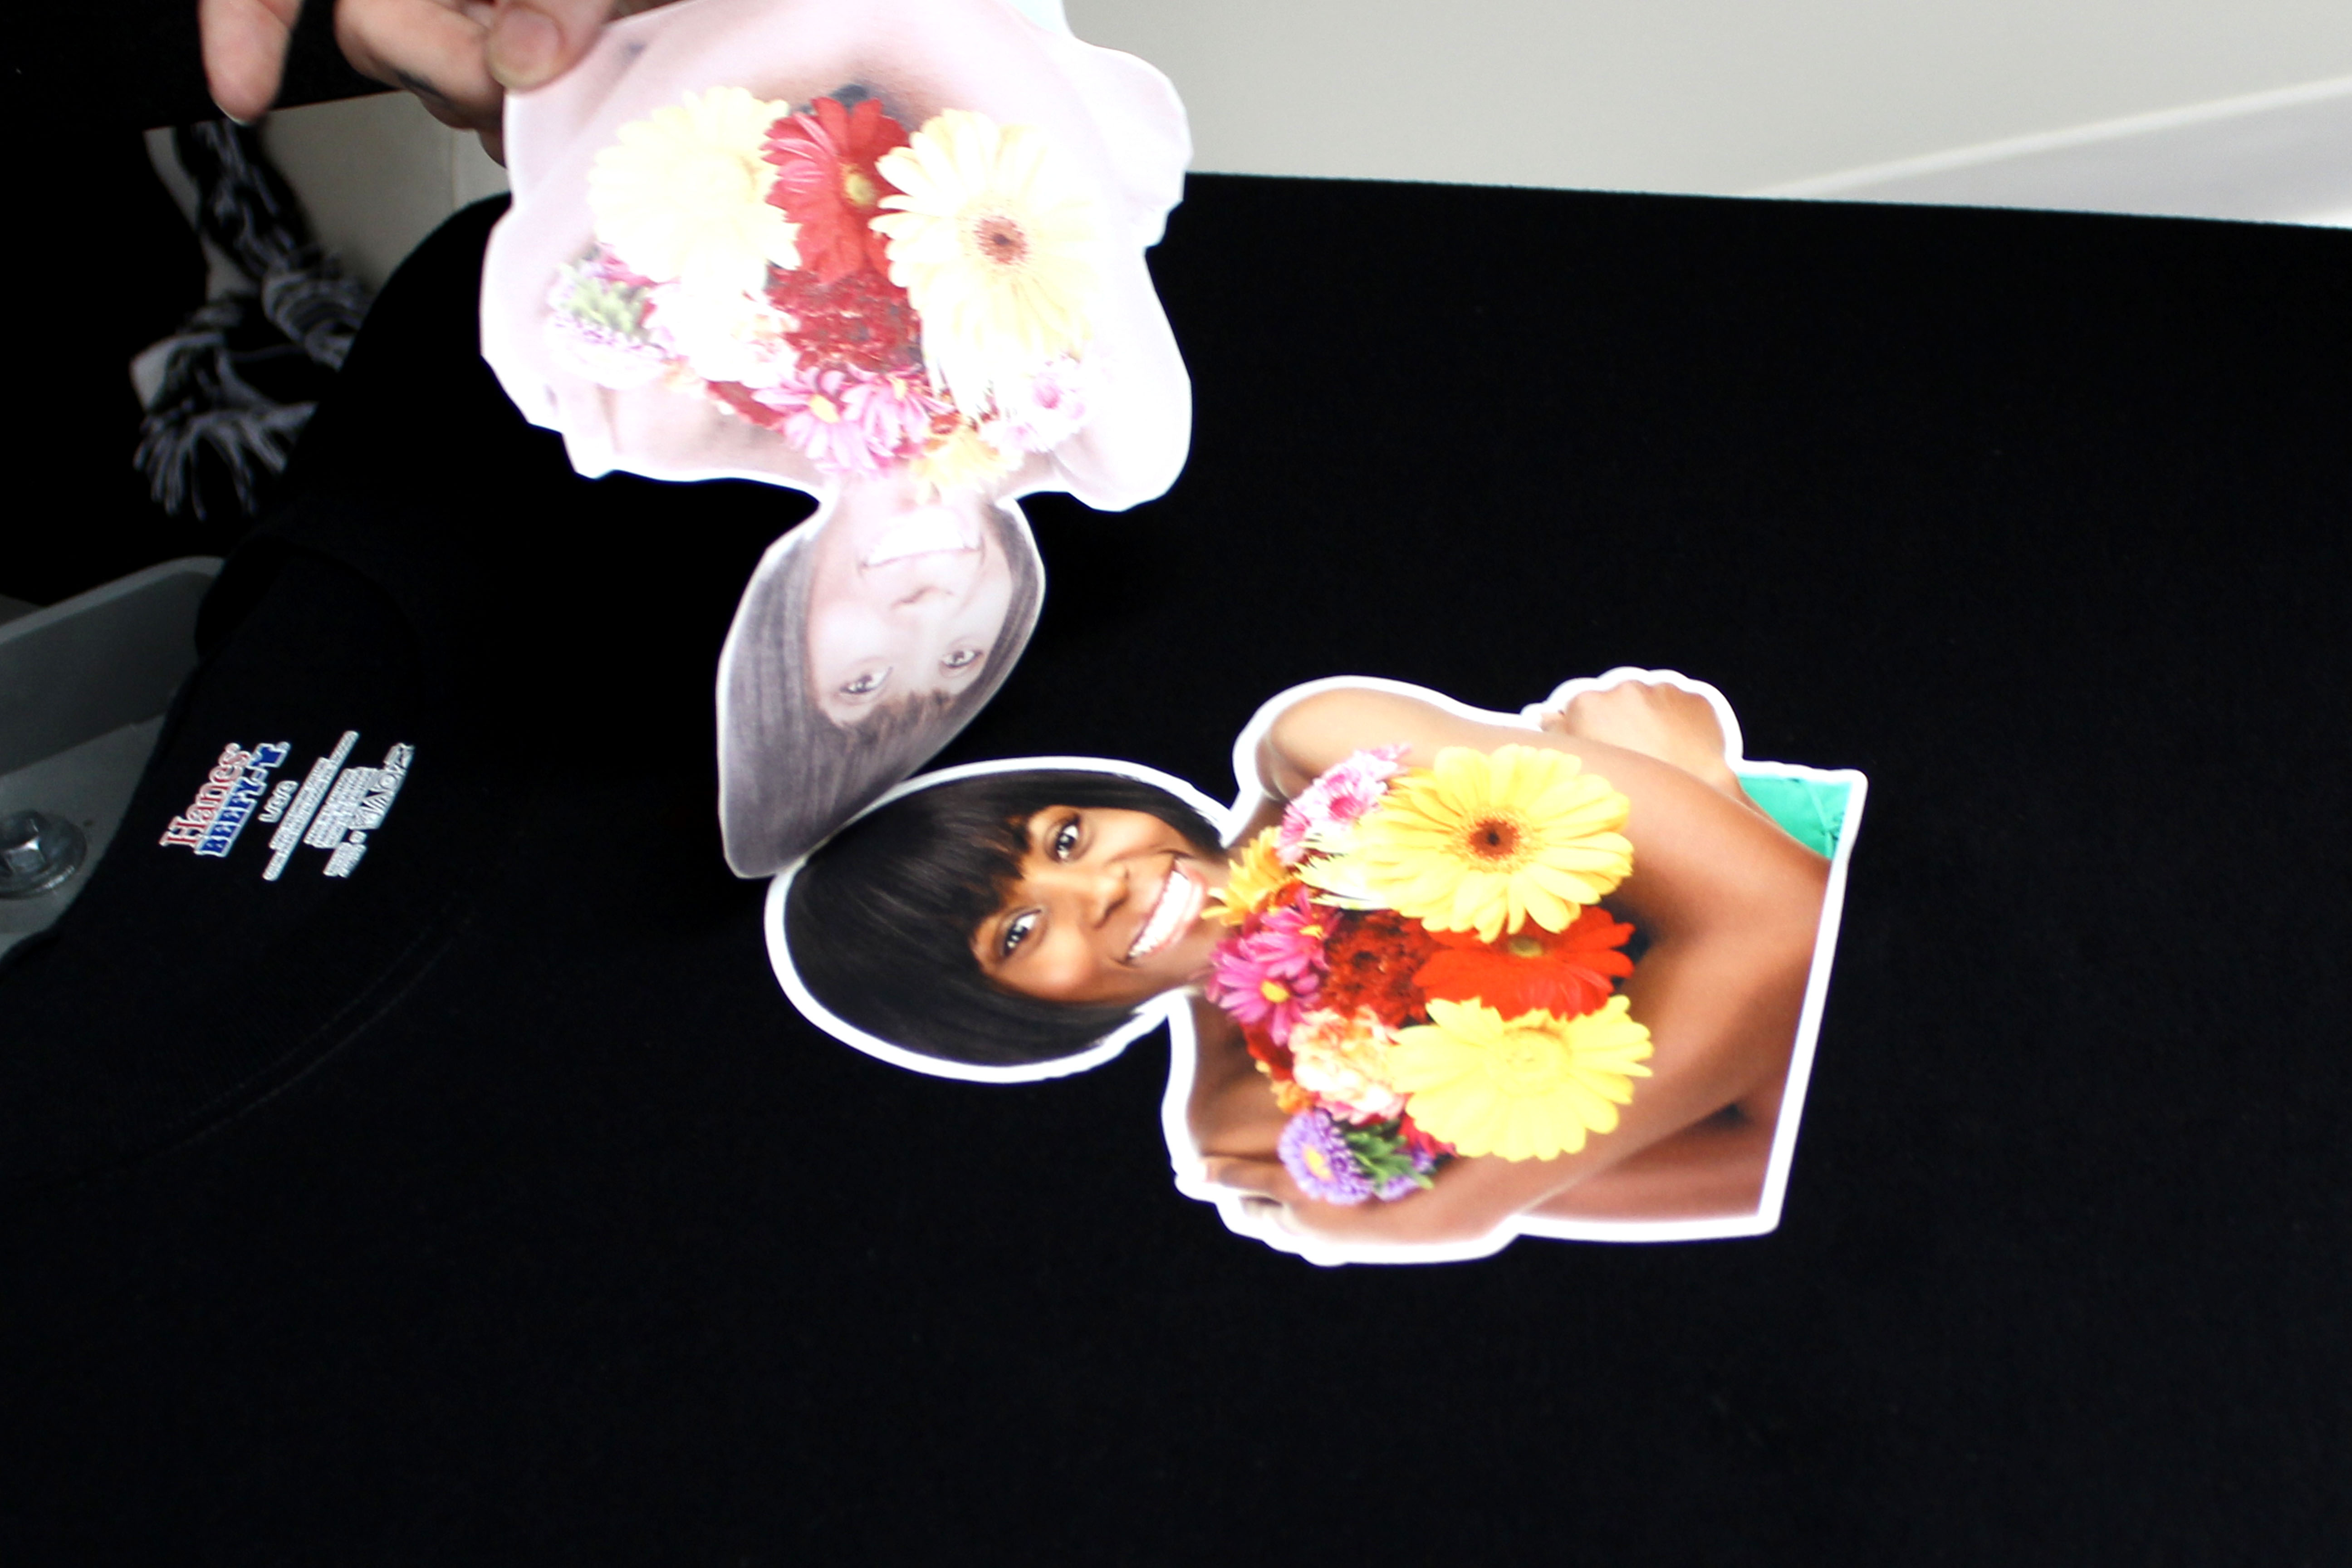
3. If necessary, mask your image removing it from the backing sheet to ready it for application. (Masking is not always necessary if your design is in one piece that can be easily lifted from the backing sheet as shown in the image below.)
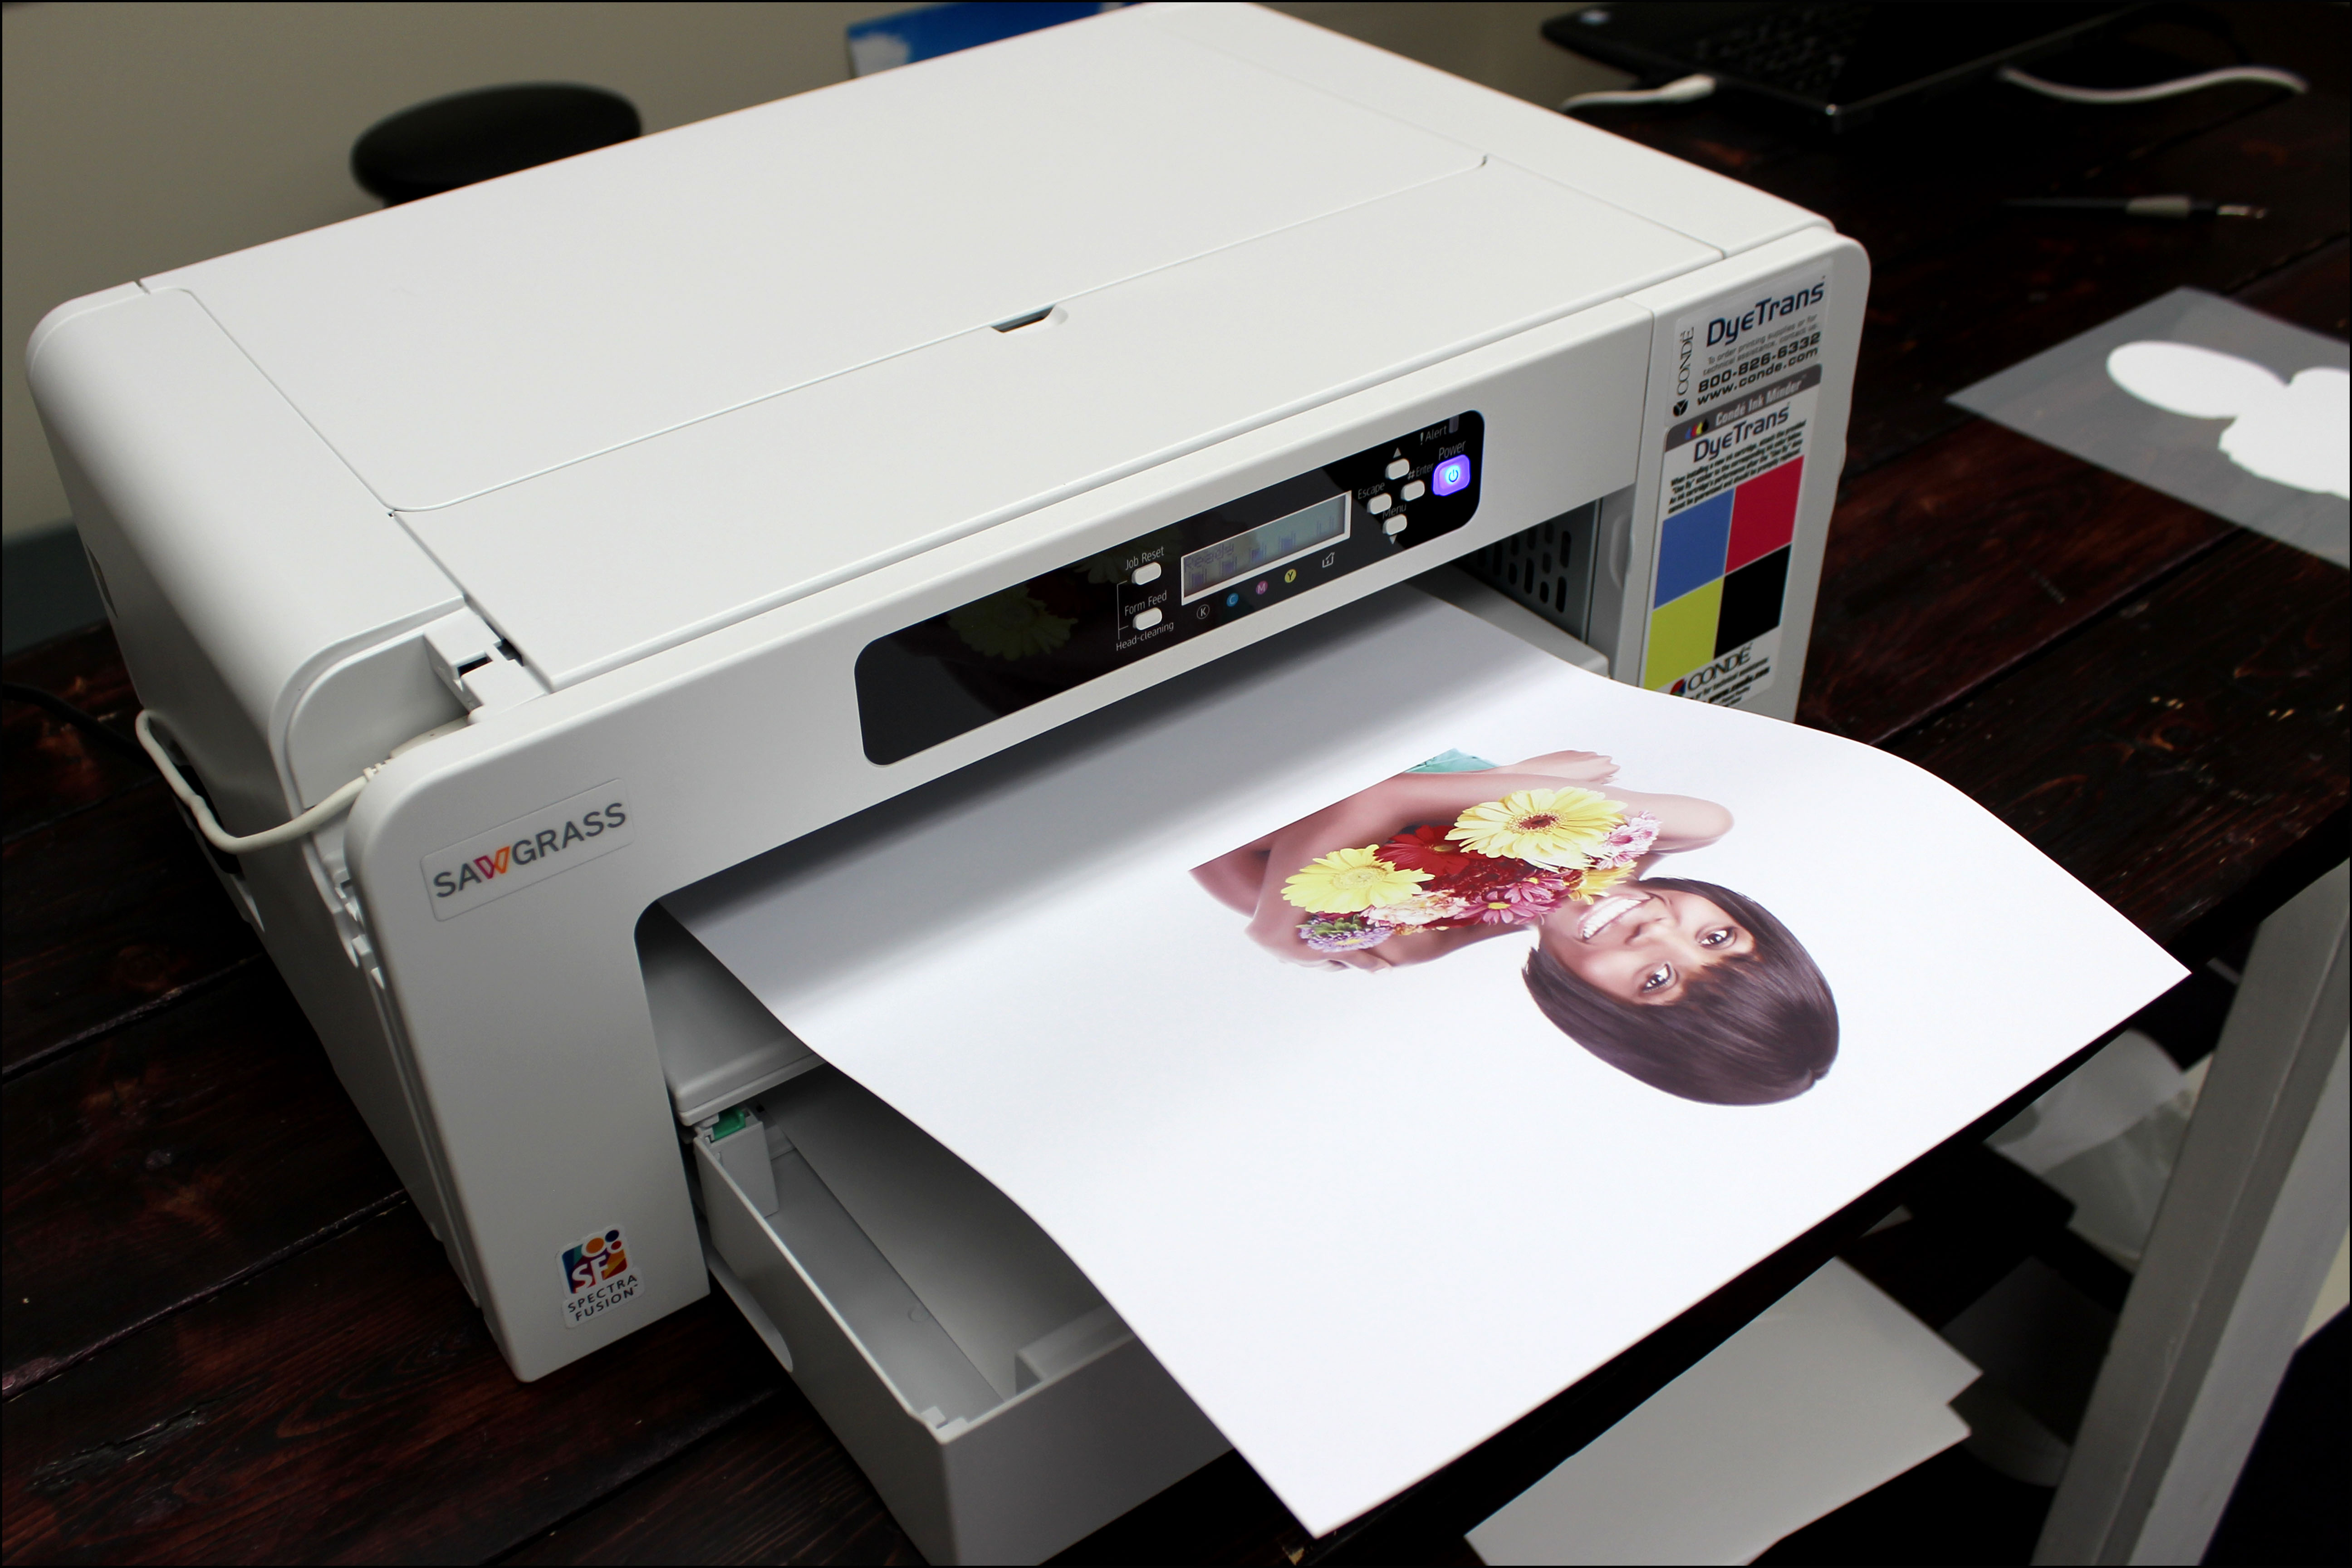
4. Print your image mirrored onto sublimation paper.
5. Prepress your garment, covered with protective paper, for 5 to 10 seconds to preshrink and release any excess moisture.
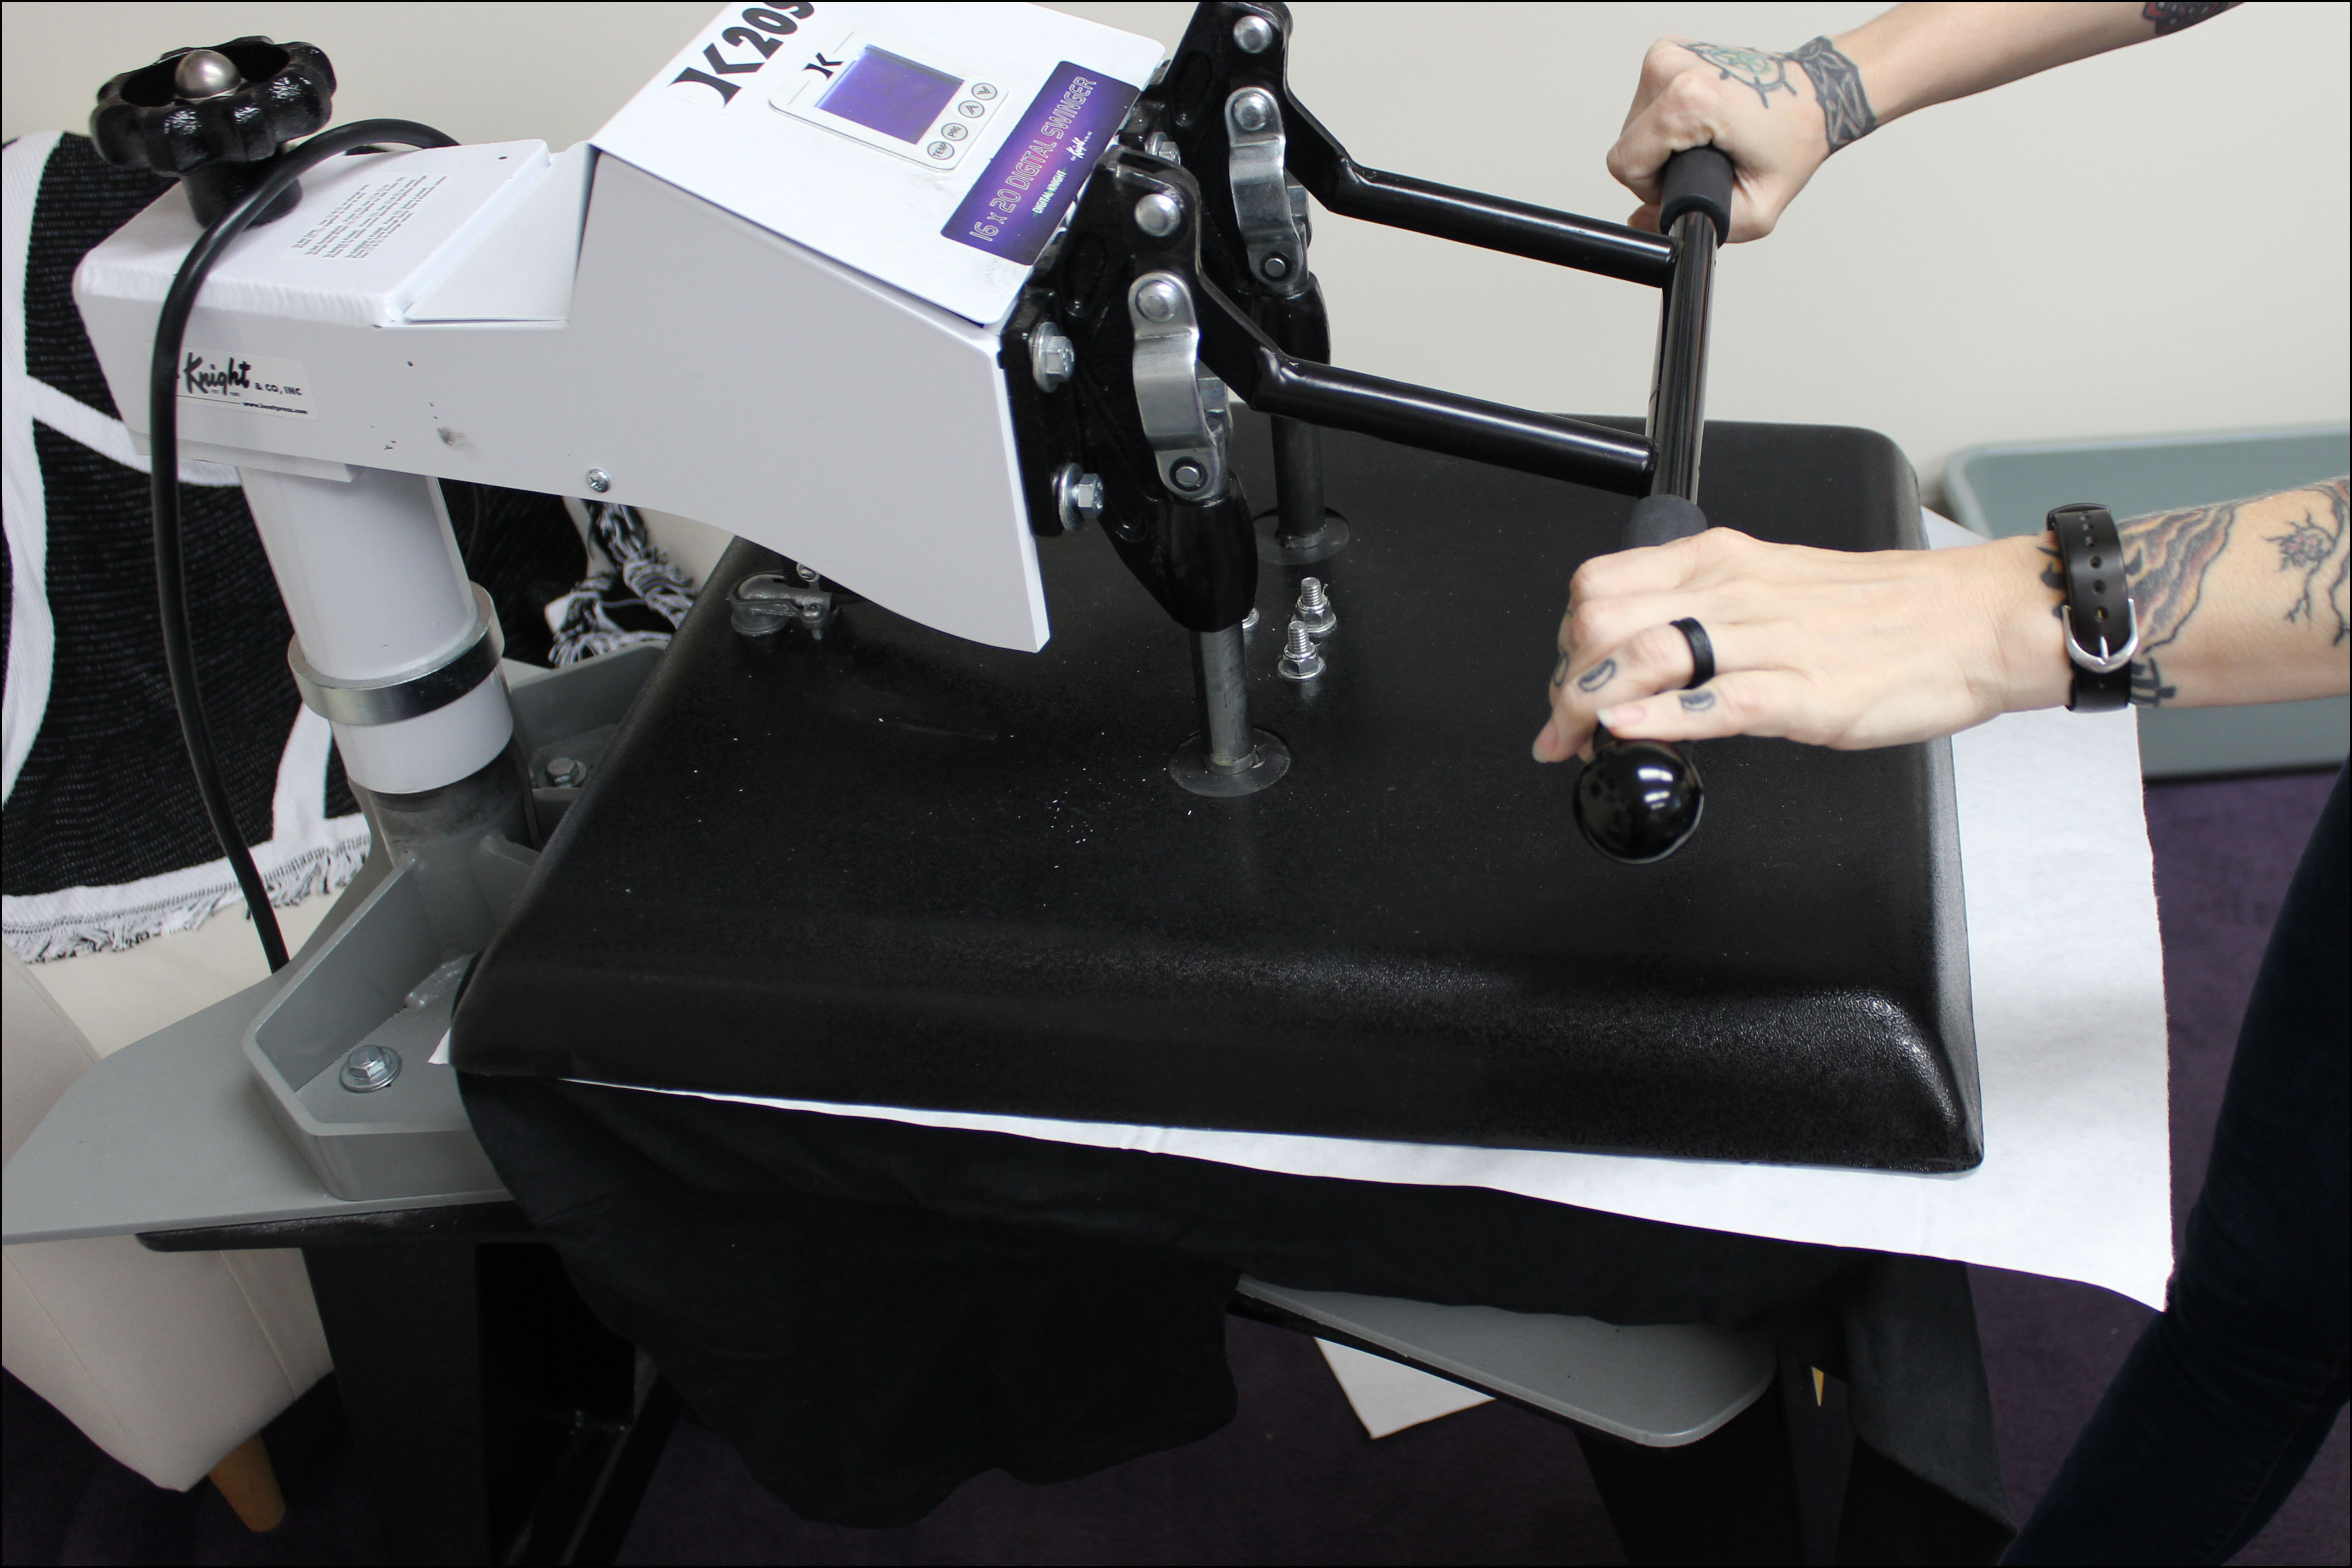
6. Cut out your image and set aside. Before sublimating tack your vinyl to your garment for 5-10 seconds. If no mask was used, cover with protective paper.
7. If mask was used, peel off while still warm.
8. Align your printed sublimation paper to the vinyl and tack using Pro-Spray or heat tape.
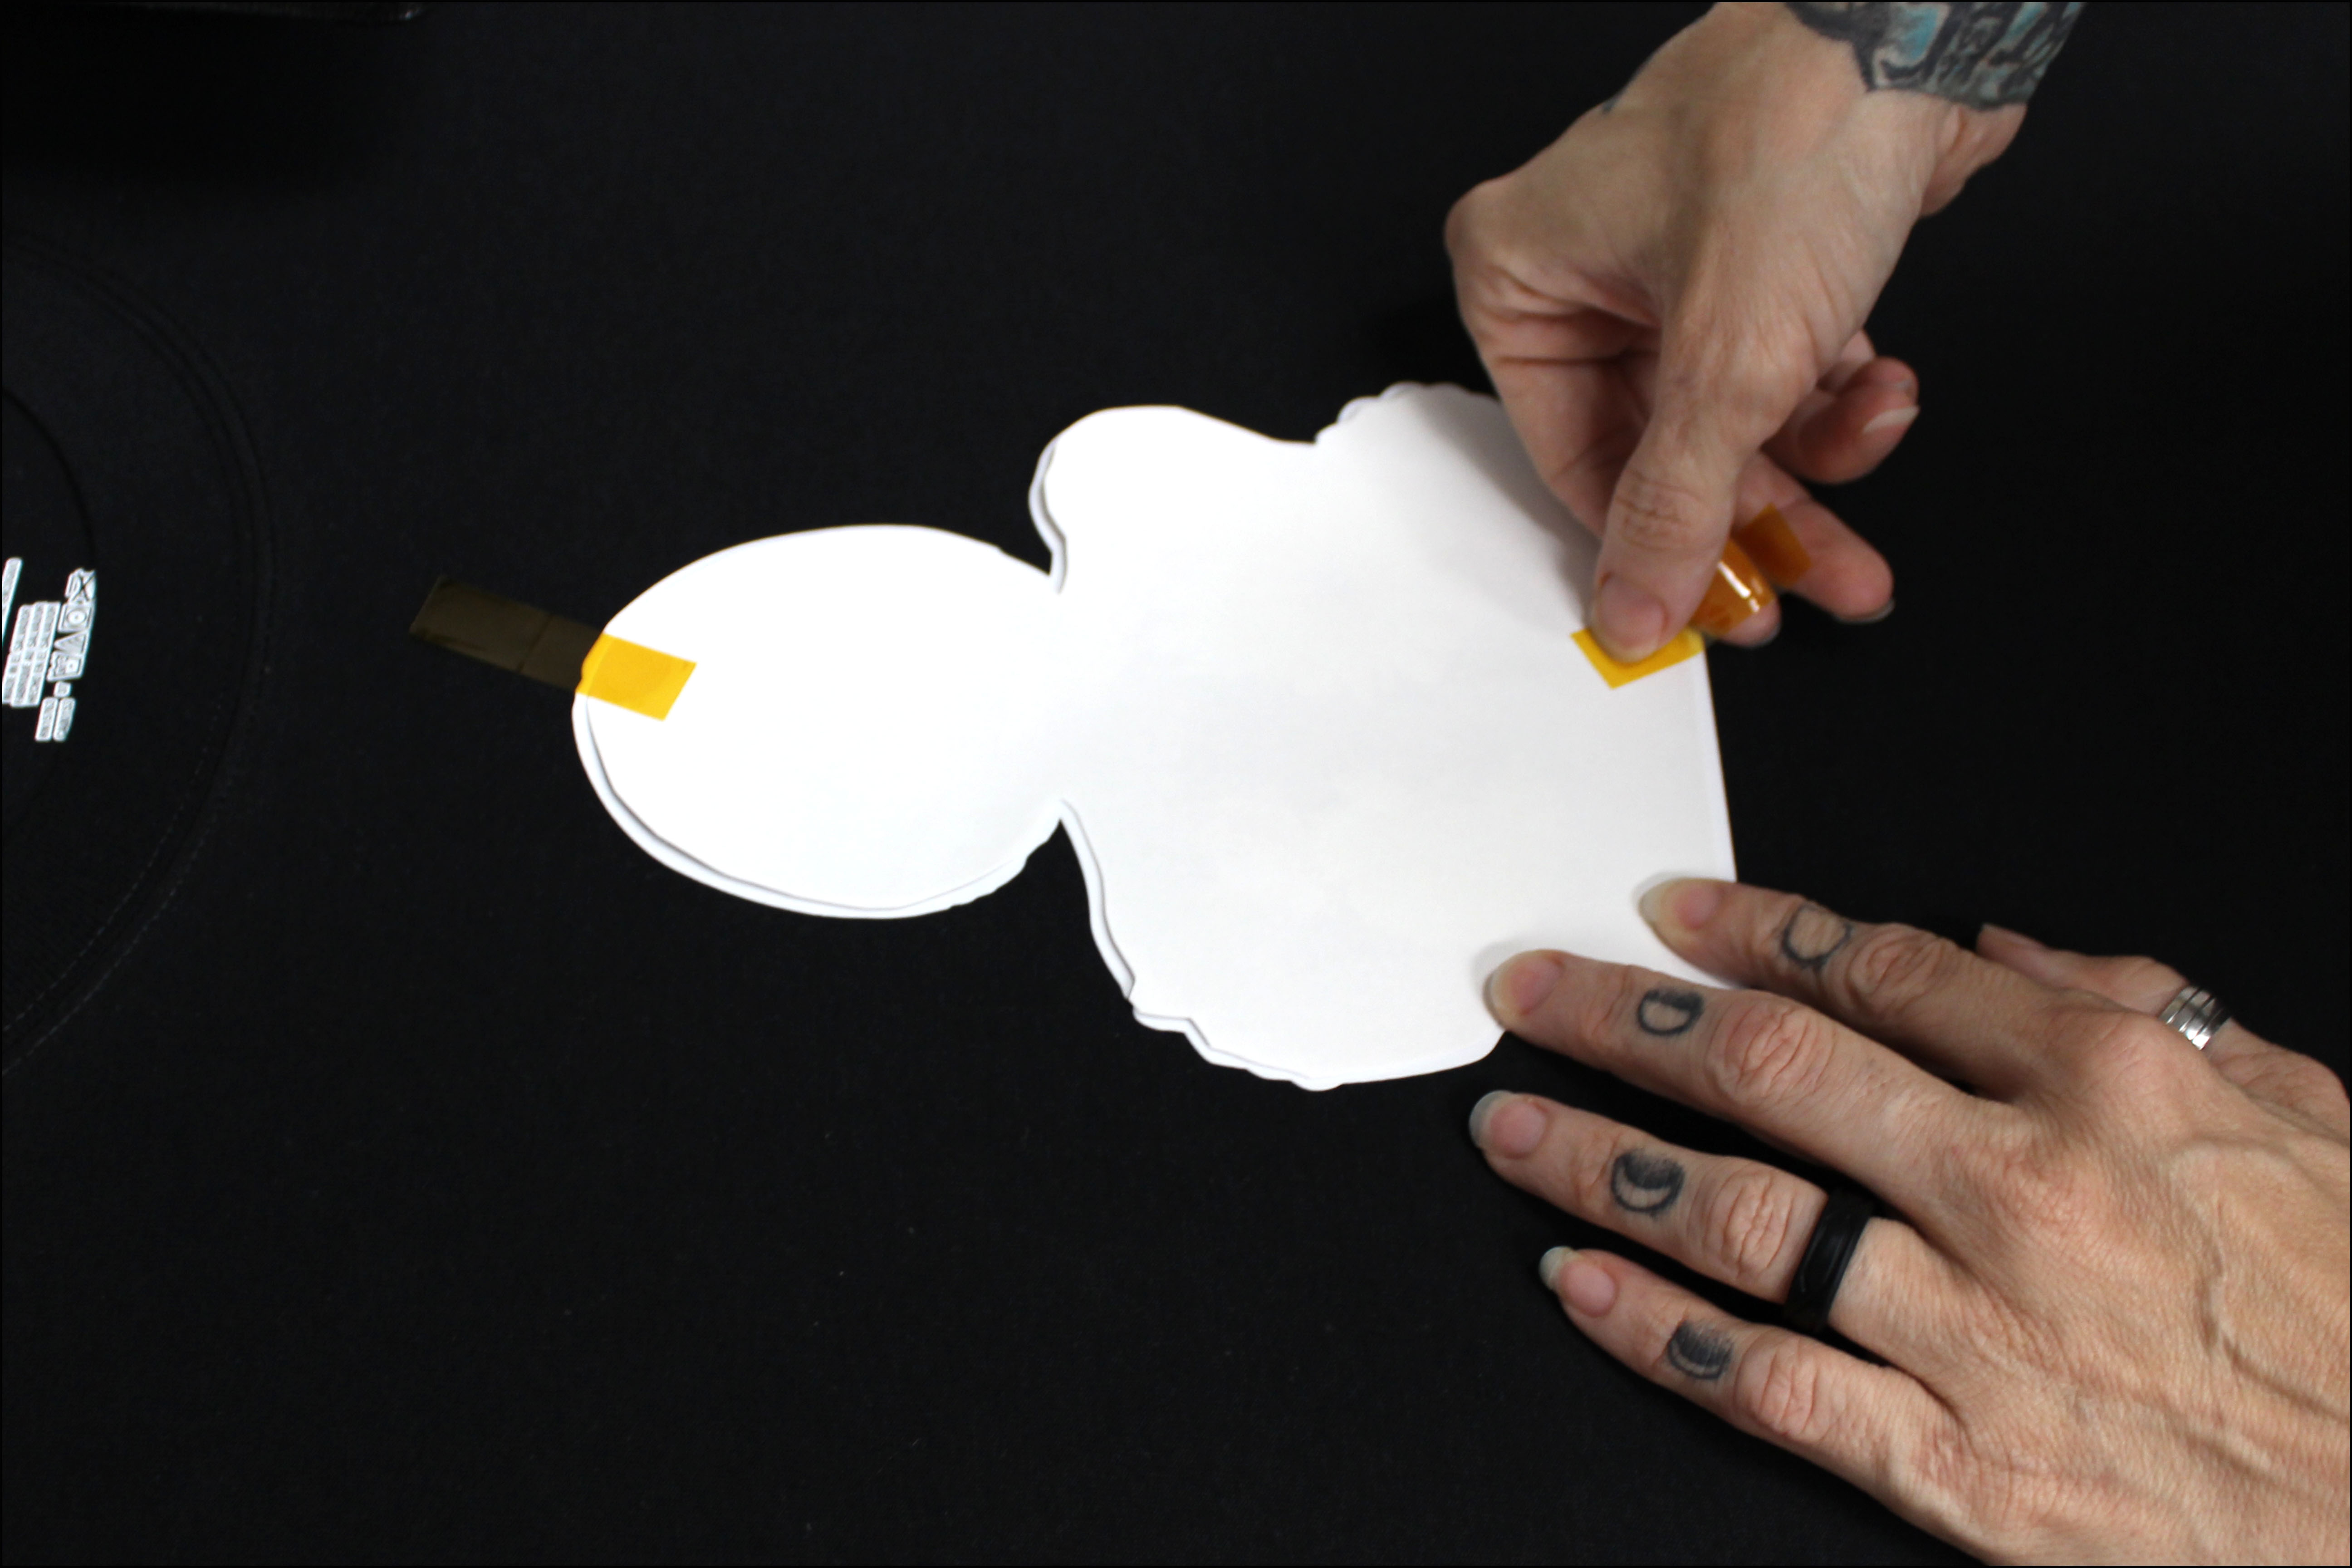
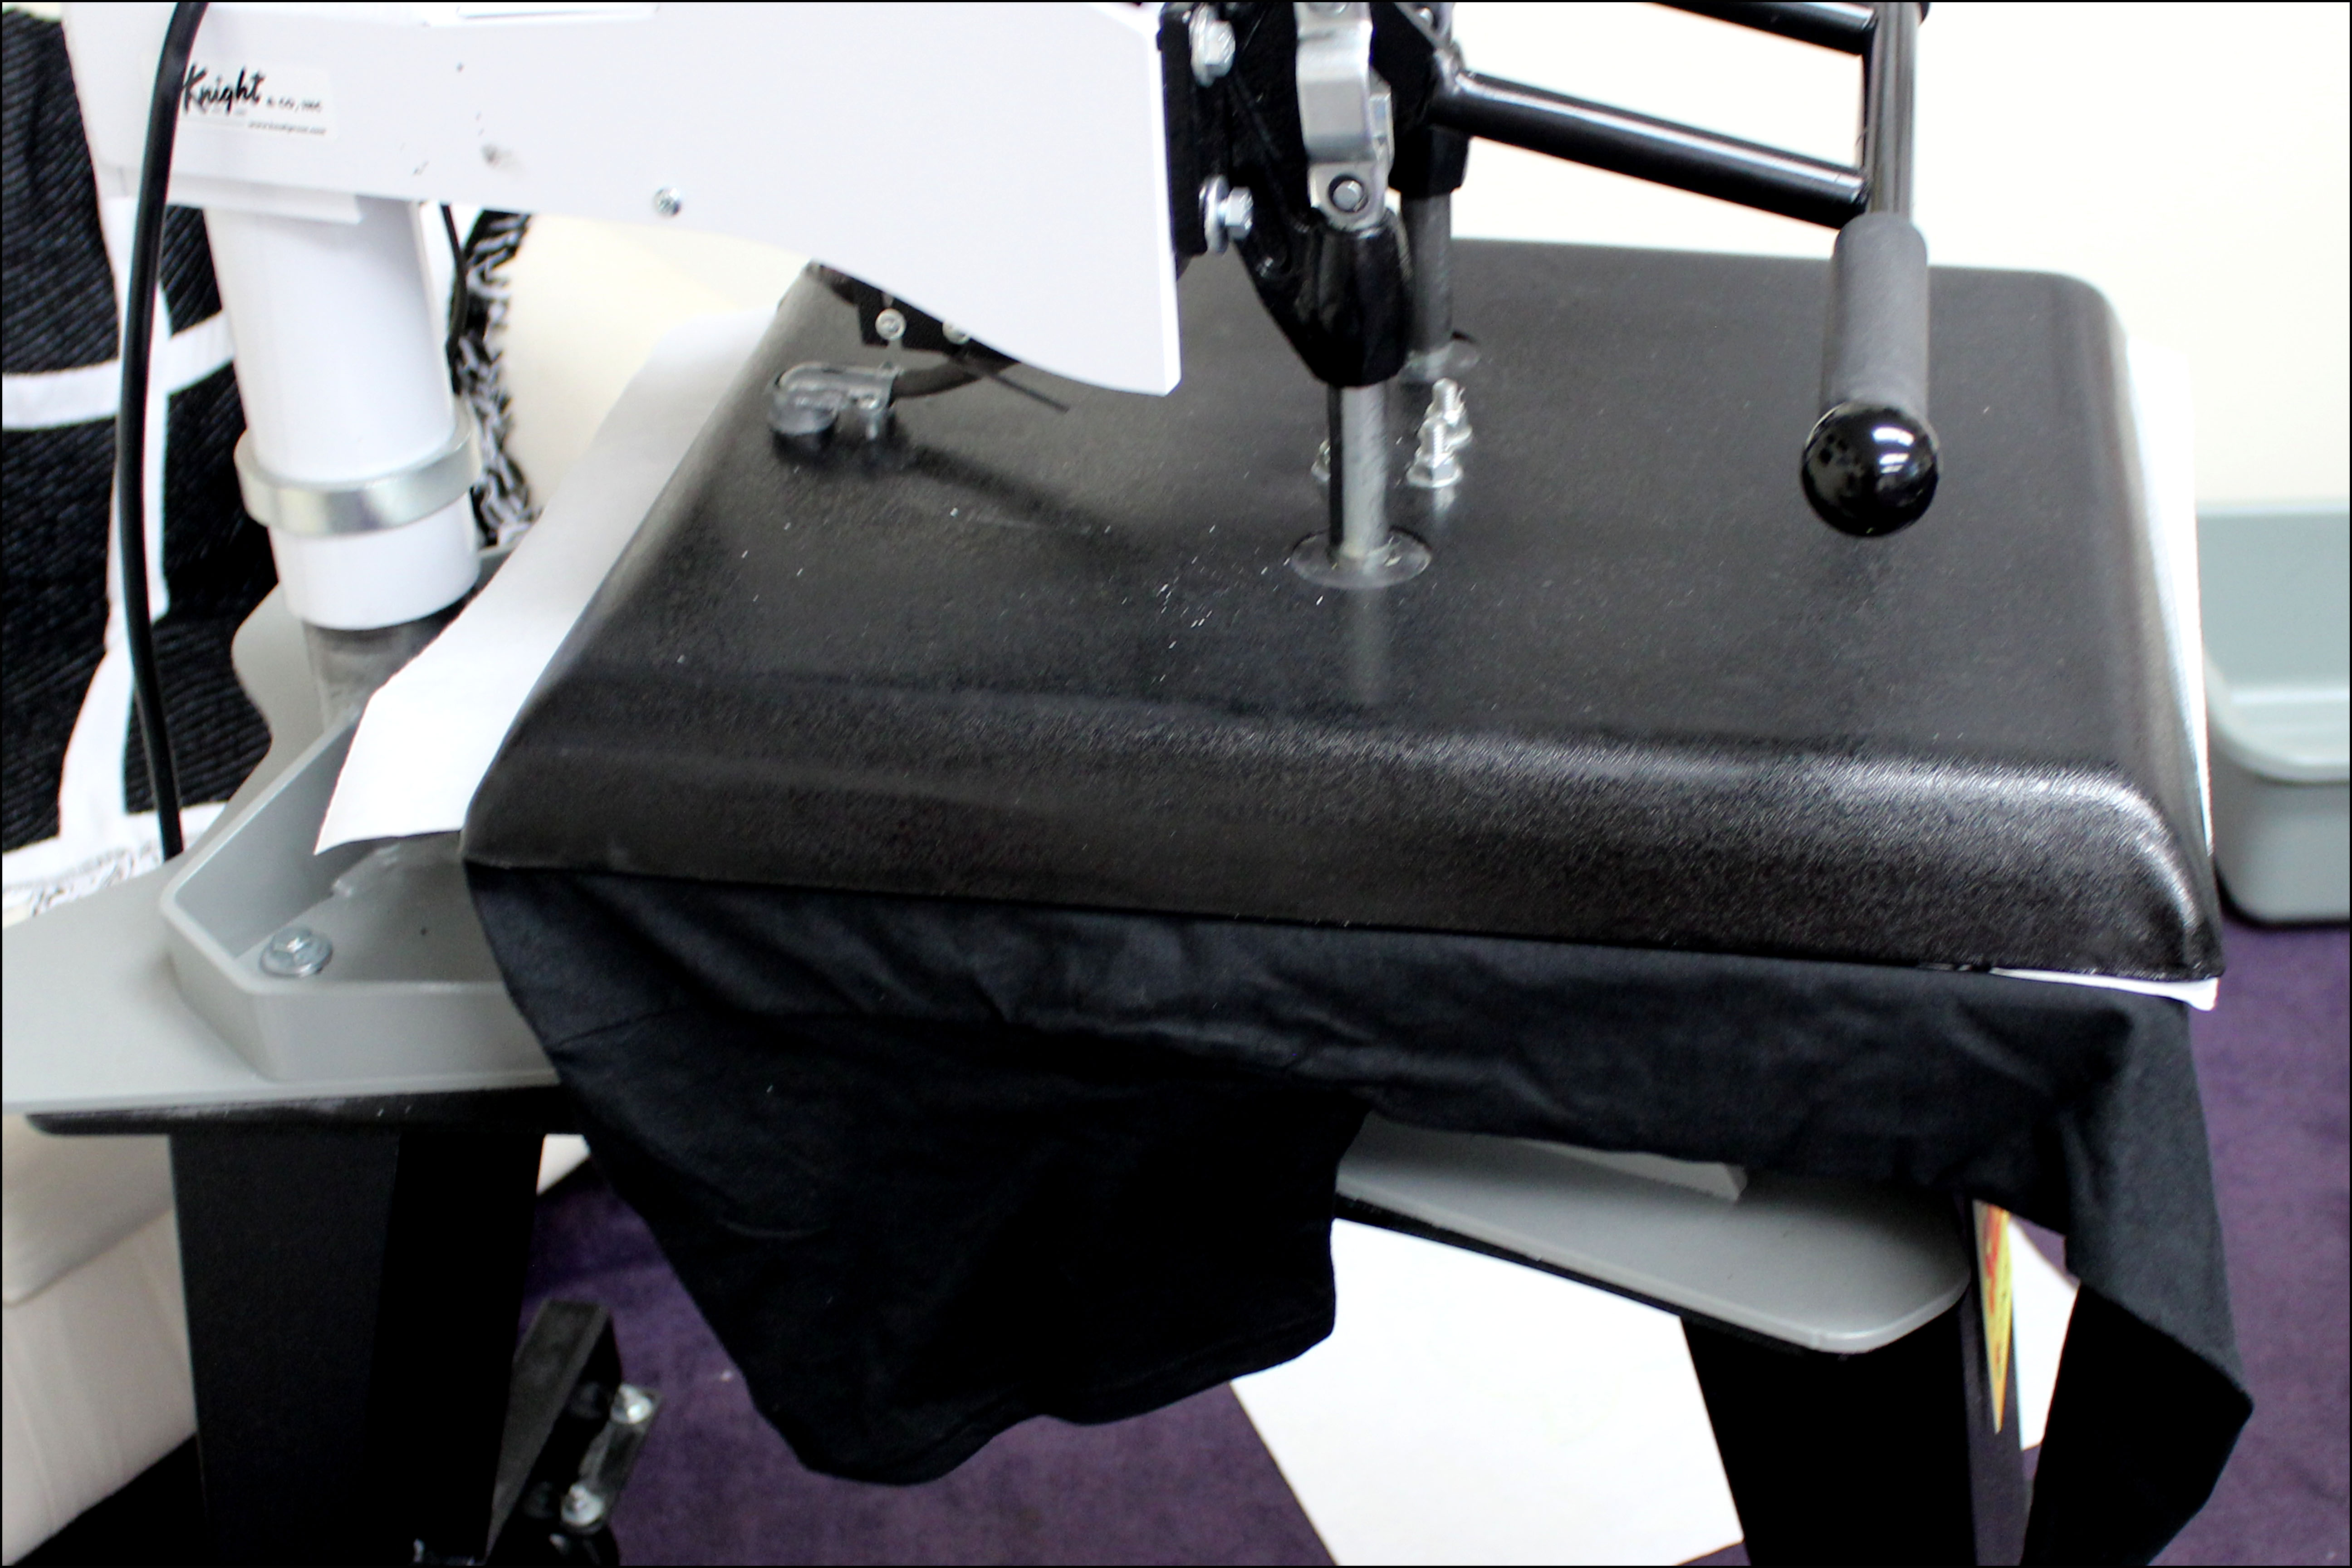
9. Press at 375° for 45 seconds using medium pressure, covered with protective paper.
10. Wait 24 hours before washing. Wash with cool water, tumble dry low.

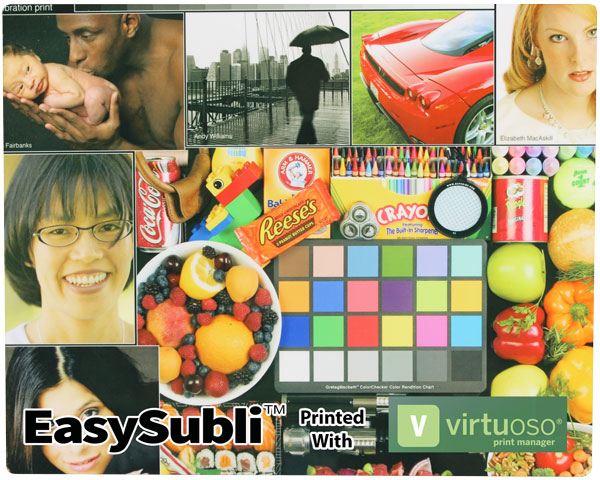
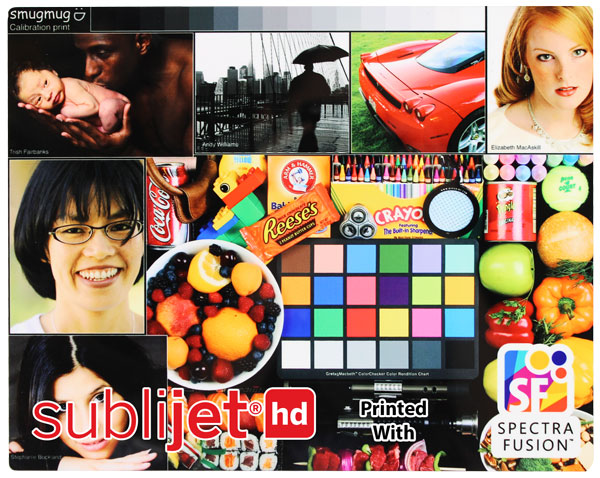
Each method and ink system produces great results, however, there are noticable color variances between them.

EasySubli™ inks are not exclusive to the vinyl alone! You can use the inks as you would on any sublimatable surface with varying results. The graphic below shows the difference in printing on metal using the EasySubli™ Inks printed through Virtuoso Print Manager, the SubliJet® HD Inks printed through Virtuoso Print Manager, and finally the SubliJet® HD Inks printed through Condé Systems SpectraFusion color manager.

Whichever method you chose, EasySubli™ is a game changer in the digital decorating industry.
CLICK HERE TO BROWSE ALL SISER PRODUCTS!
Siser® EasySubli® SG400 Print System - 8.5x14 Sawgrass Virtuoso SG400 Complete Sublimation System
Siser® EasySubli® SG800 Print System - 11.7 Sawgrass Virtuoso SG800 Complete Sublimation System
Frequently Asked Questions